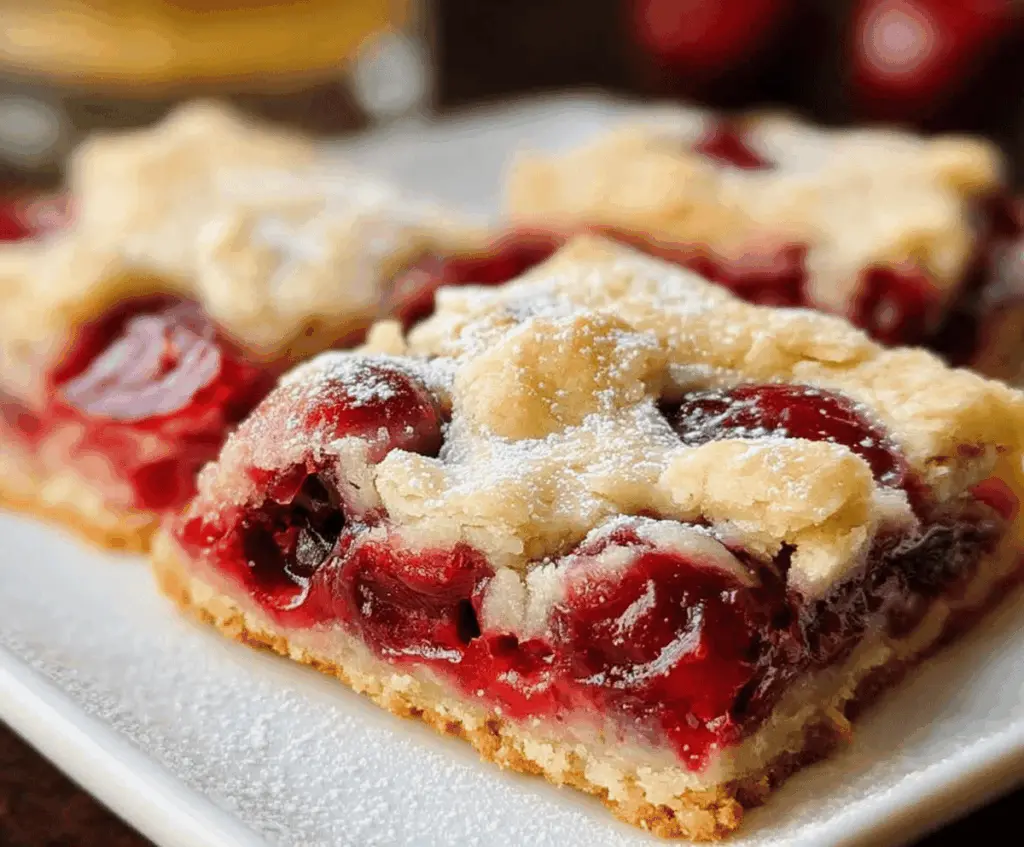
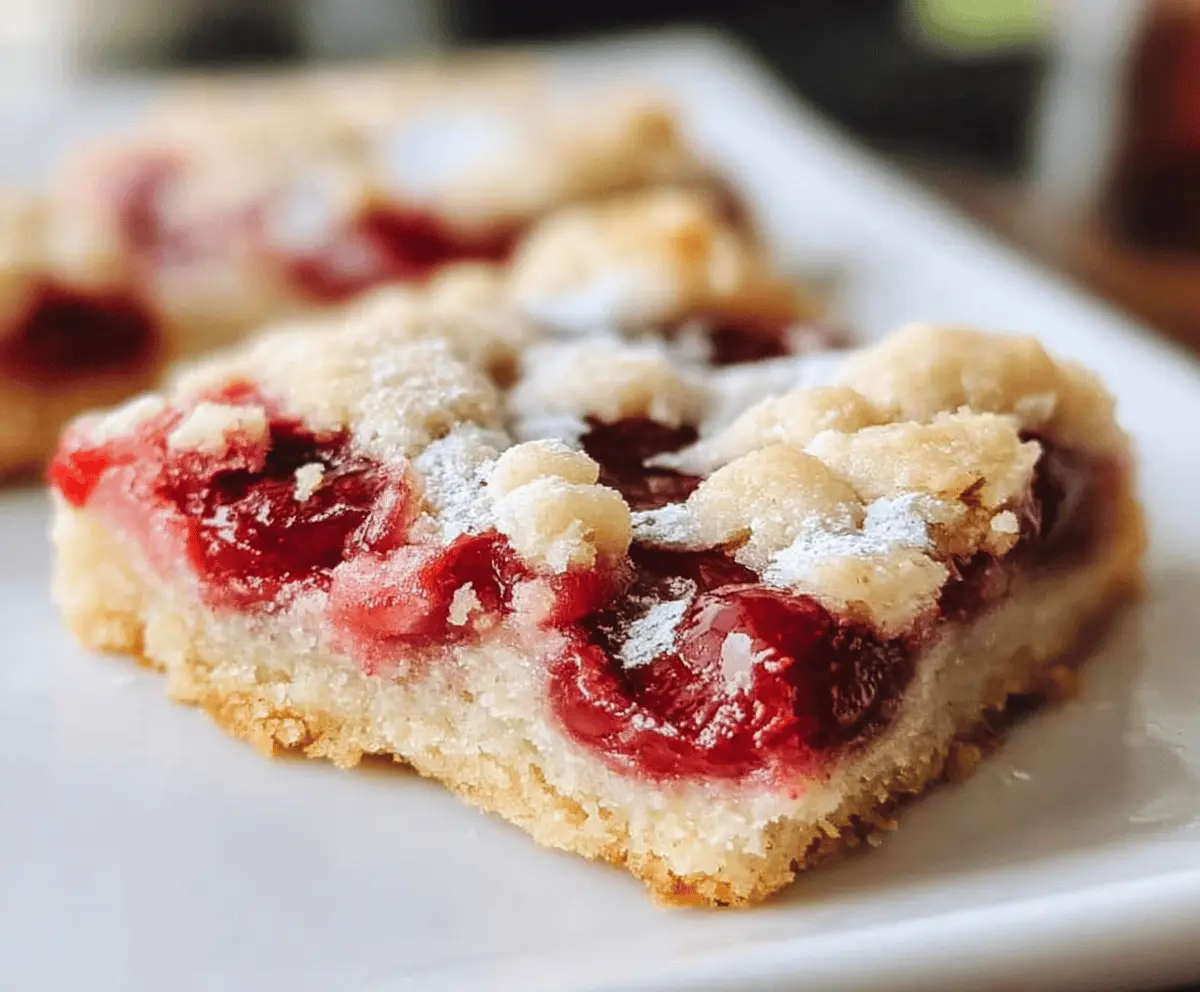
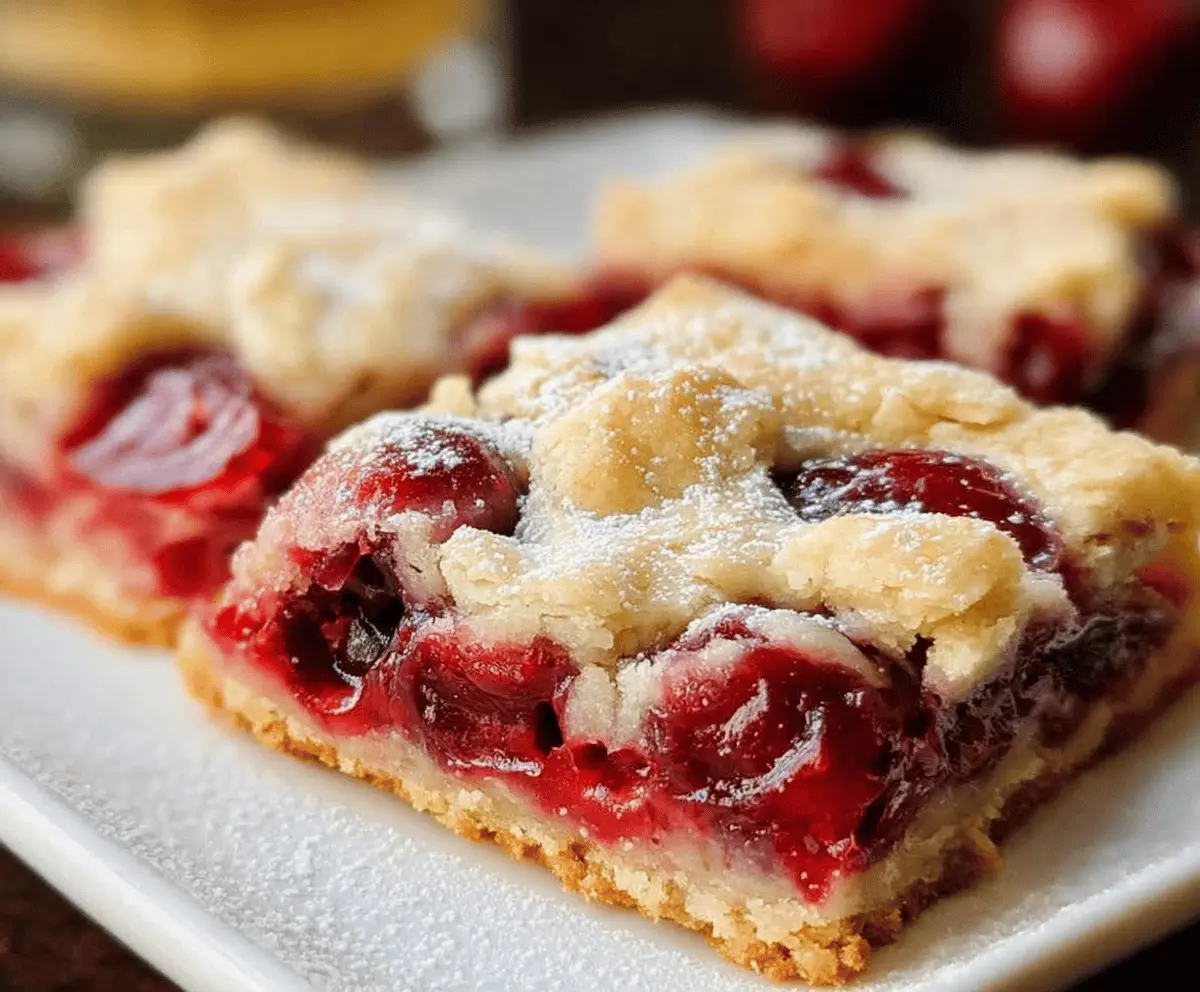
These Easy Cherry Pie Bars are a sweet treat that’s perfect for dessert lovers! With a buttery crust and juicy cherry filling, they’re simple to make and even better to eat.
Making these bars is like having your pie and eating it too! I love serving them warm with a scoop of ice cream on top. Trust me, it’s a game changer! 🍦
Key Ingredients & Substitutions
All-Purpose Flour: This is the backbone of your cherry pie bars. If you’re looking for a gluten-free option, try using a 1:1 gluten-free flour blend!
Unsalted Butter: Softened butter gives a rich flavor. You could substitute with margarine or coconut oil if needed, but butter adds the best taste.
Granulated Sugar: This adds sweetness and helps the crust brown. For a healthier option, use coconut sugar or maple syrup, but adjust the liquid slightly.
Cherry Pie Filling: Canned cherry pie filling is super convenient, but you can use fresh or frozen cherries. Just mix them with some sugar and cornstarch for thickening.
Powdered Sugar: This is perfect for a simple glaze. If you want to skip it, you can dust with regular sugar or leave it off entirely!
How Do I Ensure My Bars Bake Evenly?
To bake your cherry pie bars evenly, follow these tips:
- Make sure to preheat your oven fully before putting the bars in. A hot oven helps them rise and set correctly.
- Check for doneness at the minimum baking time (40 minutes). Look for a golden top and set edges.
- Using an oven thermometer can help you know if your oven’s temperature is accurate.
- Let the bars cool completely before cutting! This helps them firm up nicely and makes clean slices.
With these tips, you’ll enjoy perfectly baked cherry pie bars every time! Happy baking!
Easy Cherry Pie Bars
Ingredients:
- 2 1/4 cups all-purpose flour
- 1 cup (2 sticks) unsalted butter, softened
- 1 cup granulated sugar
- 1/2 teaspoon salt
- 1 large egg
- 1 teaspoon vanilla extract
- 1 (21 oz) can cherry pie filling
- 1 cup powdered sugar (for glaze)
- 2 tablespoons milk (for glaze)
- 1/2 teaspoon vanilla extract (for glaze)
How Much Time Will You Need?
This recipe takes about 15 minutes of preparation and approximately 40-45 minutes for baking. Allow an additional time for cooling, so plan to have around 1.5 hours to enjoy your cherry pie bars from start to finish!
Step-by-Step Instructions:
1. Preheat the Oven:
Start by preheating your oven to 350°F (175°C). This will ensure your bars bake evenly. Grease or line a 9×13 inch baking pan with parchment paper, leaving some overhang to easily lift them out later.
2. Cream the Butter and Sugar:
In a large mixing bowl, use an electric mixer to cream together the softened butter and granulated sugar. Mix until it’s light and fluffy—this may take about 2-3 minutes.
3. Add Egg and Vanilla:
Next, beat in the egg and vanilla extract until everything is well combined. This adds flavor and richness to your dough!
4. Mix in Flour and Salt:
Gradually add in the flour and salt, mixing until a dough forms. It should come together nicely and not stick too much to your fingers.
5. Form the Crust:
Take about two-thirds of your dough and press it evenly into the bottom of your prepared baking pan. This will be your crust, so make sure it’s nice and smooth!
6. Add the Cherry Filling:
Spread the cherry pie filling evenly over the crust. This will add that delightful fruity flavor and sweetness!
7. Add the Top Layer:
Break the remaining dough into small pieces. Scatter these pieces evenly over the cherry filling to create a rustic top layer. It doesn’t have to be perfect—let a little filling peek through!
8. Bake the Bars:
Place the pan into the preheated oven and bake for 40-45 minutes, or until the top is golden brown and looks set. Keep an eye on them in the last few minutes!
9. Prepare the Glaze:
While the bars are cooling, whisk together the powdered sugar, milk, and vanilla extract in a small bowl until smooth. This glaze will be the perfect finishing touch!
10. Drizzle the Glaze:
Once the bars have cooled for a bit, drizzle the glaze over the top while they are still slightly warm. Allow it to soak in for added flavor!
11. Cut and Serve:
Let the bars cool completely before slicing them into squares. Serve and enjoy your delicious cherry pie bars with friends or family!
Enjoy your delicious, easy cherry pie bars with a crisp buttery crust, juicy cherry filling, and a sweet glaze!
FAQ for Easy Cherry Pie Bars
Can I Use Fresh Cherries Instead of Canned Filling?
Absolutely! If using fresh cherries, pit and slice them, then combine them with about 1/4 cup sugar and 1 tablespoon cornstarch to thicken. This will create a delicious fresh cherry filling for your bars!
Can I Make These Bars Gluten-Free?
Yes! Simply substitute the all-purpose flour with a 1:1 gluten-free flour blend. This works well and will keep the texture nice and chewy!
How Do I Store Leftover Cherry Pie Bars?
Store any leftovers in an airtight container at room temperature for up to 3 days. If you want to keep them longer, you can refrigerate them for up to a week or freeze them for up to 3 months!
What Should I Serve with Cherry Pie Bars?
These bars are delicious on their own, but for a treat, serve them with a scoop of vanilla ice cream or a dollop of whipped cream on top!