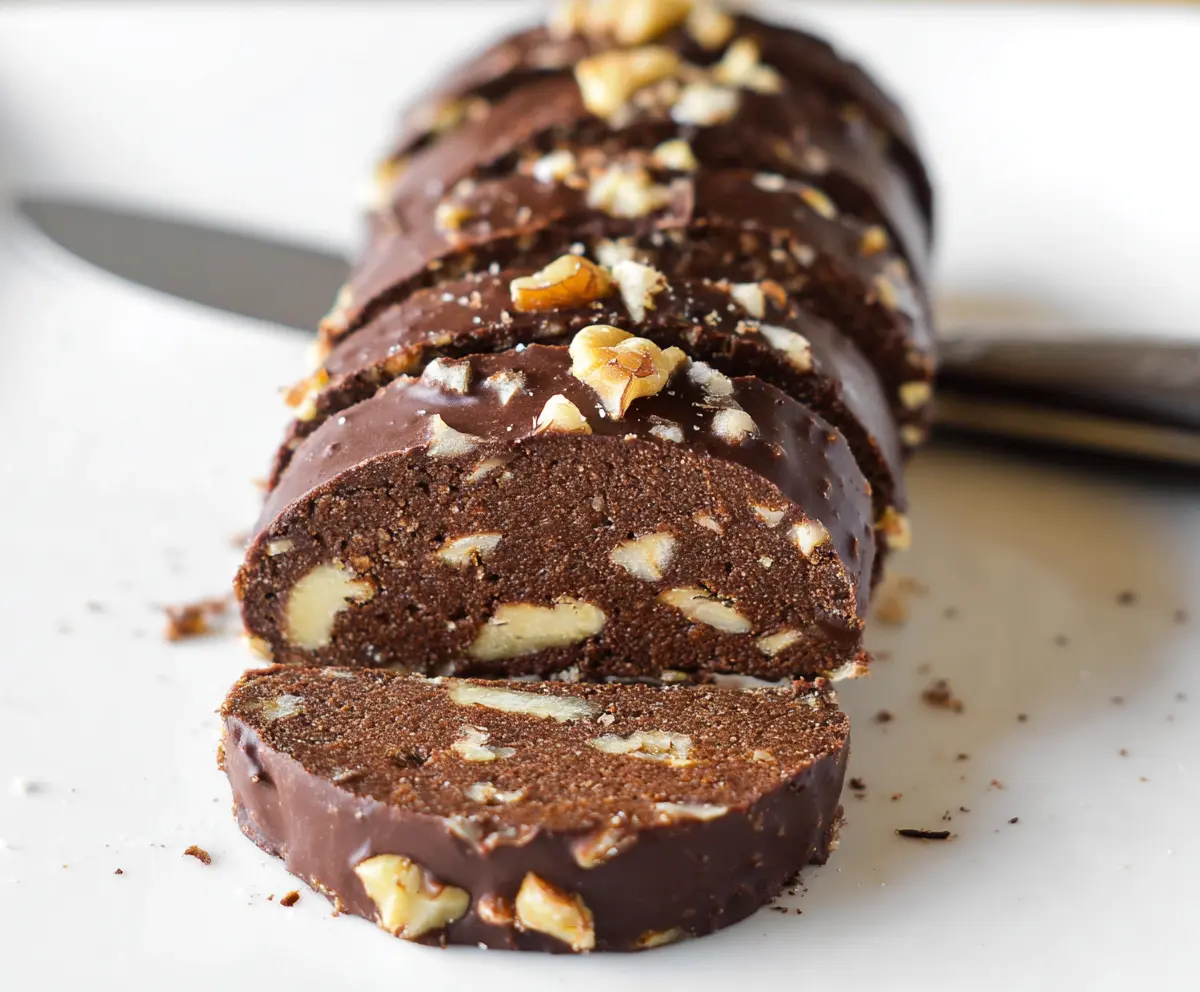
These chocolate walnut shortbread cookies are buttery, crunchy, and have a delightful mix of rich chocolate and crunchy walnuts. Perfect for sweet treats anytime!
Making these cookies is such a joy! I love the smell of butter and chocolate filling my kitchen. Plus, they’re perfect with a cup of tea or coffee. What’s not to love? ☕🍪
Key Ingredients & Substitutions
Unsalted Butter: This is crucial for a rich flavor. You can use salted butter, but reduce the added salt to 1/4 teaspoon for balance.
Granulated Sugar: Regular sugar works best, but brown sugar can add a different flavor. Just be aware that it’ll change the texture slightly.
Cocoa Powder: For a richer taste, opt for Dutch-processed cocoa. If you’re out, substitute with carob powder for a unique flavor, though the color will change.
Walnuts: Chopped walnuts add great crunch and flavor. Almonds or pecans can be a good substitute if you want something different, or leave them out for nut-free cookies.
Dark Chocolate: Use any dark chocolate bar for the coating; just go for at least 60% cocoa for a good balance of sweetness and bitterness. Milk chocolate can also work if you prefer it sweeter.
How Do You Get the Right Texture When Creaming Butter and Sugar?
Creaming butter and sugar together properly is key for these cookies. It’s all about the right technique to get that light and fluffy texture.
- Start with room temperature, softened butter; this makes it easy to cream.
- Use a hand mixer or stand mixer on medium speed for about 3-5 minutes until the mixture looks pale and fluffy.
- Don’t rush! The air you incorporate will help the cookies rise and have a nice crunch.
How Can You Shape the Dough for Perfectly Sliced Cookies?
Shaping the dough into a log is important for even cooking and nice rounds.
- Form a tight log with your hands. Aim for about 2 inches in diameter.
- Wrap the log in plastic wrap and chill it well; this makes slicing easier.
- Use a sharp knife to cut even slices. Try to keep them about 1/4 to 1/2 inch thick so they bake evenly.
These tips will help you whip up the best chocolate walnut shortbread cookies ever! Enjoy the process and, of course, the delicious results!
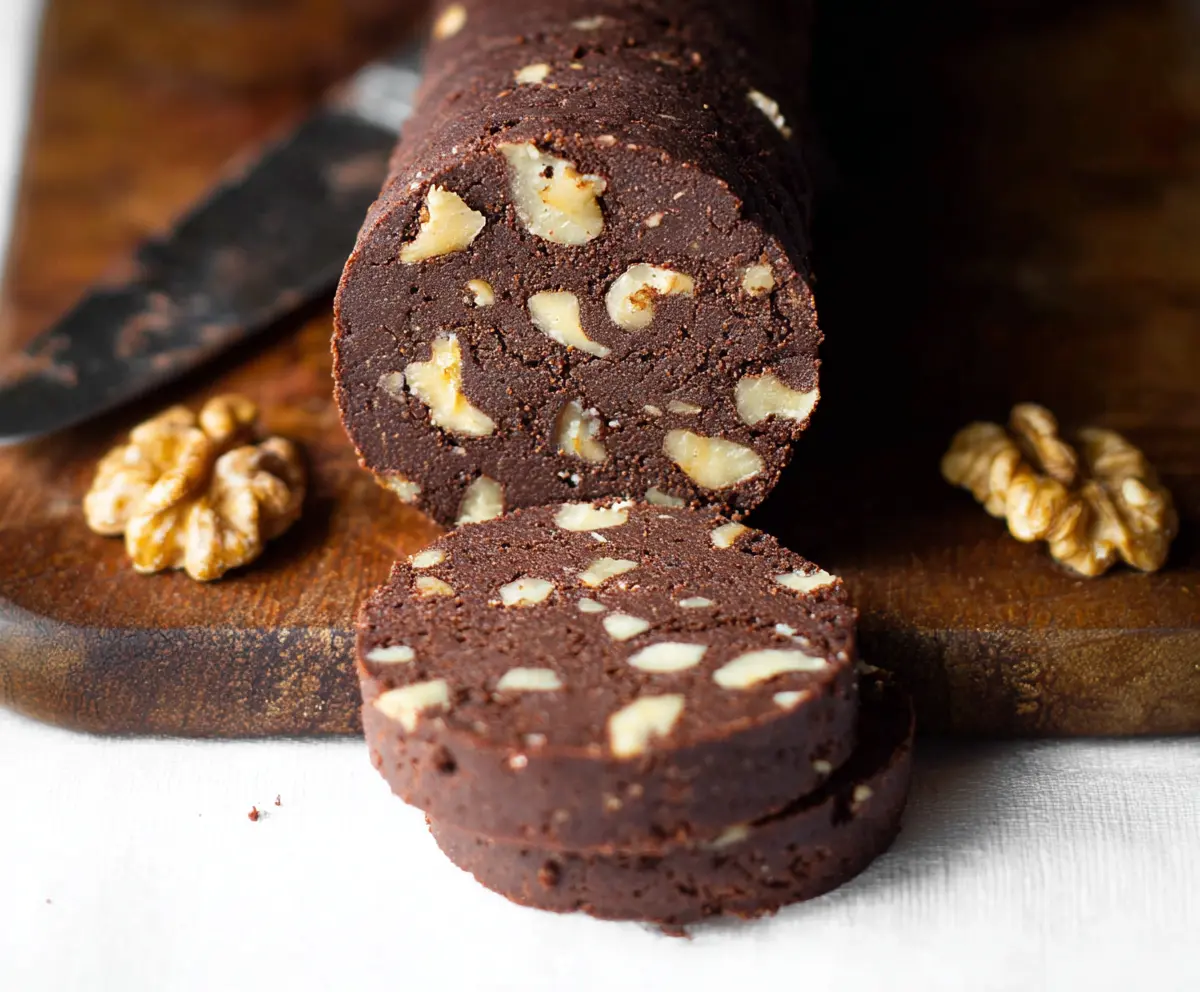
Chocolate Walnut Shortbread Cookies
Ingredients You’ll Need:
For the Cookies:
- 1 cup (225g) unsalted butter, softened
- 3/4 cup (150g) granulated sugar
- 1/2 teaspoon salt
- 1 teaspoon vanilla extract
- 2 cups (250g) all-purpose flour
- 1/3 cup (35g) unsweetened cocoa powder
- 1 cup (100g) chopped walnuts
For the Coating:
- 4 oz (115g) dark chocolate, melted
How Much Time Will You Need?
Making these cookies takes about 20 minutes for prep, plus 1 hour for chilling the dough. Then, you’ll need another 15-18 minutes for baking. Total time is around 1 hour and 40 minutes, but most of that is waiting for the dough to chill, so you can multitask and get other things done!
Step-by-Step Instructions:
1. Creaming the Butter and Sugar:
In a large bowl, using a hand mixer or a stand mixer, cream the softened butter and granulated sugar together until the mixture is light and fluffy. This should take about 3-5 minutes.
2. Adding the Flavor:
Add the salt and vanilla extract to the butter-sugar mixture and mix until fully combined. This will bring extra flavor to your cookies!
3. Mixing Dry Ingredients:
In a separate bowl, sift together the all-purpose flour and cocoa powder. Gradually add this dry mixture to the wet mixture, mixing just until everything is combined.
4. Incorporating Walnuts:
Stir in the chopped walnuts evenly throughout the dough. This adds that lovely crunch to your cookies!
5. Shaping the Dough:
Shape your dough into a log about 2 inches in diameter. Wrap it tightly in plastic wrap and refrigerate for at least 1 hour or until it’s firm. This makes it easier to slice the cookies.
6. Preparing to Bake:
Preheat your oven to 325°F (160°C) and line a baking sheet with parchment paper so your cookies won’t stick.
7. Slicing the Dough:
After chilling, remove the dough log from the refrigerator, unwrap it, and slice it into rounds about 1/4 to 1/2 inch thick. Place the slices on the prepared baking sheet, leaving a little space between each cookie.
8. Baking the Cookies:
Bake your cookies in the preheated oven for about 15-18 minutes until they are set but not overly browned. Once done, remove them and let them cool completely on a wire rack.
9. Coating with Chocolate:
When the cookies are completely cool, dip or brush each cookie with the melted dark chocolate, coating the edges and sides. If you’d like, press some extra walnut pieces into the chocolate before it sets for a nice touch.
10. Setting the Chocolate:
Place the coated cookies back on parchment paper and allow the chocolate to set completely at room temperature or in the refrigerator before serving. This will give you that irresistible chocolate coating!
Enjoy your delicious, rich chocolate walnut shortbread cookies! They’re perfect for sharing or just keeping all to yourself! 🍪👩🍳
Can I Use Margarine Instead of Butter?
Yes, you can use margarine as a substitute for butter, but keep in mind it may alter the flavor slightly. Choose a stick margarine for best results, and aim for one that mimics the texture of butter.
How Can I Store Leftover Cookies?
Store your leftover cookies in an airtight container at room temperature for up to 5 days. For longer storage, you can freeze them in the same container for up to 3 months. Just thaw them at room temperature before enjoying!
What Should I Do If My Dough Is Too Sticky?
If your dough feels too sticky after mixing, you can add a bit more flour, a tablespoon at a time, until it’s manageable. Just be cautious not to add too much to avoid altering the texture!
Can I Add Other Nuts or Ingredients?
Absolutely! Feel free to substitute walnuts with pecans, almonds, or even chocolate chips if you want to mix things up. Just adjust the quantities to your taste, keeping the overall balance in mind.