
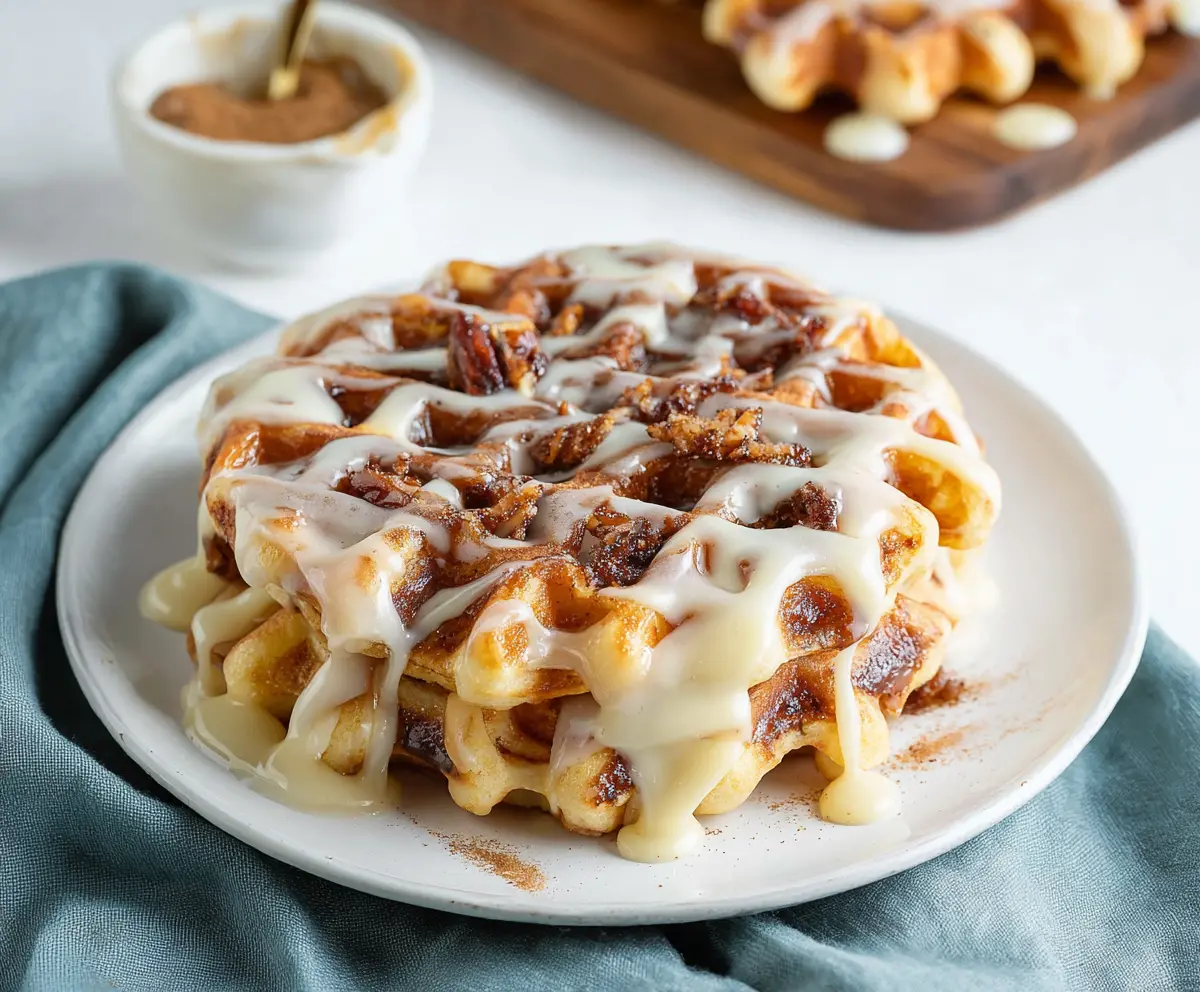
These Cinnamon Roll Waffles are a fun twist on the classic breakfast treat! Soft, fluffy, and filled with sweet cinnamon goodness, they’re like a hug on a plate.
Making them is super easy—just whip up the cinnamon roll dough, pour it into a waffle maker, and you’re set! Top with icing, and you’ll feel like a breakfast champion! 🥳
Ingredients & Substitutions
Cinnamon Roll Dough: A refrigerated cinnamon roll dough is super convenient and already comes with icing. If you’re looking for a homemade option, you can make your own dough using flour, sugar, eggs, butter, milk, and cinnamon.
Butter/Non-Stick Spray: You can use either butter or a non-stick cooking spray for greasing the waffle iron. For a dairy-free option, use vegetable oil or coconut oil instead. You could even try vegan butter if you’d like to keep it plant-based!
How Do I Ensure My Waffles Don’t Stick to the Iron?
To prevent sticking, it’s crucial to grease the waffle iron properly. Even if your waffle iron is non-stick, a little butter or non-stick spray will really help. Here’s how:
- Heat your waffle iron before adding the cinnamon roll dough.
- Use a generous amount of grease, spreading it evenly on both the top and bottom plates.
- Check the waffles a minute or two before the timer goes off, as some irons heat differently.
If you follow these steps, you’ll have perfectly crispy and fluffy cinnamon roll waffles every time! Enjoy this special treat anytime for breakfast or brunch.
Cinnamon Roll Waffles
Ingredients You’ll Need:
- 1 can (12.4 oz) refrigerated cinnamon roll dough (with icing)
- Butter or non-stick spray (for waffle iron)
How Much Time Will You Need?
This delicious treat takes about 10 minutes to prepare and cook. Perfect for a quick breakfast or a fun brunch option!
Step-by-Step Instructions:
1. Preheat the Waffle Iron:
Begin by preheating your waffle iron according to the manufacturer’s instructions. This ensures that your waffles come out perfectly cooked and golden brown.
2. Prepare the Cinnamon Roll Dough:
Open the can of cinnamon roll dough and carefully separate the rolls. If you’d like, you can stretch each roll slightly to help it fill the waffle iron better.
3. Grease the Waffle Iron:
To ensure that your waffles don’t stick, lightly grease the waffle iron with butter or non-stick spray. Make sure to cover both the top and bottom plates.
4. Cook the Cinnamon Rolls:
Place one cinnamon roll in the center of the waffle iron. Close the lid and let it cook for about 3-5 minutes. Keep an eye on it, as cooking times can vary depending on your waffle iron.
5. Enjoy the Waffles:
Once the waffle is golden brown and cooked through, carefully remove it from the iron and place it on a plate. Drizzle the icing that comes with the cinnamon rolls over the top while it’s still warm, so it melts beautifully.
6. Serve and Savor:
Serve your cinnamon roll waffles immediately for the best experience. For an extra treat, consider adding a drizzle of maple syrup or a light dusting of powdered sugar on top. Enjoy!
Can I Use a Different Brand of Cinnamon Roll Dough?
Absolutely! Feel free to use any brand of refrigerated cinnamon roll dough, just make sure it includes icing for that sweet finish. Homemade dough is also an option if you’re feeling adventurous!
How Do I Store Leftover Waffles?
Store any leftover waffles in an airtight container in the fridge for up to 3 days. To reheat, pop them in the toaster or microwave until warmed through. They can also be reheated in the oven for a crispy texture!
Can I Add Toppings to My Waffles?
Definitely! You can top your cinnamon roll waffles with fresh fruit, whipped cream, or even a scoop of ice cream for a decadent dessert. Get creative with your favorite toppings!
What If I Don’t Have a Waffle Iron?
If you don’t have a waffle iron, you can bake the cinnamon rolls in an oven instead! Just follow the package instructions for baking time and temperature, and then drizzle with icing after baking.