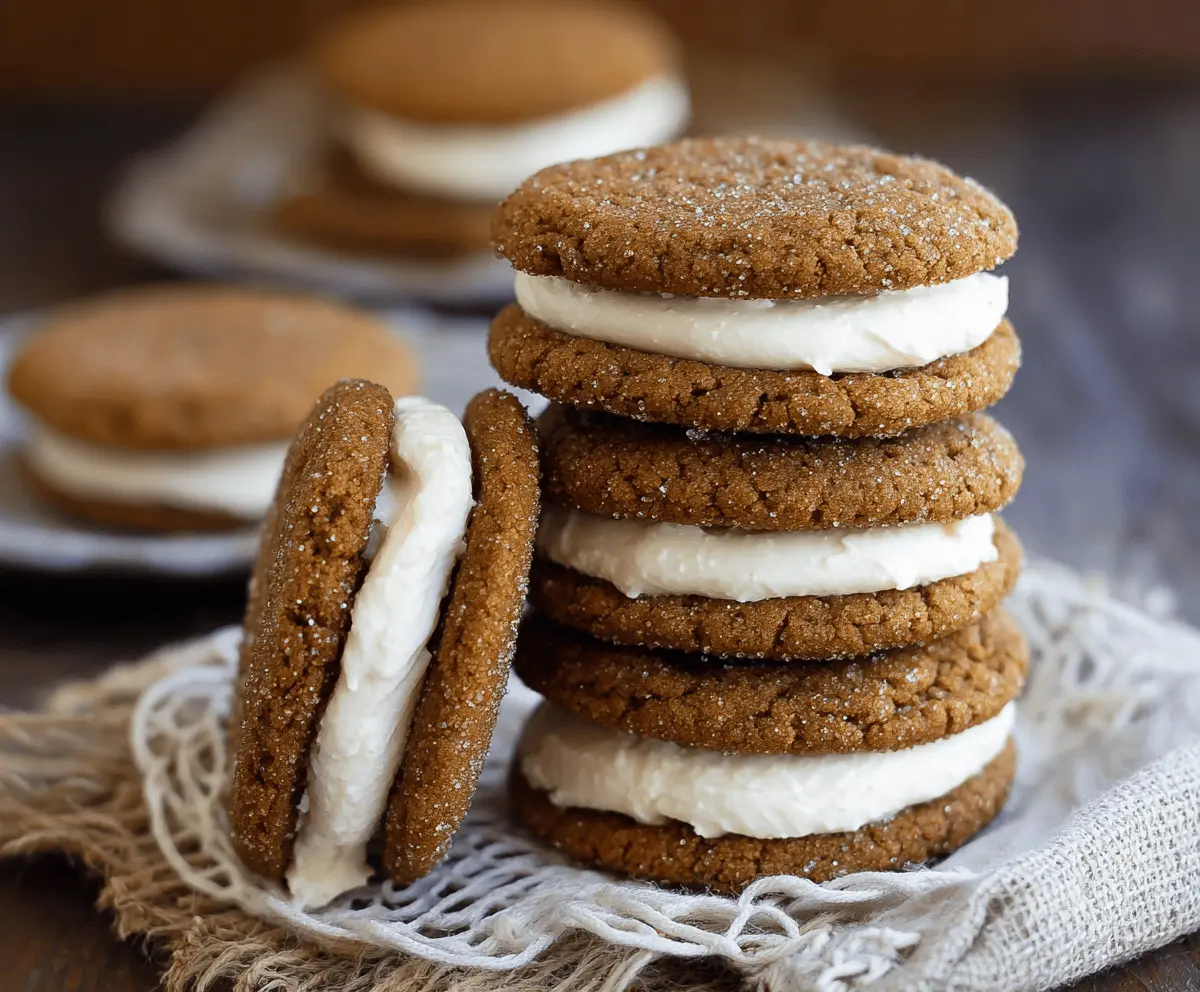
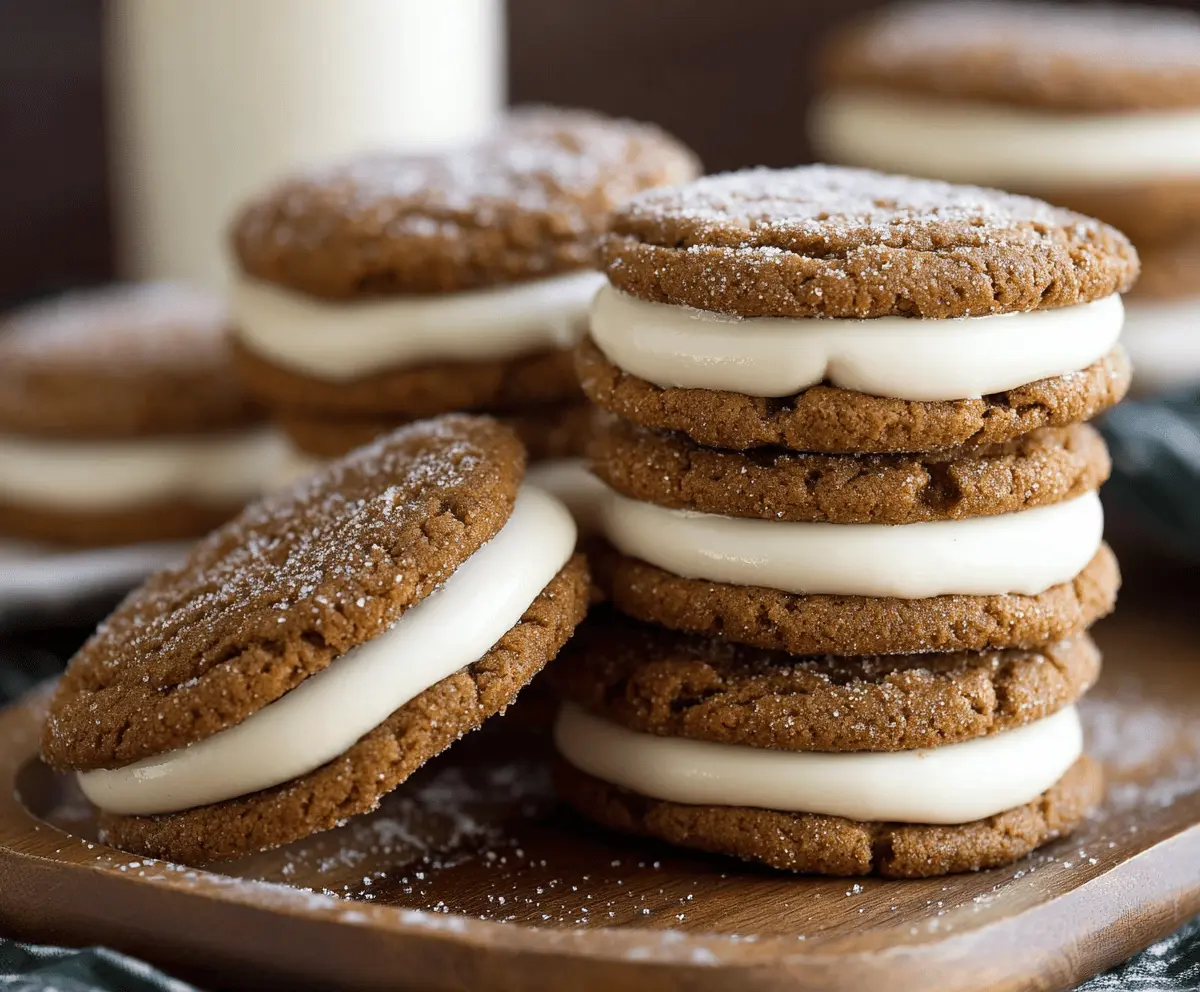
These Molasses Cream Pie Cookies are soft, chewy, and full of warm, spicy flavors. They’re like little bites of happiness that remind you of cozy fall days!
Trust me, the cream filling is the secret star here! I love a good sandwich cookie, and this one pairs perfectly with a glass of milk. Perfect for sharing, or not! 😉
Key Ingredients & Substitutions
All-Purpose Flour: This is the foundation for your cookies. If you need a gluten-free option, consider using a 1:1 gluten-free flour blend that’s designed for baking.
Molasses: Dark molasses adds a deep flavor. If you don’t have it, you can substitute with honey or maple syrup for a softer sweetness, although it will change the taste a bit.
Spices: The mix of ginger, cinnamon, and cloves gives these cookies a warm, festive flavor. If you’re missing one of these spices, don’t worry! A little extra of the others can balance it out nicely.
Cream Filling: If you prefer a lower-sugar option, you can make a filling with Greek yogurt and a touch of honey or powdered sugar. This will give you a tangy, creamy contrast to the cookies!
How Do I Get the Right Cookie Texture?
The texture is key! To get soft and chewy cookies, remember not to overmix once you combine the wet and dry ingredients. Here’s how to ensure perfect cookies:
- Mix the wet ingredients until just combined with the dry ingredients; small lumps are okay.
- Don’t overbake! The cookies should still look soft and slightly puffed when you take them out of the oven.
- Let them cool on the baking sheet for a few minutes—this helps them set up nicely.
Following these steps will leave you with deliciously soft cookies every time!
How to Make Molasses Cream Pie Cookies
Ingredients You’ll Need:
For the Molasses Cookies:
- 2 1/4 cups all-purpose flour
- 2 teaspoons baking soda
- 1/2 teaspoon salt
- 1 tablespoon ground ginger
- 1 tablespoon ground cinnamon
- 1/2 teaspoon ground cloves
- 3/4 cup unsalted butter, softened
- 1 cup packed dark brown sugar
- 1 large egg
- 1/4 cup molasses
- 1/4 cup granulated sugar, for rolling
For the Cream Filling:
- 1/2 cup (1 stick) unsalted butter, softened
- 1 1/2 cups powdered sugar, sifted
- 1 1/2 teaspoons vanilla extract
- 1 tablespoon heavy cream (optional, for spreading consistency)
How Much Time Will You Need?
This recipe takes about 20 minutes to prepare and bake the cookies, plus some extra time to cool and assemble, so plan for about 40 minutes total. If you want the cookies to chill in the fridge after making, add an additional hour for the best flavor and texture.
Step-by-Step Instructions:
1. Preheat Oven and Prepare Pan:
Start by preheating your oven to 350°F (175°C). Line your baking sheets with parchment paper or silicone mats to help prevent the cookies from sticking.
2. Mix Dry Ingredients:
In a medium bowl, whisk together the flour, baking soda, salt, ginger, cinnamon, and cloves until they are well blended. Set the bowl aside while you prepare the wet ingredients.
3. Cream Butter and Sugar:
In a large bowl, use an electric mixer to beat the softened butter and brown sugar together until it’s light and fluffy, which takes about 3 minutes. This step is key to getting a good texture!
4. Add Egg and Molasses:
Add the egg to the butter mixture and beat until it is fully incorporated. Next, mix in the molasses until everything is combined smoothly.
5. Combine Wet and Dry Ingredients:
Gradually add the flour mixture to the wet ingredients, mixing slowly until just combined. Be careful not to overmix; you want your cookies to be soft and chewy!
6. Shape Cookies:
Scoop the dough into 1 1/2 tablespoon sized balls. Roll each dough ball in granulated sugar to coat, then place them on the prepared baking sheets, leaving about 2 inches between each cookie.
7. Bake:
Bake the cookies for 8-10 minutes, or until they are set and the surface has cracked slightly. They will seem soft but will firm up as they cool.
8. Cool:
After baking, remove the cookies from the oven and let them rest on the baking sheets for 5 minutes. Then, transfer the cookies to wire racks to cool completely.
9. Prepare Cream Filling:
While your cookies are cooling, beat the softened butter for the cream filling until it’s creamy and smooth. Gradually add in the powdered sugar, continuing to mix until smooth. Stir in the vanilla extract. If the filling is too thick, you can add the heavy cream a teaspoon at a time until you reach your desired consistency.
10. Assemble Cookies:
Once your cookies are fully cooled, spread a generous layer of cream filling onto the bottom of one cookie and top it with another cookie to create a sandwich. Repeat until all cookies are assembled.
11. Serve and Store:
Enjoy these cookies right away or store them in an airtight container at room temperature for up to 3 days. They can also be refrigerated for longer freshness.
These Molasses Cream Pie Cookies are such a delightful treat with their rich flavor and creamy filling—perfect for those cozy moments or special occasions! Enjoy baking!
Can I Use Light Molasses Instead of Dark Molasses?
Yes, you can use light molasses, but it will result in a slightly milder flavor. Dark molasses has a richer taste, which adds depth to the cookies.
What Should I Do If My Cookie Dough Is Too Sticky?
If your dough is too sticky to handle, refrigerate it for about 30 minutes. This will help firm it up, making it easier to scoop and roll in sugar.
How Do I Store These Cookies to Keep Them Fresh?
Store the assembled cookies in an airtight container at room temperature for up to 3 days. If you want to keep them longer, consider Refrigerating them, which can extend their freshness for about a week.
Can I Freeze the Cookies?
Absolutely! You can freeze the cookies either assembled or just the baked cookies without the filling. Place them in a freezer-safe container for up to 3 months. To eat, simply thaw in the fridge or at room temperature, and add the filling just before serving if they were frozen without it.