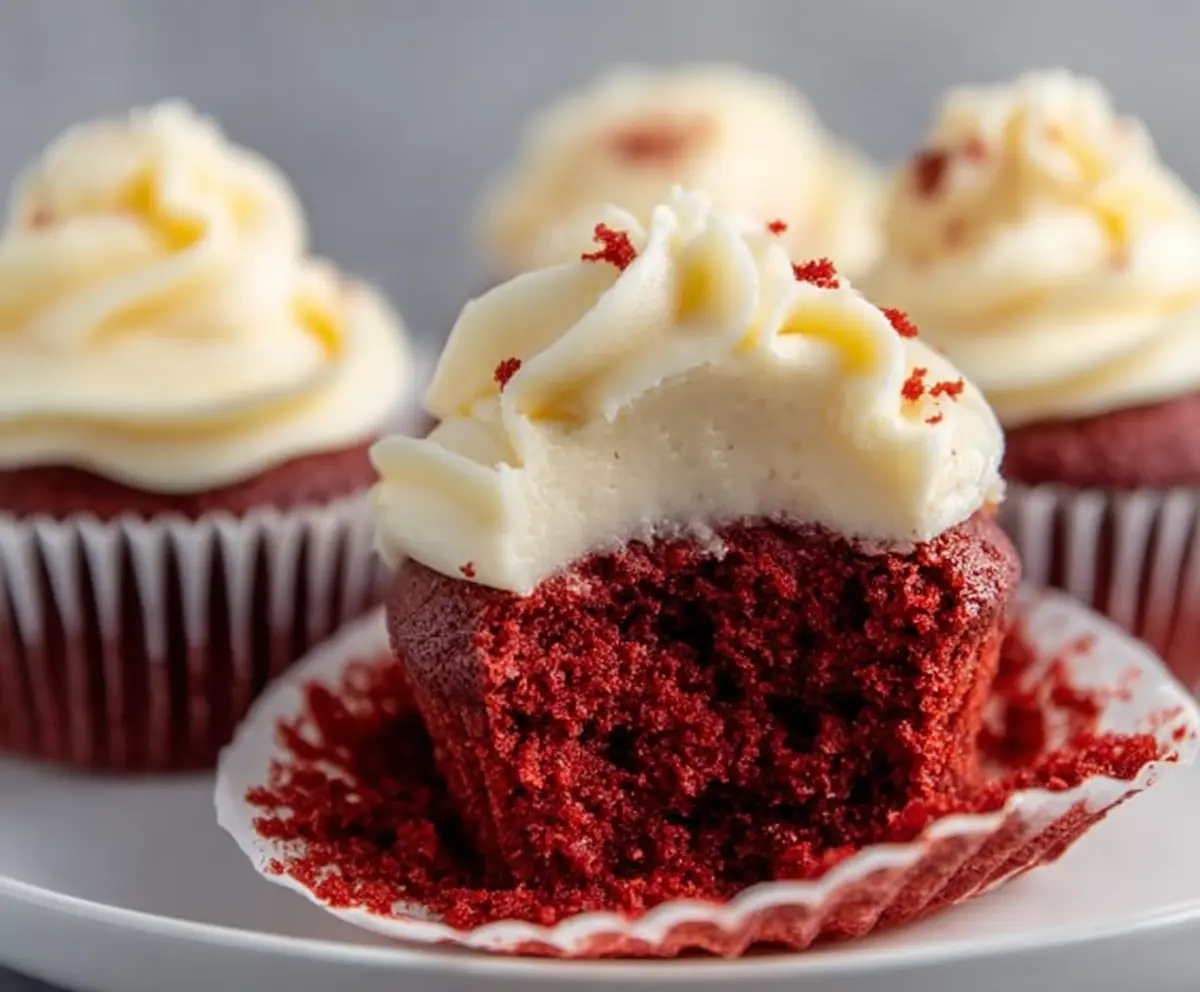
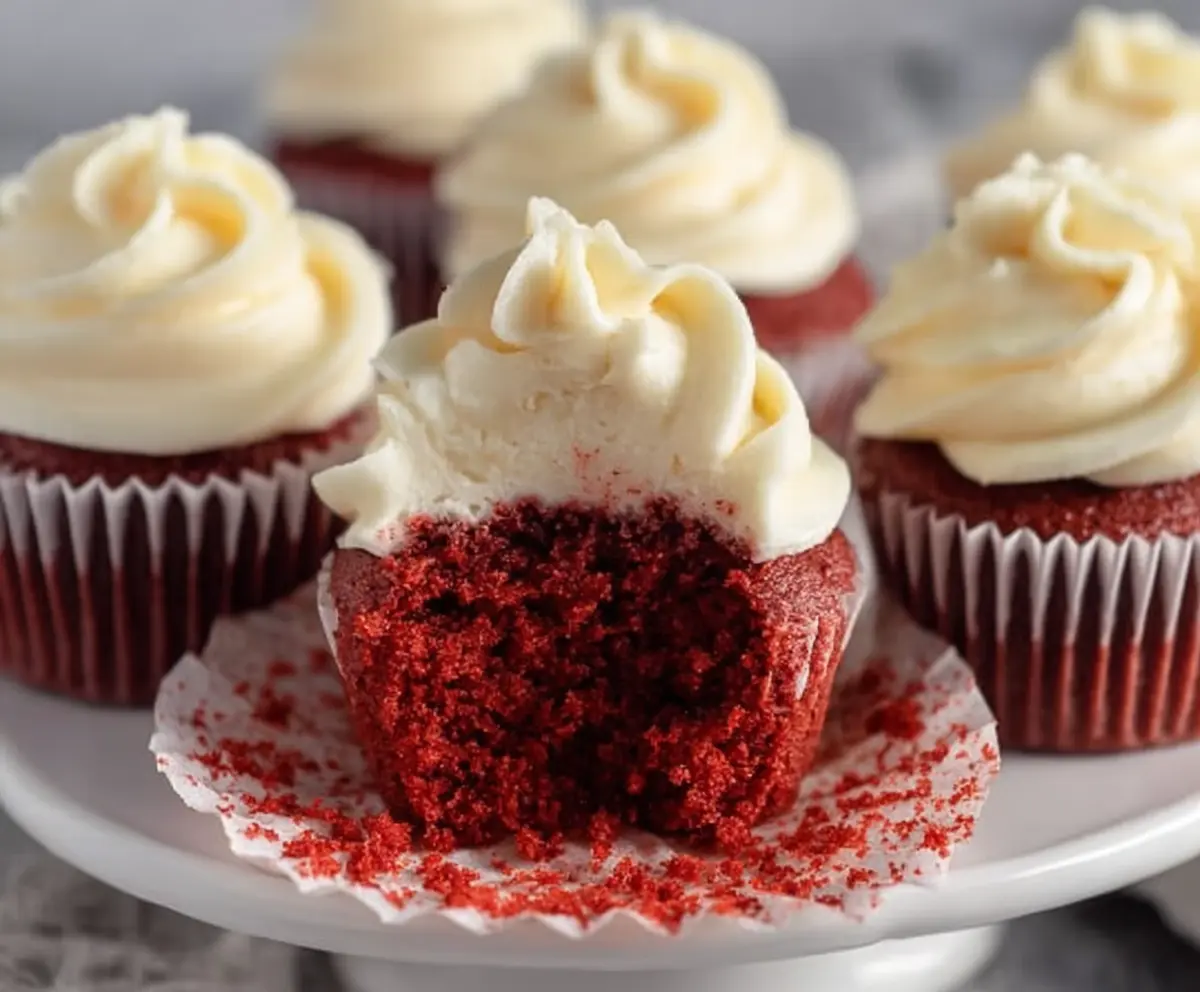
These cute little red velvet cupcakes are perfect when you want a sweet treat without making a big mess! They’re soft, fluffy, and topped with a creamy frosting that just melts in your mouth.
Making a small batch means I can enjoy these delightful bites without overdoing it. Plus, I get to lick the mixing bowl without anyone judging me! Who doesn’t love that? 😄
Key Ingredients & Substitutions
All-purpose flour: This is the base of your cupcakes. If you’re looking for a gluten-free option, you could try a 1:1 gluten-free baking flour. It works well in most baking recipes.
Cocoa powder: Unsweetened cocoa powder gives these cupcakes their classic flavor. If you want a milder taste, you can substitute Dutch-processed cocoa, which is less acidic.
Buttermilk: It adds moisture and tang. If you don’t have buttermilk, simply mix 1/4 cup milk with 1/2 tablespoon of vinegar or lemon juice and let it sit for 5 minutes. It works like a charm!
Red food coloring: This gives the cupcakes their iconic color. If you’re looking for a natural alternative, beet juice can be used for a more subtle hue, although it might alter the flavor slightly.
How Do I Ensure My Cupcakes Rise Perfectly?
Getting the perfect rise on your red velvet cupcakes is key for that fluffy texture. Start by making sure all your ingredients are at room temperature, especially the butter and eggs. This helps them combine more easily.
- Preheat your oven fully before placing your cupcakes inside.
- Don’t overmix the batter! Only mix until just combined to keep your cupcakes light.
- Filling the cupcake liners about 2/3 full allows room for rising without overflowing.
- Check for doneness using a toothpick – it should come out clean or with a few crumbs.
With these tips, you’ll have perfectly risen and delicious red velvet cupcakes every time! Enjoy baking! 🎉
Small Batch Red Velvet Cupcakes
Ingredients You’ll Need:
- For the Cupcakes:
- 1/2 cup all-purpose flour
- 2 tablespoons unsweetened cocoa powder
- 1/4 teaspoon baking soda
- 1/8 teaspoon salt
- 1/4 cup unsalted butter, softened
- 1/2 cup granulated sugar
- 1 large egg
- 1/4 cup buttermilk
- 1 teaspoon vanilla extract
- 1 tablespoon red food coloring
- 1/2 teaspoon white vinegar
- For the Frosting:
- 4 ounces cream cheese, softened
- 2 tablespoons unsalted butter, softened
- 1 cup powdered sugar
- 1/2 teaspoon vanilla extract
How Much Time Will You Need?
This delightful recipe takes about 15 minutes to prepare, and then approximately 20 minutes to bake. Allow a bit more time for the cupcakes to cool, especially before frosting them. In total, you’ll need about an hour to enjoy your freshly baked treats!
Step-by-Step Instructions:
1. Preheat and Prepare:
First things first! Preheat your oven to 350°F (175°C). While that’s heating up, line a muffin tin with 6 cupcake liners—it’ll save you some cleanup later!
2. Mix Dry Ingredients:
In a medium bowl, sift together the flour, cocoa powder, baking soda, and salt. Sifting helps to prevent lumps and ensures an even mix—no one likes a lumpy cupcake!
3. Cream Butter and Sugar:
In a separate large bowl, beat the softened butter and granulated sugar together until the mixture is nice and fluffy. You can use an electric mixer or a whisk; just make sure it’s combined well!
4. Add the Egg:
Add the large egg to the butter mixture and mix until everything is combined. This adds moisture and richness to your cupcakes.
5. Mix in Flavorings:
Now, stir in the red food coloring, vanilla extract, and white vinegar. This is what gives your cupcakes that classic red velvet color and delicious flavor!
6. Combine Wet and Dry Ingredients:
Alternately add the dry ingredient mixture and buttermilk to the wet ingredients. Start with a little dry, then a bit of buttermilk, and keep alternating. Your goal is to mix until just combined—don’t overmix!
7. Fill the Liners:
Divide the batter evenly among the cupcake liners, filling each about 2/3 full. This gives them room to rise without spilling over.
8. Bake:
Pop those cupcakes in the preheated oven and bake for 18-20 minutes. A toothpick inserted into the center should come out clean when they’re done!
9. Cool Down:
Let the cupcakes cool in the pan for about 5 minutes, then carefully transfer them to a wire rack to cool completely before frosting.
10. Make the Frosting:
While your cupcakes are cooling, let’s whip up the frosting. Beat together the softened cream cheese and butter until smooth. Gradually add the powdered sugar and vanilla extract until everything is creamy and spreadable.
11. Frost the Cupcakes:
Once your cupcakes are completely cool, pipe or spread the cream cheese frosting on top. You’re going to love this part!
12. Optional Decoration:
If you want, sprinkle a few red velvet crumbs over the frosting for a pretty decoration. It looks great and adds a little extra flavor!
13. Serve and Enjoy:
Now, it’s time to enjoy your small batch of moist, rich red velvet cupcakes! They’re perfect for sharing or for indulging all by yourself—no judgment here!
Can I Substitute the Buttermilk?
Absolutely! If you don’t have buttermilk on hand, you can make a quick substitute by mixing 1/4 cup milk with 1/2 tablespoon of vinegar or lemon juice. Let it sit for 5 minutes, and it’s ready to use!
Can I Make These Cupcakes Ahead of Time?
Yes, you can! You can bake the cupcakes a day in advance and store them in an airtight container at room temperature. Just make sure they’re completely cool before storing to prevent moisture buildup.
How Should I Store Leftover Cupcakes?
Store any leftovers in an airtight container in the fridge for up to 3 days. To enjoy them later, you can eat them chilled or let them come to room temperature for a softer texture.
What Can I Use Instead of Red Food Coloring?
If you’d prefer a natural alternative, try using beet juice for a hint of red color. Keep in mind it might slightly change the flavor, but it’s a great way to avoid artificial additives!