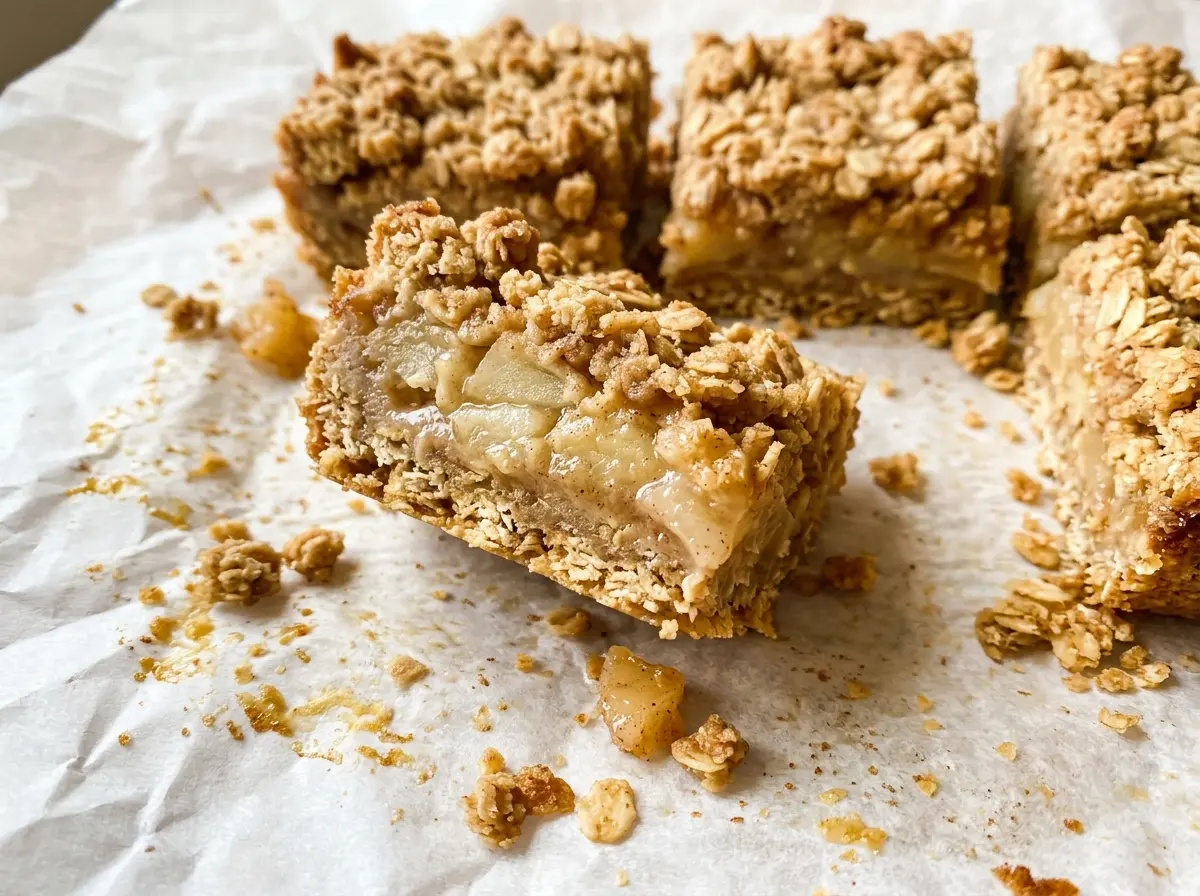
The first cut is always the moment I notice whether the apple slices were even: a thin piece turns tender quickly, while a thick one can still have a little bite. I keep them close to 1/4 inch for these Apple Crisp Bars, so the filling softens while the oat topping turns golden. The bars have a sturdy, buttery base, a generous layer of cinnamon apples, and a crumbly top that stays distinct instead of sinking into the fruit.
The crust gets a short bake on its own before the apples go on. That gives the bottom time to set, and the warm crust is ready to catch the filling without starting the second bake with a soft, raw layer underneath. I use firm apples, then let the finished pan cool and chill before cutting; those patient hours are what turn a bubbling apple crisp into bars with clear edges.
Kitchen Note
I let the pan cool completely, then give it the full hour in the refrigerator before lifting out the bars. The filling and crust are soft while warm, but they firm up as they chill, which makes the slices much easier to handle.
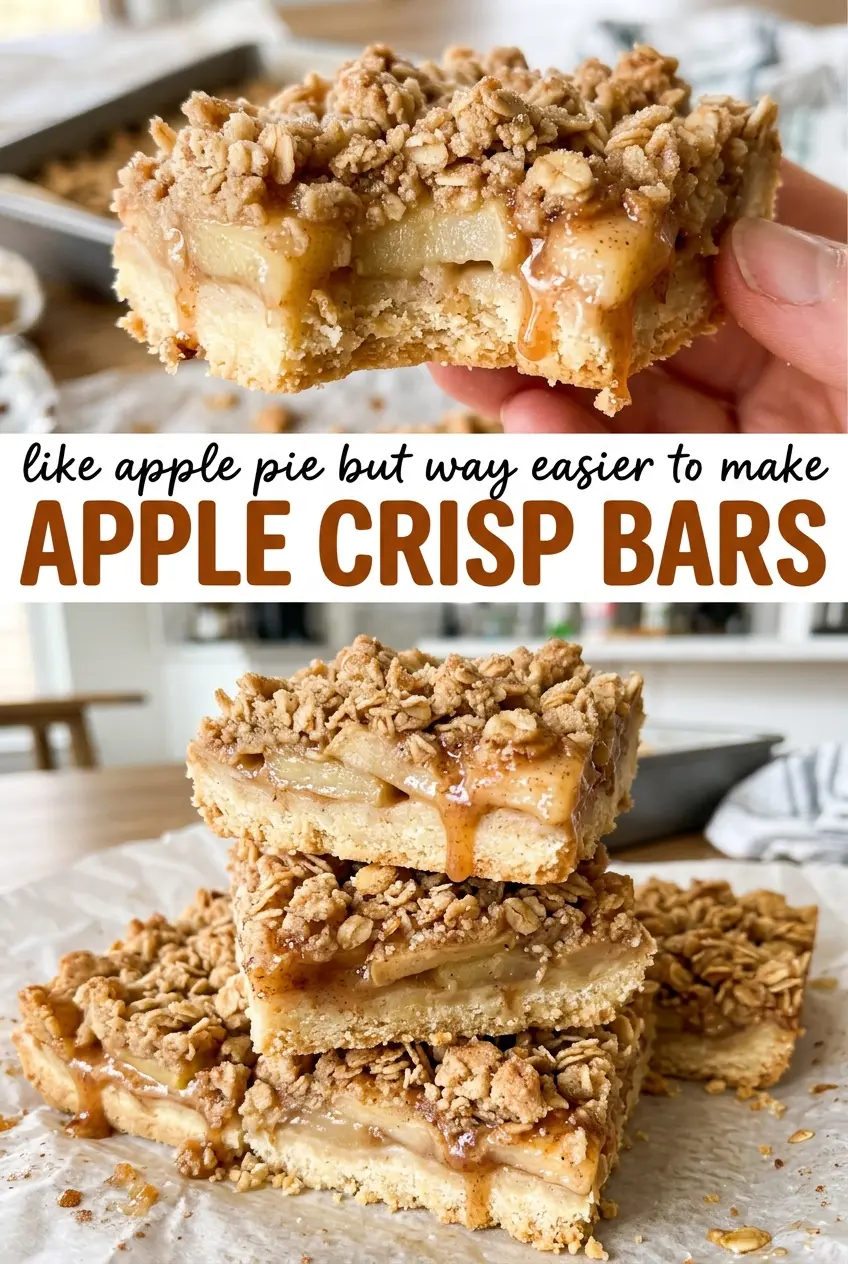
Save these Apple Crisp Bars for a bake with tender cinnamon apples, a firm buttery crust, and a golden oat crumble.
Why the Crust Needs Its Own Turn in the Oven
Apple filling releases moisture as it bakes. If it goes straight onto an unbaked flour-and-butter crust, the bottom has to cook at the same time it absorbs that moisture. Giving the crust its own 18 to 22 minutes first lets it set and begin to turn lightly golden at the edges before the fruit covers it.
That first bake also gives you a useful visual checkpoint: the base should look set, not wet or pale in the middle, before you add the apples. It doesn’t need to be deeply browned, because it will return to the oven for another 50 to 60 minutes. Spread the apples evenly over the warm crust so the filling reaches the corners without leaving a thick mound in the center. This balance is what lets the bottom stay firm while the apples become tender and the oat topping browns.
How the Apples, Butter, and Oats Shape Each Layer
- Firm apples — Firm fruit holds its shape better through the long bake, so the filling is tender rather than collapsing into applesauce. Granny Smith brings a tart edge, while Honeycrisp is sweeter; either works, and combining them gives you both qualities. Peel, core, and slice them evenly for a consistent filling.
- Unsalted butter — Melted butter moistens the flour for the crust and binds the oat topping into clumps. Unsalted butter also lets the measured salt season each layer without guessing how salty the butter is. There isn’t a direct swap in this formula that keeps both textures unchanged.
- All-purpose flour — Flour gives the crust its structure and helps thicken the apple juices; in the topping, it joins the oats and butter to make a crisp, crumbly layer. Keep the portions for the three layers separate as you measure them. A different flour changes the texture, so all-purpose flour is the dependable choice here.
- Old-fashioned rolled oats and brown sugar — The rolled oats give the topping its recognizable coarse bite, while packed light brown sugar helps the buttered crumbs brown and adds a warm molasses note. Quick oats make a finer, less distinct topping, so use old-fashioned rolled oats for the texture this bar needs.
- Lemon juice and cinnamon — Lemon juice adds a little brightness to the sweet apples, while cinnamon warms both the filling and the topping. Fresh, fragrant cinnamon makes a noticeable difference; the lemon juice is already balanced with the sugar and flour, so I wouldn’t leave it out.
Building the Bars in Four Layers
Press a Crumbly Crust
Heat the oven to 350°F and coat a 9×13-inch baking pan with nonstick cooking spray. Stir together 2 cups of flour, 1/2 cup of granulated sugar, and 1/2 teaspoon of fine salt, then mix in 1 cup of melted butter. The mixture should look evenly moistened and crumbly, not like a smooth dough. Press it firmly and evenly across the pan, then bake for 18 to 22 minutes, until set and lightly golden at the edges.
Toss the Apples While the Base Bakes
Peel, core, and slice the firm apples into 1/4-inch pieces. Toss them with the remaining 1/2 cup of granulated sugar, 1/4 cup of flour, the lemon juice, and 1 teaspoon of cinnamon. Turn the slices until the flour and cinnamon coat them evenly; dry pockets of flour won’t thicken the filling as evenly. Spread the apples across the warm crust in an even layer.
Clump the Oat Topping
In a medium bowl, stir together the oats, remaining 1 cup of flour, packed light brown sugar, remaining 1/2 teaspoon of cinnamon, and remaining 1/4 teaspoon of salt. Pour in the remaining 1/2 cup of melted butter and mix until clumps form. If you keep stirring after the butter is worked through, the mixture can become more uniform instead of crumbly. Scatter it over the apples so the fruit is covered from edge to edge.
Bake Until the Apples Yield
Return the pan to the 350°F oven and bake for 50 to 60 minutes. Look for a golden-brown topping, then pierce an apple slice with a knife; it should be tender. If the topping is golden before the apples are tender, the knife test is the more useful cue for whether the center is ready. Cool the pan completely, about 2 hours, then refrigerate for at least 1 hour before lifting out and cutting into 16 bars.
Two Apple Choices That Change the Filling
Go All-In on Granny Smith
Use firm Granny Smith apples for the full three pounds. Their tartness stands out against the sweet brown-sugar topping, making each bite taste brighter without changing the structure or method.
Let Honeycrisp Lead
Choose firm Honeycrisp apples for a sweeter, fruit-forward filling. The bars will have less tart contrast than a Granny Smith batch, but the apple flavor still pairs well with the cinnamon and buttery crumble.
Storage and Reheating
- Refrigerator: Keep the bars covered in the refrigerator for up to 4 days. The oat topping softens somewhat as it sits, while the chilled layers remain easy to cut.
- Freezer: Freeze the fully cooled bars in a sealed container, separated with parchment, for up to 2 months. Thaw them in the refrigerator before serving; the topping may be softer than when freshly baked.
- Reheating: These bars are ready to eat chilled or at room temperature, so reheating isn’t needed. Microwaving can soften the crust and topping, so skip it if you want the layers to hold their texture.
Questions That Come Up Before Baking Apple Crisp Bars
Apple Crisp Bars
Ingredients
Equipment
Method
- Preheat the oven to 350°F.
- Coat a 9x13-inch baking pan with nonstick cooking spray.
- In a large bowl, stir together 2 cups of the flour, 1/2 cup of the granulated sugar, and 1/2 teaspoon of the salt, then stir in 1 cup of the melted butter until the mixture is evenly moistened and crumbly.
- Press the mixture firmly and evenly into the prepared pan.
- Bake for 18 to 22 minutes, until the crust is set and lightly golden at the edges.
- In a large bowl, toss the apple slices with the remaining 1/2 cup granulated sugar, 1/4 cup flour, lemon juice, and 1 teaspoon cinnamon.
- Spread the apple mixture evenly over the warm crust.
- In a medium bowl, stir together the oats, remaining 1 cup flour, brown sugar, remaining 1/2 teaspoon cinnamon, and remaining 1/4 teaspoon salt, then mix in the remaining 1/2 cup melted butter until clumps form.
- Scatter the topping evenly over the apples.
- Bake at 350°F for 50 to 60 minutes, until the topping is golden brown and the apples are tender when pierced with a knife.
- Cool completely in the pan, about 2 hours.
- Refrigerate for at least 1 hour.
- Lift the bars out of the pan.
- Cut into 16 bars.