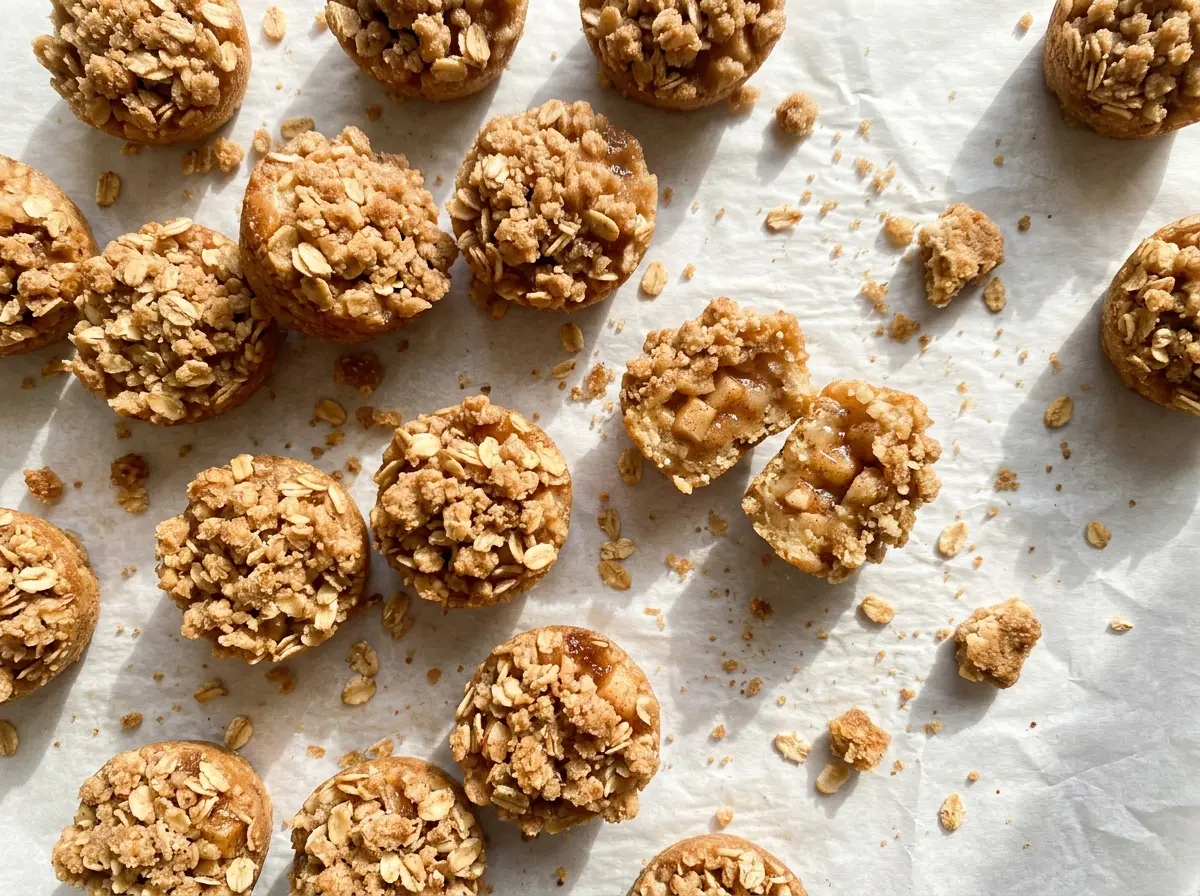
At the 8-minute mark, the oat cups should be lightly golden around the edges, not browned all over. That short first bake gives these Apple Crisp Bites a head start before the apples and crumble go in, and it helps the little shells hold their shape under the filling. A 24-cup mini muffin pan keeps each bite small enough to pick up, with room for a tender apple center.
I like the contrast in every layer: an oat base with a little chew, tart Granny Smith apple, and a buttery crumb topping. The filling is diced small and tossed with cornstarch, so the apple juices thicken as the bites bake instead of pooling in the cups. Let them cool before lifting them from the pan, and you’ll have neat little crisps with golden tops and a soft, cinnamon-scented middle.
Kitchen Note
Coat the sides of each mini muffin well, not just the bottom. The oat mixture climbs partway up the walls, and those baked edges are much easier to loosen when the pan has a generous coating of spray.
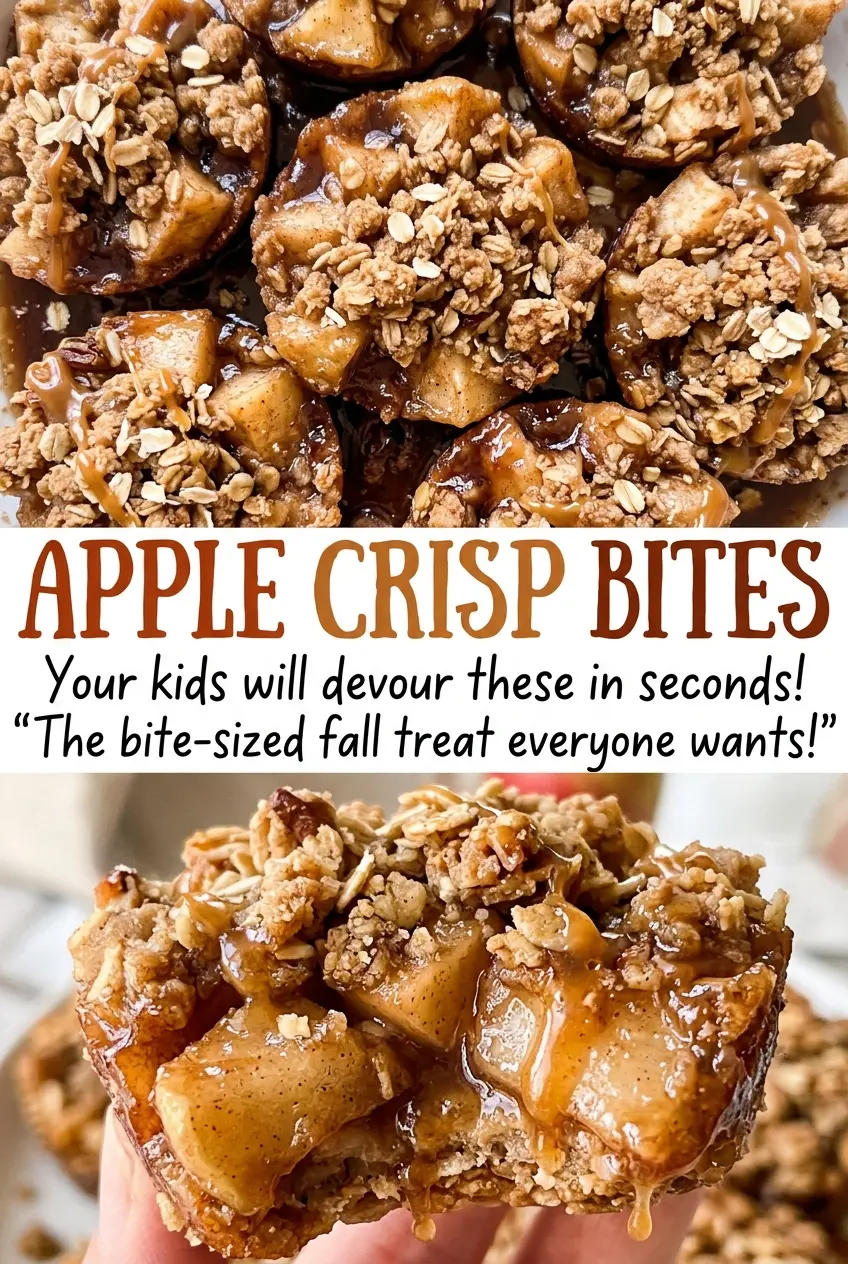
Save these Apple Crisp Bites for a batch of individual apple crisps, with cinnamon apples tucked into buttery oat cups.
Why These Oat Cups Bake Before the Apples Go In
A small apple crisp has a different challenge from a full baking dish: the filling sits directly inside a thin oat shell. The shells need a little time in the oven before they’re filled, so the bottom gets a chance to set rather than soaking up apple juices from the start. That brief bake is not meant to cook the cups all the way through; it gives the base a firmer start while the edges turn lightly golden.
The filling has its own moisture control, too. Granny Smith apples bring tartness and hold their shape, while cornstarch thickens the juices released as the fruit bakes. The diced pieces are small enough to fit comfortably in each cup and become tender during the second bake. Together, the pre-baked shell and lightly thickened filling keep the layers distinct: a sturdy bottom, soft fruit, and a crumb topping that browns on top instead of disappearing into the apples.
Think of the first bake as setting the foundation, not chasing a crisp, dark crust. If the cup edges get too brown before the filling goes in, they’ll have another stretch in the oven and can end up overdone by the time the apples are tender.
What the Oats, Apples, and Butter Each Bring to These Bites
- Granny Smith apple — Its tartness balances the brown sugar, and the firm flesh stays recognizable after baking. Peel it and cut it into even 1/4-inch dice so the pieces fit the cups and soften on a similar schedule.
- Old-fashioned rolled oats — These give the cups and topping their distinct, hearty texture. They hold their shape better than quick oats, which are finer and would make the layers less defined.
- All-purpose flour — Flour helps bind the oat cups and gives the topping enough body to form crumbs. Use a standard all-purpose flour; there’s no need for a specialty brand here.
- Brown sugar — Packed light brown sugar brings a mild molasses note and helps the oat base hold together. Granulated sugar is used in the apple filling instead, where it sweetens the fruit without adding extra moisture.
- Butter — Melted butter moistens the oat-cup mixture evenly, while cold butter in the topping creates separate coarse crumbs. Unsalted butter keeps the seasoning predictable; the quality of an everyday butter works well in both layers.
- Cornstarch and lemon juice — Cornstarch thickens the apple juices, and lemon juice keeps the sweet filling bright. Coat the diced apple thoroughly so the starch is distributed rather than left in dry pockets.
Build the Cups in Stages So Each Layer Keeps Its Texture
Mix and Press the Oat Cups
Heat the oven to 350°F and generously coat a 24-cup mini muffin pan with nonstick cooking spray. Stir the oats, flour, brown sugar, cinnamon, and salt together in a medium bowl, then mix in the melted butter until everything is evenly moistened. Divide the mixture among the wells, using about 1 tablespoon per cup. Press it over the bottom and about 1/2 inch up the sides.
Give the Shells Their First Bake
Bake the empty oat cups for 8 minutes. Look for lightly golden edges; the centers don’t need to look browned. If the mixture has shifted slightly while baking, leave it in place rather than pressing it down while hot. Set the pan aside while you prepare the filling and topping.
Coat the Apples Evenly
Toss the peeled, 1/4-inch-diced Granny Smith apple with the granulated sugar, lemon juice, cornstarch, and cinnamon in a bowl. Keep tossing until the pieces look evenly coated, with no obvious dry patches of cornstarch. The small dice help the fruit nestle into the cups without forcing the oat edges apart.
Make the Crumble While the Butter Is Cold
Combine the topping oats, flour, and brown sugar in a bowl. Rub in the cold butter pieces with your fingertips until coarse crumbs form. Stop when the mixture has a crumbly texture; it shouldn’t become a smooth, uniform paste. Keeping the butter cold helps the topping stay in distinct crumbs as it bakes.
Fill, Bake, and Let the Bites Set
Divide the apple filling among the oat cups, then sprinkle the topping evenly over them. Bake for 18 to 22 minutes, until the topping is golden and an apple piece is tender when pierced with a paring knife. Cool the bites in the pan for 30 minutes before gently loosening the edges with a small offset spatula. Lift them out carefully once the shells have had time to firm up.
Easy Swaps for Different Apples and Dietary Needs
Make the Bites Gluten-Free
Use a cup-for-cup gluten-free flour blend in place of the all-purpose flour in both the oat cups and topping, and choose certified gluten-free oats. The crumb may be a little more delicate, so let the baked bites cool fully before lifting them from the pan.
Use Stick-Style Vegan Butter
For a dairy-free batch, replace the unsalted butter with stick-style vegan butter in the same amounts. Use it melted for the oat cups and cold for the topping, just as you would dairy butter. Avoid soft tub spreads, which contain more water and won’t make the same crumbly topping.
Swap in a Sweeter, Firm Apple
A firm apple such as Honeycrisp can stand in for the Granny Smith in the same amount. The filling will taste sweeter and less tart, while the small dice and cornstarch still help the pieces bake neatly inside the oat cups.
Storage and Reheating
- Refrigerator: Store cooled bites in an airtight container for up to 3 days. The oat topping softens gradually as it sits.
- Freezer: Freeze the cooled bites in a single layer, then transfer them to an airtight container for up to 2 months. Thaw in the refrigerator before serving.
- Reheating: Warm them in a conventional oven until just heated through for a better topping texture. The microwave is quicker but makes the oat crumble softer.
Questions That Come Up When Baking Apple Crisp Bites
Apple Crisp Bites
Ingredients
Equipment
Method
- Heat the oven to 350°F.
- Generously coat a 24-cup mini muffin pan with nonstick cooking spray.
- In a medium bowl, stir together the oats, flour, brown sugar, cinnamon, and salt.
- Mix in the melted butter until evenly moistened.
- Divide the mixture among the muffin cups, about 1 tablespoon per cup.
- Press the mixture firmly over the bottom and about 1/2 inch up the sides.
- Bake for 8 minutes, until the edges are lightly golden.
- In a bowl, toss the diced apple with the granulated sugar, lemon juice, cornstarch, and cinnamon until evenly coated.
- In a bowl, combine the oats, flour, and brown sugar.
- Rub in the cold butter with your fingertips until coarse crumbs form.
- Divide the apple filling among the oat cups.
- Sprinkle the topping evenly over the oat cups.
- Bake for 18 to 22 minutes, until the topping is golden and an apple piece is tender when pierced with a paring knife.
- Cool in the pan for 30 minutes.
- Gently loosen the edges with a small offset spatula and lift out the bites.