The topping is the first thing I watch as this pie bakes: it turns golden while the apple filling starts bubbling up around the edges. That’s when the kitchen smells like cinnamon, and when I start checking whether a knife can slide through the apples. Apple crumble pie gives you a tender fruit filling under a buttery oat topping, all tucked into a flaky refrigerated crust.
I keep the apple slices even and let the oven do the rest. Granny Smith apples make a tarter filling, while Honeycrisp brings a sweeter apple flavor; either works here. The crumble comes together with cold butter rubbed into the dry ingredients, so you get crisp, uneven crumbs rather than a smooth paste. After baking, the hardest part is waiting while the filling sets into slices that hold their shape.
Kitchen Note
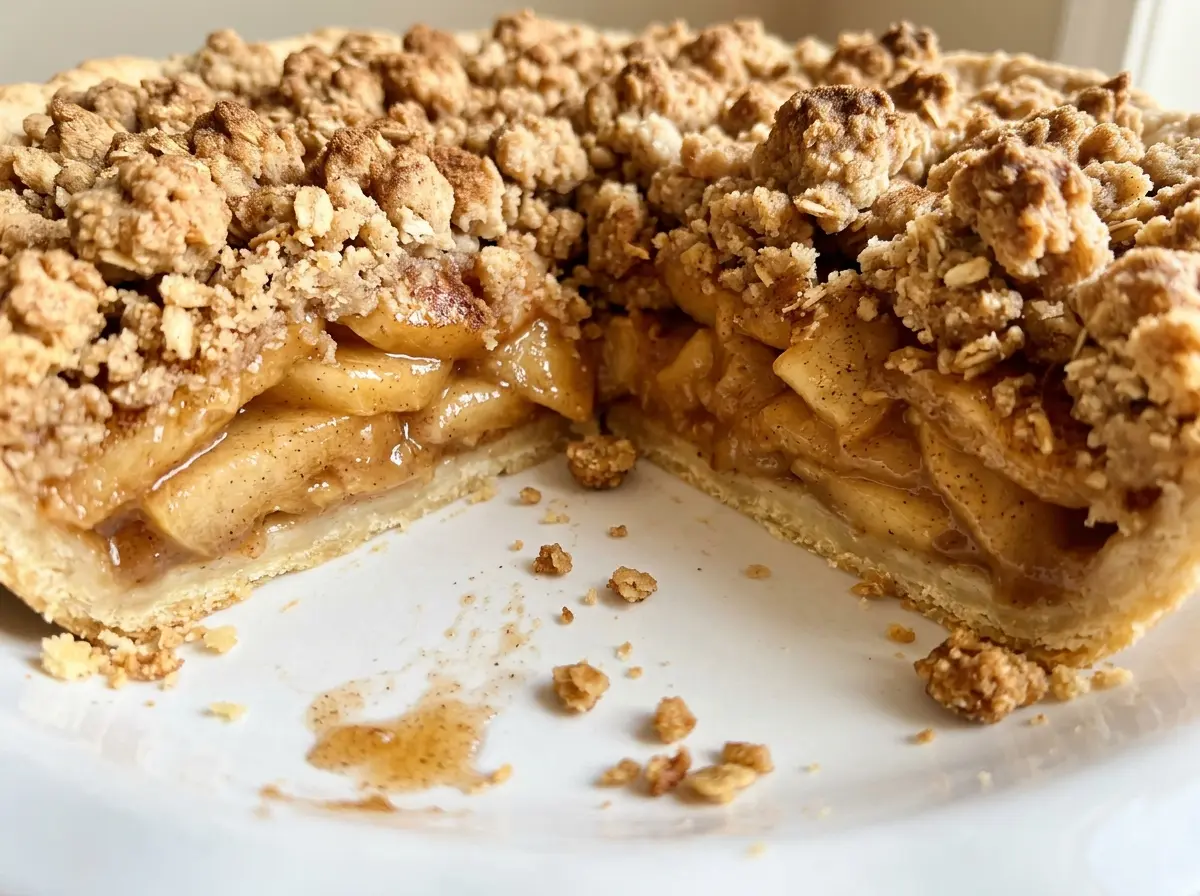
Give the pie the full three hours on a cooling rack before slicing. The filling may look set around the edges sooner, but the center needs that time to firm up so your first slice doesn’t slump.
Save this Apple Crumble Pie for its cinnamon apples and buttery oat topping, with a slice-ready filling after it cools.
Why Every Apple Slice Needs to Be About the Same Thickness
Apples soften at different rates when pieces vary widely in size. Thin slices can turn soft before thicker ones are tender, leaving you with a filling that’s uneven from bite to bite. Slicing them about 1/4 inch thick gives the apples a better chance of baking at the same pace.
That consistency matters even more because the apples go into the pie raw. They need to bake through in the same long stretch that cooks the crust and browns the crumble. If you cut them into varied chunks, the knife test becomes less useful: one piece may be tender while another still feels firm. A little care with the knife at the start makes the finished pie easier to judge and gives each slice a more consistent texture.
Don’t pack the apples into a flat layer, either. Mound the filling in the crust before adding the crumble, as the fruit settles while it bakes. You’ll have a generous apple layer beneath the topping without having to precook the fruit.
What Each Ingredient Brings to the Apple-and-Oat Crumble
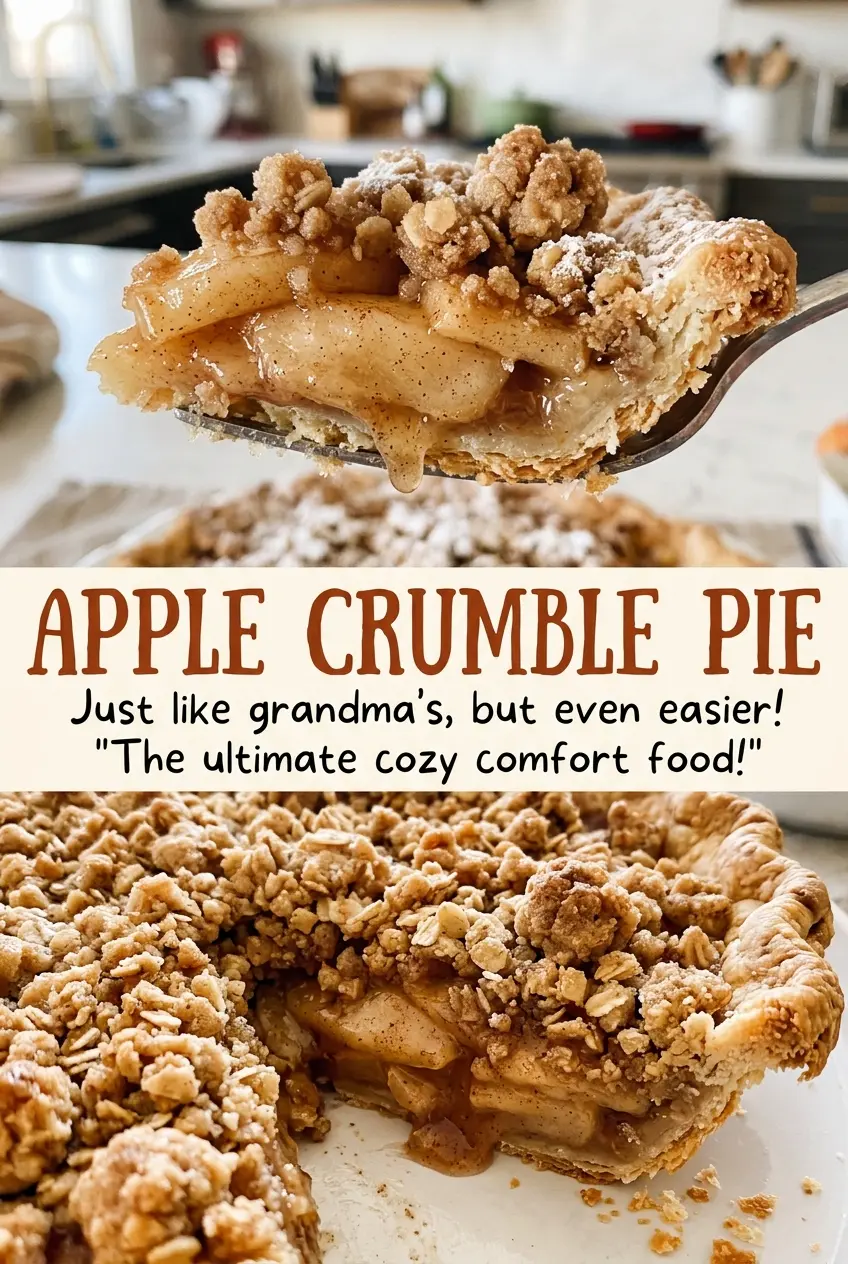
- Baking apples — Granny Smith gives the filling a tart edge, while Honeycrisp makes it sweeter. Choose firm fruit so the slices hold together through baking; both varieties work in this pie.
- All-purpose flour in the filling — The flour helps thicken the juices released by the apples. Toss it thoroughly with the fruit and sugar so you don’t end up with dry pockets in the filling.
- Lemon juice and granulated sugar — Lemon juice brightens the apple mixture, and sugar sweetens it while the fruit bakes. Keep both in the filling; leaving either out changes the balance and the way the juices taste.
- Cinnamon and nutmeg — Cinnamon brings the familiar warm flavor, while nutmeg adds a deeper note behind it. Ground spices are the right choice here because they distribute evenly through the sliced apples.
- Old-fashioned rolled oats and brown sugar — Rolled oats give the topping its distinct, nubbly texture, and packed light brown sugar adds sweetness to the crumbs. Old-fashioned oats are worth using rather than replacing with a finer cereal-like texture.
- Cold unsalted butter — Cold pieces stay distinct as you work them into the topping, helping it form coarse crumbs. Use unsalted butter so the salt level stays controlled.
- Refrigerated pie crust — A 9-inch crust gives the filling a ready-made shell without a separate dough-making stage. Gently press it into the pie plate so it sits against the plate instead of spanning the corners.
Build the Pie in Four Stages, Then Let the Oven Finish It
Set the Crust in the Pie Plate
Heat the oven to 400°F. Unroll the refrigerated crust into a 9-inch pie plate and gently press it into place, especially where the bottom meets the sides. Crimp the edge to give it a finished rim. If the crust stretches as you press it, ease it back into the plate rather than pulling it tight.
Toss the Apples Until Evenly Coated
Peel and core the apples, then slice them about 1/4 inch thick. Toss them in a large bowl with the granulated sugar, all-purpose flour, lemon juice, cinnamon, nutmeg, and salt. Turn the slices until the dry ingredients are spread across the fruit, not gathered at the bottom of the bowl. The mixture should look lightly coated rather than dusty with flour.
Rub the Butter into Coarse Crumbs
Stir the topping flour, oats, brown sugar, cinnamon, and salt together in a medium bowl. Add the cold butter pieces and work them in with your fingertips until the mixture forms coarse crumbs. Stop once the dry mixture is clumping in uneven pieces; rubbing until it becomes a uniform paste won’t give you the same crumbly top. Keep the butter cold as you work.
Bake Until the Apples Are Tender
Mound the apple filling in the crust and scatter the crumble evenly over it. Set the pie on a rimmed baking sheet, bake for 20 minutes at 400°F, then reduce the oven to 350°F and bake for 40 to 55 minutes more. If the topping or crust browns too quickly, tent the pie loosely with foil. The filling should bubble, and a knife should slide easily through the apples; then cool the pie on a rack for at least 3 hours before slicing.
Choose the Apple Style You Want in Each Slice
A Tart Granny Smith Filling
Use Granny Smith apples for a sharper contrast with the sweet crumble. The apple flavor stays bright under the cinnamon, and the filling tastes less sweet than it does with Honeycrisp.
A Sweeter Honeycrisp Pie
Choose Honeycrisp when you want the fruit’s sweetness to come forward. The spice and buttery topping still balance the apples, but the overall filling tastes sweeter than a Granny Smith version.
A Blend of Both Apples
Combine Granny Smith and Honeycrisp in the filling for a middle ground: some tartness alongside the sweeter apple flavor. Keep the total amount of apples the same and slice both varieties evenly.
Storage and Reheating
- Refrigerator: Cover leftover pie and refrigerate it for up to 4 days. The crumble softens somewhat as it sits.
- Freezer: Freeze the fully cooled pie, wrapped tightly, for up to 3 months. Thaw it in the refrigerator before serving.
- Reheating: Warm slices in a 350°F oven until heated through. The microwave is quicker, but it softens the crumb topping.
Questions That Come Up While Baking Apple Crumble Pie
Apple Crumble Pie
Ingredients
Equipment
Method
- Heat the oven to 400°F. Unroll the pie crust into a 9-inch pie plate, gently press it into the plate, and crimp the edge.
- Peel, core, and slice the apples about 1/4 inch thick, then toss them in a large bowl with the granulated sugar, flour, lemon juice, cinnamon, nutmeg, and salt.
- Stir the flour, oats, brown sugar, cinnamon, and salt together in a medium bowl.
- Work in the cold butter with your fingertips until the mixture forms coarse crumbs.
- Mound the apple filling in the crust and scatter the crumble evenly over the top.
- Set the pie on a rimmed baking sheet and bake for 20 minutes at 400°F, then reduce the oven to 350°F and bake for 40 to 55 minutes more, tenting loosely with foil if the topping or crust browns too quickly; the pie is done when the filling bubbles and a knife slides easily through the apples.
- Cool the pie on a rack for at least 3 hours before slicing so the filling can set.