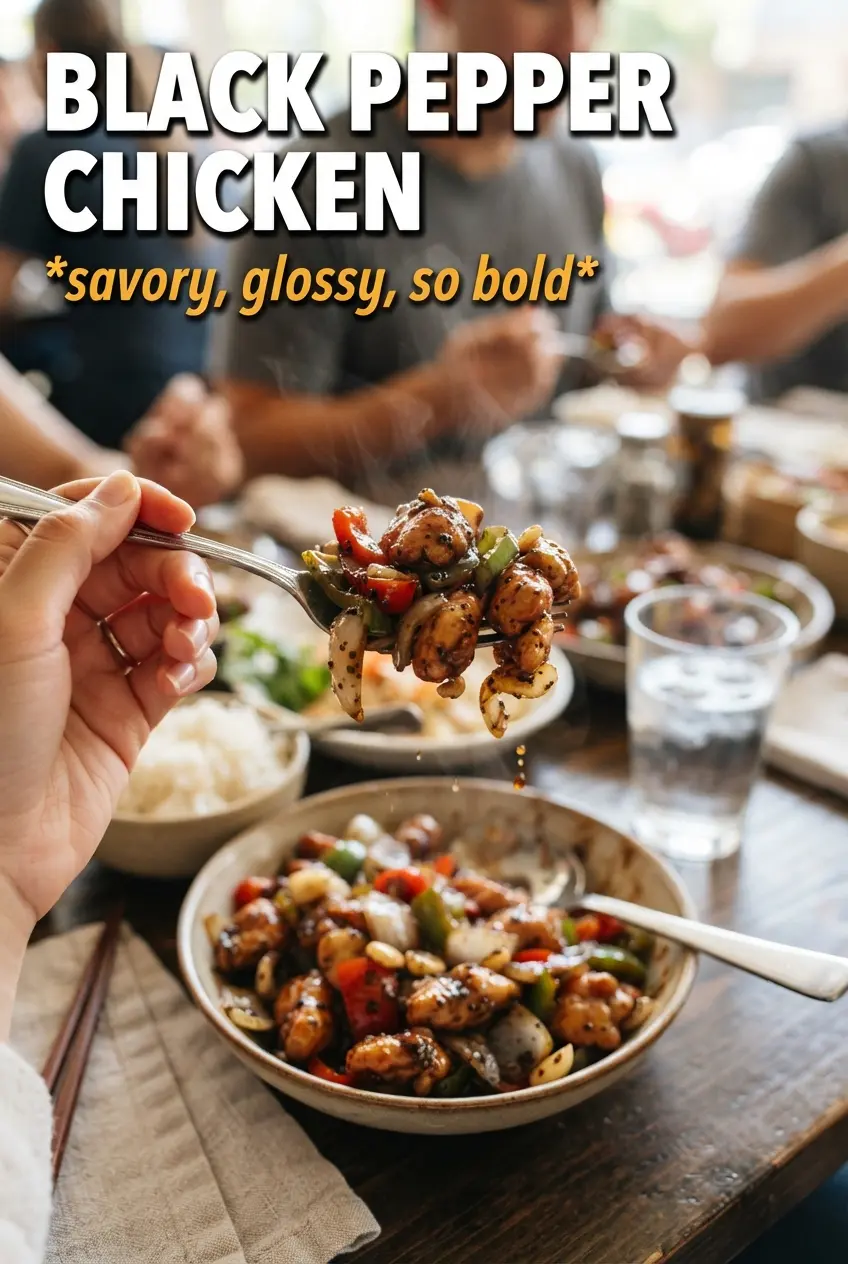
Black pepper chicken hits the table glossy, peppery, and fast, with tender chicken coated in a dark sauce that clings to every piece instead of pooling at the bottom of the pan. The pepper doesn’t just add heat here; it gives the whole dish a sharp, savory edge that wakes up the soy and oyster sauce and keeps the sweetness in check. With crisp-tender bell pepper, soft onion, and steamed rice underneath, it eats like takeout in the best possible way.
The trick is moving quickly and keeping the heat up high enough to sear the chicken before the sauce goes in. Thin-sliced breast cooks fast, which means you can get color without drying it out, and the cornstarch slurry thickens the sauce just enough to coat the chicken instead of turning it heavy. Freshly cracked black pepper matters here. Pre-ground pepper tastes flat and dusty by comparison, and it won’t give you that clean, bold bite that makes this dish stand out.
Below, I’ll show you how to keep the sauce glossy, how to avoid overcooking the chicken, and what to swap if you need a version that still works with what’s in the pantry.
The sauce thickened up exactly right and coated the chicken instead of going watery. I used a little extra black pepper at the end and it tasted just like the takeout version my husband always orders.
Save this black pepper chicken for the nights when you want glossy takeout-style sauce, crisp-tender vegetables, and dinner on the table in under 30 minutes.
The Pepper Needs to Hit Harder Than the Sweetness
Black pepper chicken can go dull fast if the sauce is too sweet or the pepper is added too early and cooked out. The flavor you want is sharp, savory, and a little warm on the tongue, not dusty or syrupy. That’s why the pepper lives in the sauce and gets a final sprinkle at the end. You keep two layers of pepper flavor: one that seasons the sauce and one that stays bright on top.
High heat matters here for another reason. If the pan isn’t hot enough, the chicken steams and leaks moisture before it picks up color, and then the sauce has to do all the work. That leaves you with pale chicken and a thinner sauce. Cooking in batches gives the meat a chance to sear, and that little bit of browning in the pan deepens the whole dish.
What Each Ingredient Is Actually Doing in This Dish

- Chicken breast — Slicing it thin is what keeps it tender and quick-cooking. If you cut thick chunks, the outside overcooks before the center is done. Thighs work too and stay a little juicier, but they give a richer, less takeout-style result.
- Freshly cracked black pepper — This is the point of the dish. Coarsely cracked pepper gives little bursts of heat and aroma, while fine pepper disappears into the sauce. If you want the flavor to land like the name says, use the good pepper and grind it fresh.
- Dark soy sauce — This adds color and a deeper molasses-like savoriness. Regular soy sauce alone will taste fine, but the sauce won’t have that dark, lacquered look. If you don’t have dark soy, use a touch more regular soy and a tiny splash of molasses or brown sugar for depth.
- Oyster sauce — It gives the sauce body and that round, savory finish that makes this taste like restaurant food. There isn’t a perfect substitute, but hoisin can stand in if that’s what you have, though it will make the dish sweeter.
- Cornstarch slurry — This is what turns the sauce from thin and watery into glossy and clingy. Stir it again right before adding, because cornstarch settles fast. If the sauce looks too loose after a minute or two, it usually just needs a little more heat, not more cornstarch.
The 20 Minutes That Actually Matter
Mix the Sauce Before the Heat Goes On
Whisk the soy sauce, oyster sauce, dark soy sauce, brown sugar, black pepper, and cornstarch slurry together before you turn to the stove. That way the pan moves fast once the chicken and vegetables are ready, and you don’t end up overcooking anything while you hunt for ingredients. The cornstarch must be fully mixed into the cold liquid or it can clump when it hits the hot pan.
Sear the Chicken in Batches
Heat the oil until it shimmers, then add the chicken in a single layer. If the pan looks crowded, split it into two batches so the pieces can brown instead of steam. You’re looking for lightly golden edges and opaque centers, not deep color all over. The chicken will go back into the sauce later, so it only needs to be cooked through by the end of the stir-fry.
Cook the Vegetables Just Until They Still Have Bite
The bell pepper and onion need a short turn in the pan, about three minutes, so they soften at the edges but still hold some crunch. Add the garlic and ginger at the end of that stage so they don’t burn and turn bitter. You’ll smell the garlic bloom almost immediately; once that happens, move on. Burnt garlic will take over the whole dish.
Let the Sauce Tighten Around the Chicken
Return the chicken to the pan, pour in the sauce, and toss everything quickly. The sauce should go from thin to glossy within a couple of minutes, coating the chicken and vegetables in a dark sheen. If it stays loose, keep it over heat for another minute. If it gets too thick, a small splash of water loosens it back up without dulling the flavor.
Three Ways to Make This Recipe Work for Your Kitchen
Make it gluten-free without losing the gloss
Use a certified gluten-free soy sauce or tamari and check that your oyster sauce is gluten-free as well. The sauce will still thicken and cling the same way because that texture comes from the cornstarch, not the wheat. The flavor stays close to the original, though tamari tends to taste a little less sharp than regular soy sauce.
Use chicken thighs for a juicier version
Boneless chicken thighs work well if you want a richer bite and a little more forgiveness on the stove. They take a minute or two longer to cook, but they stay tender even if the pan runs hot. The final dish tastes a touch deeper and less lean than the breast version.
Swap the vegetables based on what’s in the crisper
Snow peas, broccoli florets, or sliced mushrooms can step in for the bell pepper or join it. The key is to keep the pieces bite-sized and cook them just until they’re crisp-tender, since the sauce comes together fast. Broccoli needs a little extra time; mushrooms release moisture and may need a hotter pan so they brown instead of stew.
Storage and Reheating
- Refrigerator: Store in an airtight container for up to 4 days. The sauce may thicken more as it chills, but the flavor stays strong.
- Freezer: It freezes well for about 2 months, though the bell pepper softens after thawing. Freeze in portions for the easiest reheating.
- Reheating: Warm it in a skillet over medium-low heat with a splash of water to loosen the sauce. Microwaving works in a pinch, but it can make the chicken a little rubbery if you blast it too long.
Answers to the Questions Worth Asking
Black Pepper Chicken
Ingredients
Equipment
Method
- Whisk soy sauce, oyster sauce, dark soy sauce, brown sugar, and black pepper with cornstarch and water until smooth, then set aside for later.
- Heat vegetable oil in a wok or large skillet over high heat until shimmering.
- Stir-fry the sliced chicken breast in batches until golden, then remove to a plate with juices kept if possible.
- Stir-fry green bell pepper and onion for 3 minutes over high heat until crisp-tender.
- Add garlic and fresh ginger and cook for 1 minute, stirring constantly until fragrant.
- Return the chicken to the pan and pour the sauce over, tossing to coat everything evenly.
- Cook for 2-3 minutes until the sauce thickens and glossy coating clings to the chicken and vegetables, then season with extra cracked black pepper.
- Serve the black pepper chicken over steamed rice while hot so the sauce stays thick and glossy.