Golden sourdough, sharp cheddar, crisp bacon, and warm turkey make this melt hit every note a good sandwich should. The bread turns deeply toasted in the skillet while the cheese softens enough to drip into the layers, and the Dijon keeps the richness from tasting heavy. It’s the kind of lunch or quick dinner that feels bigger than the ten minutes it takes to cook.
The trick is building the sandwich so the bread browns at the same pace the cheese melts. Softened butter goes on the outside for an even crust, while Dijon on one half and mayonnaise on the other gives you a little tang on one side and a softer, richer finish on the other. Crispy bacon matters here because limp bacon gets lost under the cheese; you want pieces that stay snappy even after the sandwich is pressed and heated.
Below, I’ll walk through the small details that keep this melt from sliding apart, plus a few smart swaps if you want to change the bread, the cheese, or make it fit what’s in your fridge.
The bread got that perfect crisp crust and the cheddar melted all the way through without making the sandwich soggy. The Dijon gave it a little bite, and my husband asked me to pack the leftovers for his lunch the next day.
Save this cheddar and bacon turkey melt for the days when you want a crisp, melty sandwich with almost no cleanup.
The Reason This Melt Stays Crisp Instead of Going Soggy
The biggest mistake with a stacked sandwich like this is loading it up and rushing it over heat. If the pan is too hot, the bread browns before the cheddar has a chance to soften. If it’s too low, the bread dries out before you get that shattering, golden crust. Medium heat is the sweet spot because it gives the cheese time to melt while the buttered bread slowly turns crisp.
The other trap is moisture. Tomato and greens belong at the end, not in the skillet, or they’ll steam the bread from the inside. That’s why this sandwich is built in stages: toast and melt first, then add the fresh stuff after the cheese is already holding everything together. You get contrast instead of a wet center.
What Each Layer Is Doing in This Sandwich

- Sourdough bread — The tangy crumb stands up to the bacon, turkey, and cheddar without collapsing. Regular sandwich bread gets soft fast here; sourdough gives you a sturdier structure and better browning. If you use a different loaf, choose something with enough body to hold up to the filling and the skillet.
- Sharp cheddar — This is the cheese that gives the sandwich its punch. Mild cheddar can melt fine, but it tastes flatter against the bacon and Dijon. If you want the cleanest melt, slice it thin instead of using thick chunks so it softens by the time the bread is done.
- Dijon mustard and mayonnaise — These do different jobs. Dijon cuts through the richness and keeps the turkey from tasting bland, while mayonnaise helps the sandwich feel creamy without turning greasy. Don’t swap both for one plain spread if you want the sandwich to taste balanced.
- Thick-cut bacon — Crisp bacon is nonnegotiable here because it keeps its texture between the bread and cheese. Thin bacon can disappear. If you’re using leftover bacon, re-crisp it in a skillet or the oven so it doesn’t go soft once the sandwich is assembled.
- Tomato and arugula — These are the fresh finish that keeps the sandwich from eating like pure rich filling. Use ripe but firm tomato slices so they don’t flood the bread. Arugula adds a peppery bite; mixed greens soften the flavor if you want something milder.
Building the Sandwich So the Cheese Melts on Time
Getting the Bread Ready
Spread the softened butter on the outside of every slice first. That even coating is what gives you a uniform crust instead of pale spots or burnt edges. If the butter is too cold, it tears the bread; if it’s melted, it soaks in unevenly and you lose that crisp finish.
Stacking the Filling
Put the turkey, bacon, and cheddar on the Dijon side before the bread hits the pan. The cheese should be closest to the heat source because it acts like glue once it starts to soften. If the stack is too tall, press it gently with a spatula as it cooks so the layers settle and the cheese can reach the turkey.
Cooking Over Medium Heat
Lay the sandwiches butter-side down on the skillet or griddle and let them cook without moving them for the first few minutes. You want to hear a steady, gentle sizzle, not a loud crackle. If the bread is darkening too fast before the cheese melts, the heat is too high; turn it down and give the center time to catch up.
Adding the Fresh Finish
Open the sandwiches carefully and tuck in the arugula and tomato after they come off the pan. Putting them in earlier is the fastest way to get a wet center and a slippery sandwich. Once the cheese has set slightly, the fillings stay put and the sandwich slices cleanly on the diagonal.
Three Smart Ways to Make This Melt Work for Your Kitchen
Make it dairy-free
Use a good dairy-free butter substitute for the outside of the bread and a meltable plant-based cheddar-style slice inside. The result will still crisp up, but the cheese won’t have the same pull or sharpness, so lean harder on the Dijon for flavor.
Swap the turkey for leftover chicken
Sliced roasted chicken works almost exactly the same way and gives you a slightly richer sandwich. Keep the layers thin so the bread still closes cleanly, and warm the chicken briefly in the skillet if it’s straight from the fridge.
Use provolone or Swiss instead of cheddar
Provolone gives you a milder, silkier melt, while Swiss brings a nutty note that plays nicely with the bacon. Both melt more smoothly than extra-aged cheddar, but you lose some of that sharp edge that makes this version taste bold.
Storage and Reheating
- Refrigerator: Store cooled sandwiches tightly wrapped for up to 2 days. The bread will soften a bit, but the flavor holds up well.
- Freezer: Not ideal once the tomatoes and greens are added. If you want to freeze parts ahead, freeze only the cooked bacon and sliced turkey, then assemble fresh.
- Reheating: Reheat in a skillet over low to medium-low heat with a lid for a few minutes so the cheese warms through before the bread burns. The biggest mistake is microwaving it, which makes the bread leathery and the bacon limp.
Answers to the Questions Worth Asking
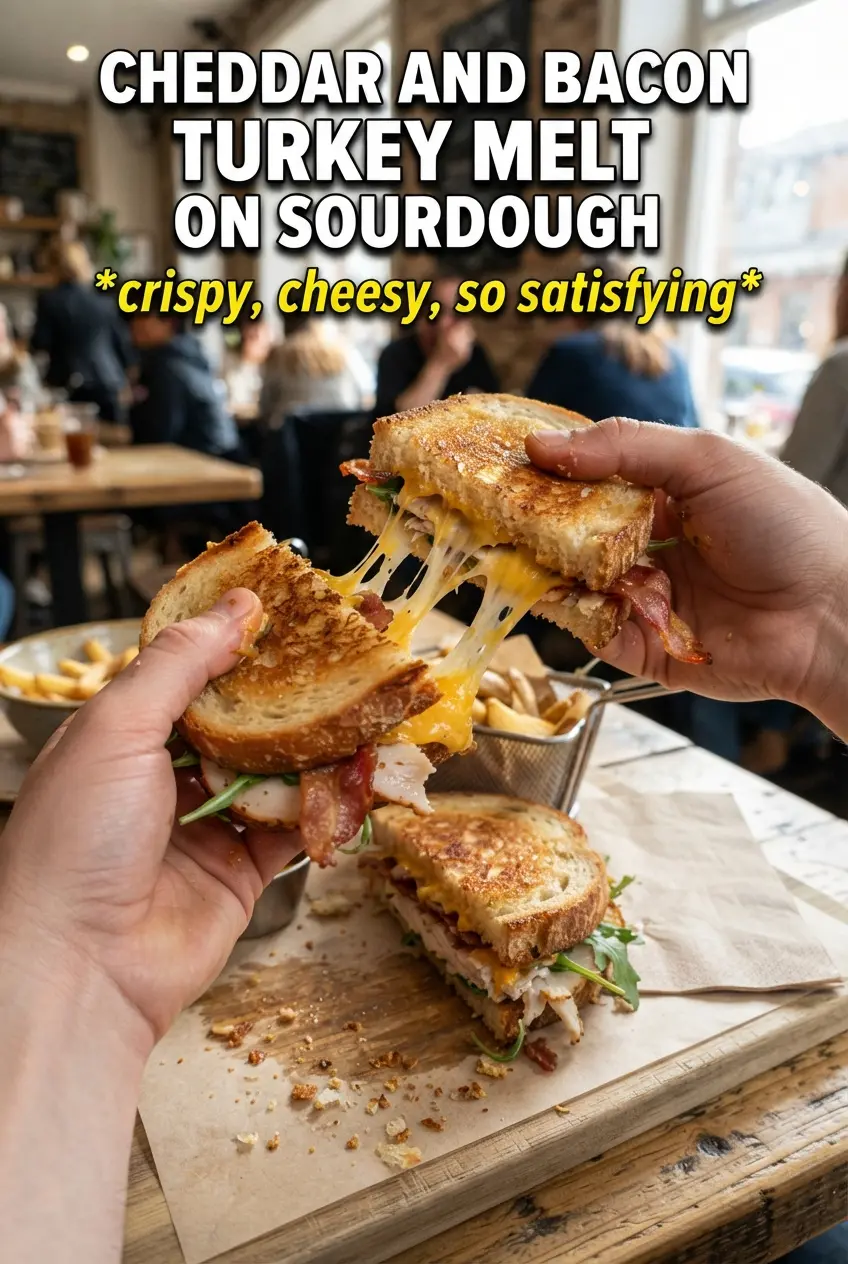
Cheddar And Bacon Turkey Melt On Sourdough
Ingredients
Equipment
Method
- Cook the thick-cut bacon until crispy, then drain and set aside.
- Leave the rendered fat in the pan if you want extra browning, or wipe it out before toasting the sandwiches.
- Spread one side of each bread slice with softened butter.
- Flip the bread over, then spread Dijon on half the slices and mayonnaise on the other half.
- Layer the turkey, bacon, and sharp cheddar cheese on the Dijon side.
- Heat a skillet or griddle over medium heat, then place the sandwiches butter-side down.
- Top with the mayonnaise-spread slices butter-side up.
- Cook 3-4 minutes per side, until the sandwiches are golden and the cheddar is fully melted.
- Open each sandwich and add arugula and tomato slices.
- Press closed and serve immediately.