Deep, mahogany-colored beef stew is one of those dinners that earns its place in the rotation because it tastes like it cooked all day, even when the active work is modest. The beef turns spoon-tender, the broth gets rich and glossy, and the vegetables soak up just enough of that savory base without falling apart into mush. It’s the kind of pot that makes the kitchen smell like you’ve got something serious going on.
What makes this version work is the layering. The beef gets tossed in flour before it hits the pan, which helps build a slightly thicker stew as it simmers. Searing in batches matters too. If you crowd the pan, the meat steams instead of browns, and browned beef is where the deep flavor starts. Red wine, tomato paste, Worcestershire, and beef broth do the rest, giving you a broth with real backbone instead of something thin and one-note.
Below, I’ll walk you through the sear, the simmer, and the timing for adding the potatoes and peas so they keep their shape. I’ve also included a few smart swaps and the storage note that matters if you like having leftovers for the next day.
The stew came out exactly how I wanted it — the beef was fall-apart tender and the broth thickened up beautifully without tasting pasty. I added the peas at the end like you said, and they stayed bright instead of turning dull.
Crave a bowl of beef stew with tender chuck, glossy broth, and potatoes that hold their shape? Save this one for the next cold-night dinner.
The Browning Stage Is Where the Stew Gets Its Depth
Beef stew can taste flat when the meat goes straight into liquid without a proper sear. That first browning step is not about cooking the beef through. It’s about building a dark crust on the outside so the final broth has that slow-cooked, savory edge that plain simmering can’t create.
Work in batches and give the cubes space in the pan. If the pieces are packed together, the moisture they release drops the temperature and you lose the browning. You’re looking for a deep brown crust on multiple sides, not a gray surface with a few spots. The flour coating helps with later thickening, but it also browns faster, so keep the heat high and stay with the pan.
What Each Ingredient Is Actually Doing in This Pot
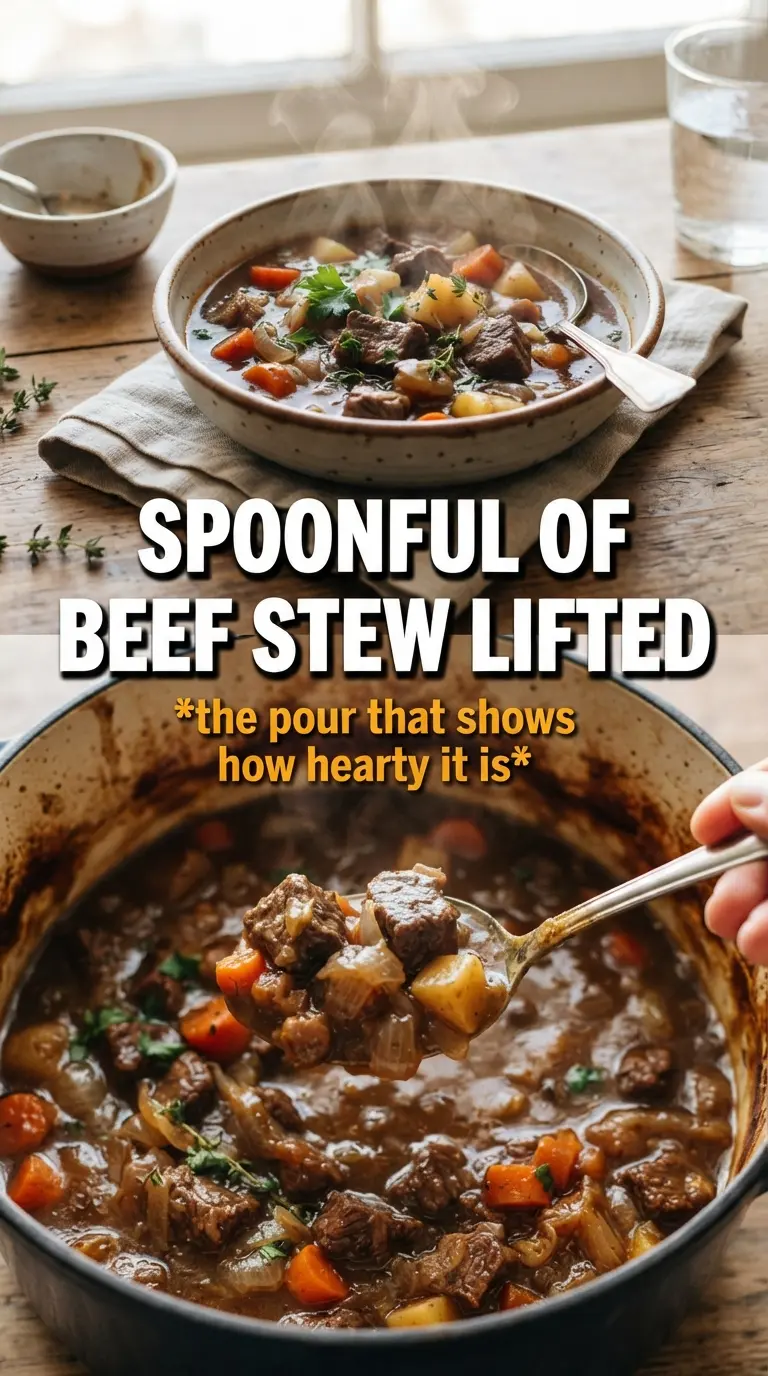
- Beef chuck — This is the cut you want because it has enough connective tissue to turn tender during the long simmer. Lean stew meat can work, but it often dries out before the broth develops the same body.
- Yukon gold potatoes — They hold their shape better than russets and still turn creamy at the edges. If you swap to russets, they’ll thicken the broth more, but they’re more likely to break apart.
- Red wine — It adds acidity and depth, and it helps lift the browned bits from the bottom of the pot. Use a dry red you’d drink, not cooking wine, because the flavor ends up concentrated in the stew.
- Tomato paste and diced tomatoes — The paste gives the broth a dark, concentrated backbone, while the tomatoes add body and a little brightness so the stew doesn’t taste heavy.
- Worcestershire — This is the quiet ingredient that makes the broth taste rounder and more savory. There isn’t a perfect substitute, but a splash of soy sauce plus a little extra vinegar can cover part of the same ground if needed.
Building the Stew So the Vegetables Stay Intact
Coating and Searing the Beef
Toss the beef in flour before it hits the pan, then shake off the excess. You want a light dusting, not a paste. Sear in hot olive oil until the cubes release cleanly from the pan and the surface is dark brown. If the meat sticks hard, it needs another minute; if it slides around without color, the pan is crowded or not hot enough.
Softening the Aromatics
After the beef comes out, cook the onion, carrots, and celery in the same pot. Those vegetables pick up flavor from the browned fond left behind, which is why you don’t wipe the pot clean. Add the garlic and tomato paste near the end so they can toast and deepen instead of disappearing into the stew. If the paste still looks bright red, it hasn’t cooked long enough.
Simmering Until the Beef Gives In
Once the wine goes in, scrape up every browned bit from the bottom of the pot before adding the broth, tomatoes, Worcestershire, thyme, bay leaves, and beef. Bring it to a boil first, then lower the heat to a gentle simmer and cover. A hard boil will tighten the meat instead of relaxing it. After about an hour, the beef should be close to tender enough to cut with a spoon, and the broth should already taste deeper than when you started.
Adding Potatoes and Finishing with Peas
Potatoes go in after the beef has had time to soften because they need less time than the meat. If you add them too early, they’ll turn chalky on the edges and dissolve before the stew is done. The peas go in at the very end for just a few minutes so they stay bright and sweet. Pull out the bay leaves before serving and adjust the salt and pepper after the stew has had its final simmer.
How to Change This Stew Without Losing What Makes It Good
Make it gluten-free
Skip the all-purpose flour and dust the beef with a gluten-free flour blend or cornstarch instead. Cornstarch gives you a slightly glossier broth and a cleaner finish, while a blend behaves more like traditional flour. Either way, keep the coating light so the stew thickens without turning gummy.
Swap the wine if you don’t cook with alcohol
Use an equal amount of extra beef broth plus 1 to 2 tablespoons of red wine vinegar or balsamic vinegar. You won’t get the same depth as wine, but the vinegar keeps the stew from tasting heavy and flat. Add it gradually and taste as you go so it doesn’t get sharp.
Make it a little richer
A spoonful of butter stirred in at the end gives the broth a softer finish, and a few sliced mushrooms sautéed with the onions add another layer of savory flavor. Both changes push the stew toward a deeper, more luxurious result without changing the core method.
Storage and Reheating
- Refrigerator: Store in an airtight container for up to 4 days. The broth thickens as it sits, and the flavor usually gets better on day two.
- Freezer: It freezes well for up to 3 months. Cool it completely first, and leave a little room in the container for expansion. The potatoes soften a bit after thawing, but the stew still reheats well.
- Reheating: Warm it gently on the stovetop over medium-low heat until hot all the way through. A hard boil can break down the potatoes and tighten the beef. Add a splash of broth if the stew has thickened more than you like.
Answers to the Questions Worth Asking
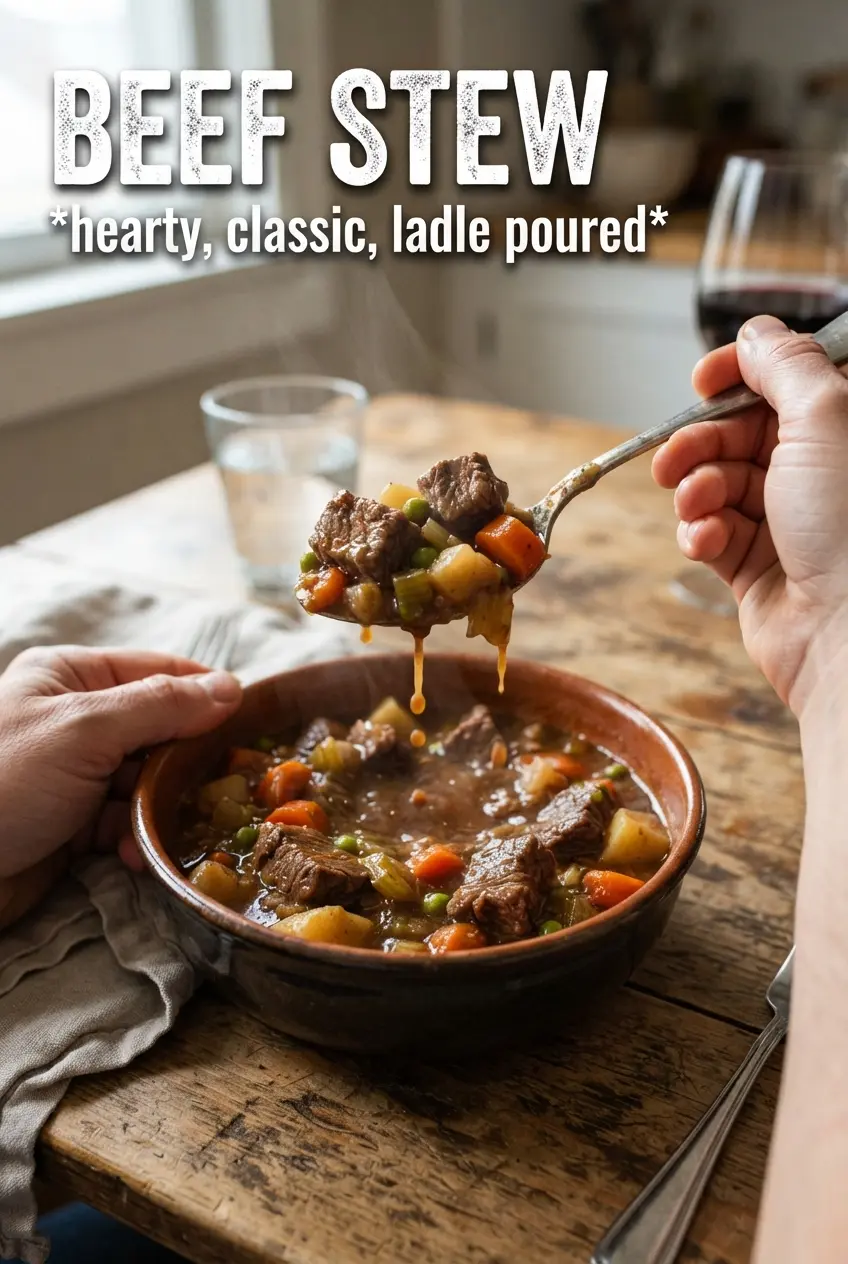
Beef Stew
Ingredients
Equipment
Method
- Toss the beef chuck with all-purpose flour until coated. Sear in batches in olive oil over high heat for about 6–8 minutes total, until deeply browned, then remove to a plate.
- In the same Dutch oven, sauté onion, carrots, and celery over medium-high heat for 5 minutes, stirring often, until starting to soften. Add garlic and tomato paste and cook for 2 minutes, stirring so the tomato paste darkens slightly.
- Deglaze the pot with red wine, scraping up browned bits from the bottom. Add beef broth, diced tomatoes, Worcestershire, dried thyme, bay leaves, and the browned beef, then stir to combine.
- Bring the stew to a boil, then reduce heat to maintain a gentle simmer. Cover and simmer for 60–75 minutes, stirring occasionally, until the beef is very tender and the broth looks deep mahogany.
- Add cubed Yukon gold potatoes and cook for 20 minutes at a steady simmer, until the potatoes are tender. Stir in frozen peas and cook for 3 minutes, until warmed through.
- Remove bay leaves, then season with salt and pepper to taste. Taste for balance and serve hot with crusty bread if desired.