Country fried chicken lands on the plate with the kind of crust that cracks when you cut into it and a peppery gravy that sinks into every ridge without turning the coating soggy right away. The outside should be deeply golden and craggy, the meat underneath juicy and seasoned all the way through. When it’s done right, it eats like comfort food with some discipline behind it.
The buttermilk soak does more than tenderize. It helps the flour mixture cling in a thick, textured layer, and that layer is what gives you those crisp edges instead of a thin, dusty coating. Cornstarch adds a little extra snap, while smoked paprika and cayenne push the crust toward something with a little more backbone than plain fried chicken. The gravy uses the skillet drippings, so nothing tastes flat or canned.
Below, I’ve laid out the part that matters most: how to keep the breading attached, how to fry at the right temperature, and how to make the gravy smooth instead of gluey. Those are the places where country fried chicken usually goes wrong, and they’re also the easiest places to get it right once you know what to watch for.
The crust stayed on the chicken, even under the gravy, and the pan sauce was silky with all that black pepper. I fried it in my cast iron and it came out exactly like the diner version I’ve been trying to copy for years.
Save this country fried chicken for the night you want a shatteringly crisp crust, creamy pepper gravy, and that old-school Southern diner feel.
The Brine That Keeps the Coating from Sliding Off
The buttermilk marinade is doing two jobs at once: it seasons the chicken under the crust and gives the flour something sticky to hold onto. If you rush this part or skip the rest time, the coating tends to flake off in the oil instead of setting into a proper shell. One hour is enough for good results, but overnight in the fridge gives you a little more tenderness and a deeper salt level.
The other thing that matters here is moisture management. Let the chicken drip off well before dredging, then press the flour mixture onto every surface so you get those rough, shaggy bits that fry up crisp. If the coating looks smooth and even before it hits the oil, it usually fries up too tidy and loses the texture that makes country fried chicken worth making.
What the Flour, Cornstarch, and Seasonings Are Each Doing
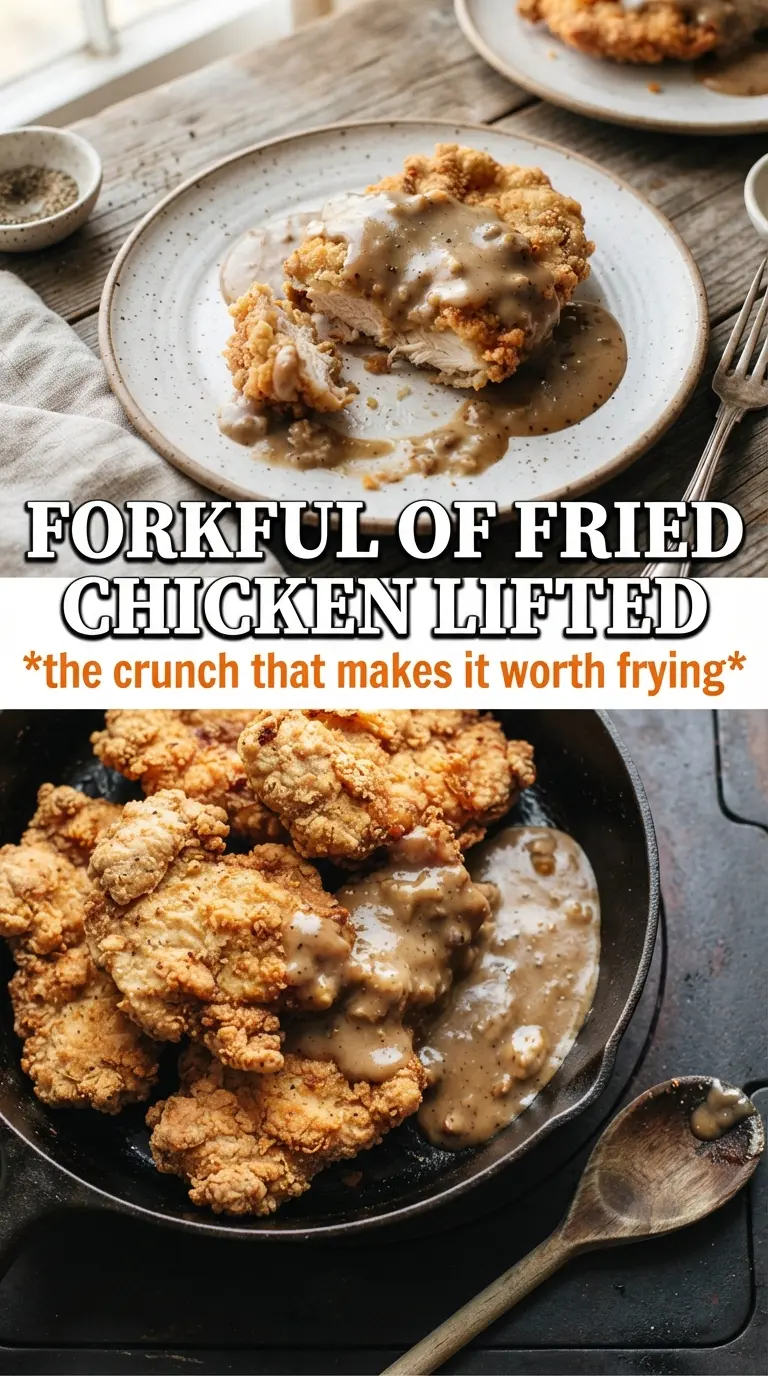
The flour gives you the structure, but the cornstarch is what helps the crust dry out into something lighter and more brittle. That combination is a small detail that makes a big difference once the chicken goes into hot oil. All-purpose flour alone works, but the crust will feel a little heavier and less crisp under the gravy.
The spices aren’t there just for color. Garlic powder and onion powder round out the savory base, smoked paprika adds a faint warmth, and cayenne keeps the crust from tasting flat. If you want a milder version, cut the cayenne in half; don’t remove it completely unless you’re ready for a softer, less layered finish.
- Buttermilk — It tenderizes and coats the chicken with enough acidity to help the breading cling. If you don’t have it, mix whole milk with a little lemon juice or vinegar and let it sit for 5 minutes, but the coating won’t be quite as thick.
- Cornstarch — This is what gives the crust its snappier bite. You can skip it, but the breading will lean more toward standard fried chicken than country fried chicken.
- Hot sauce — It doesn’t make the chicken spicy; it adds a quiet tang in the marinade. Any vinegar-based hot sauce works here.
- Vegetable oil — Use a neutral oil with a high smoke point so the coating fries cleanly. Peanut oil also works if you want a slightly richer finish.
The Frying Window That Makes or Breaks the Crust
Getting the Oil to 325°F and Keeping It There
Start with enough oil to come partway up the sides of the chicken, then heat it slowly to 325°F. If the oil runs too hot, the crust darkens before the meat cooks through; if it’s too cool, the breading drinks up oil and turns greasy. A cast-iron skillet holds heat well, which is why it works so well here, but you still need to watch the temperature between batches.
Frying for Color, Not Just Time
Lay the chicken into the oil gently so you don’t splash and so the coating stays intact. Fry until the first side is a deep golden color and releases easily from the pan before turning it, then cook the second side until the internal temperature reaches 165°F. The exact time will depend on the size of the pieces, so use the color and temperature together instead of relying on the clock alone.
Building the Gravy in the Same Skillet
Pour off most of the oil, leaving behind the browned bits and a few tablespoons of fat. Whisk in the flour and cook it for a minute or two until it smells nutty and looks sandy, then add the milk and broth gradually so the sauce stays smooth. If the gravy turns lumpy, the liquid went in too fast; whisk harder and keep the heat moderate until it smooths out.
Make It Without the Dairy
Use unsweetened plain non-dairy milk for the marinade and gravy, but choose one with some body, like oat milk. The crust will still fry up well, though the gravy will be a little less rich and a touch thinner than the classic version.
Make It Gluten-Free
Swap the all-purpose flour for a good 1:1 gluten-free flour blend and keep the cornstarch. The coating still crisps nicely, though it may be a little more delicate when you turn the chicken.
Turn It Into Boneless Chicken Cutlets
Use thin boneless chicken breasts or thighs and shorten the fry time to about 4 to 6 minutes per side, depending on thickness. You’ll get a faster dinner with the same crunchy crust, but the flavor won’t be quite as deep as bone-in pieces.
Storage and Reheating
- Refrigerator: Store leftovers for up to 3 days. The crust softens as it sits under the gravy, which is normal.
- Freezer: Freeze the fried chicken without gravy for up to 2 months. Wrap pieces well so the crust doesn’t pick up freezer smell or ice crystals.
- Reheating: Reheat on a wire rack in a 375°F oven until hot and crisp again. Skip the microwave if you can; it turns the coating limp and warms the chicken unevenly.
Answers to the Questions Worth Asking
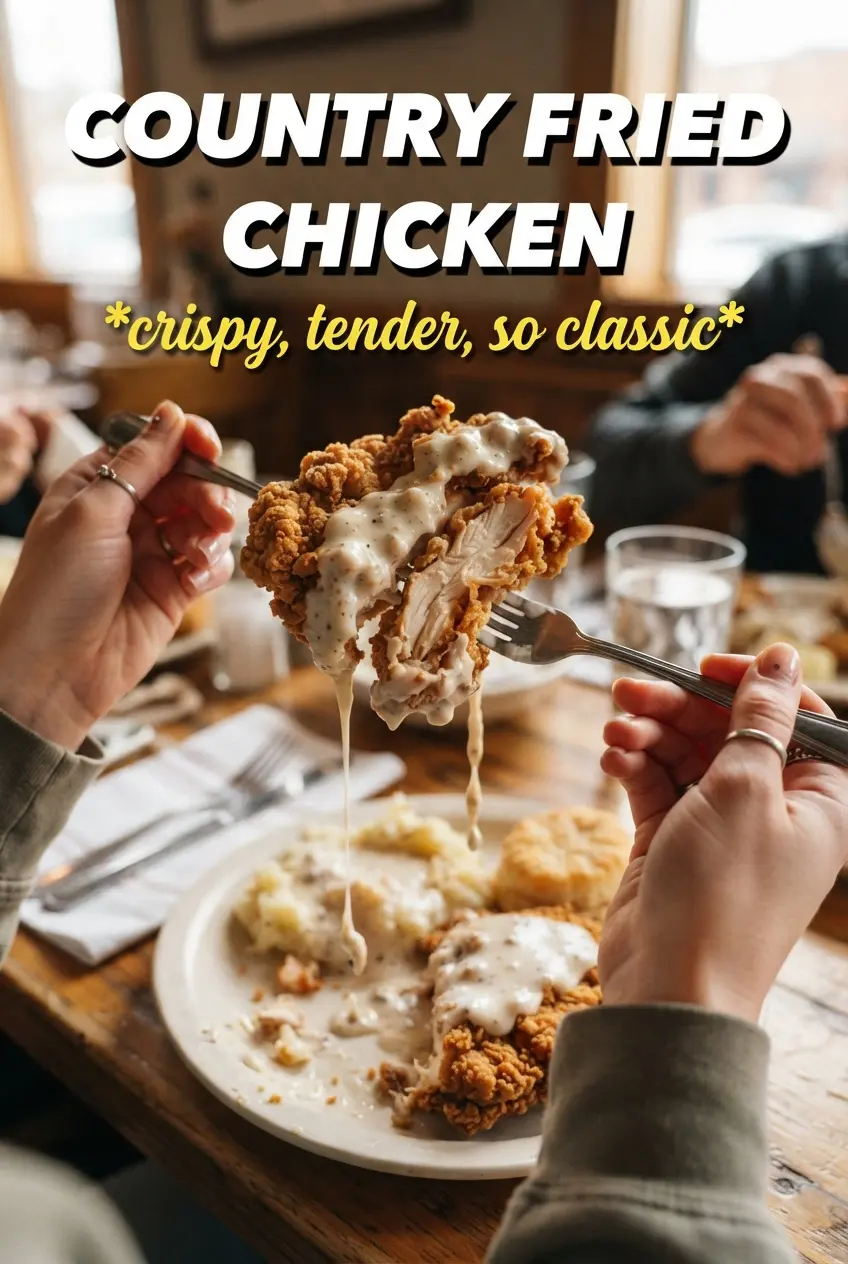
Country Fried Chicken
Ingredients
Equipment
Method
- Whisk buttermilk, hot sauce, salt, and black pepper until smooth, then add the bone-in chicken pieces and coat well.
- Cover and refrigerate the chicken for 1 hour, or up to overnight, so the coating clings and the meat tenderizes.
- Whisk all dredge ingredients (all-purpose flour, cornstarch, garlic powder, onion powder, smoked paprika, cayenne, salt, and black pepper) in a shallow bowl.
- Remove chicken from the buttermilk mixture and let excess drip off, then dredge each piece in the flour mixture and press to help it adhere.
- Heat vegetable oil to 325F in a large cast-iron skillet.
- Fry the chicken for 12-15 minutes per side until deeply golden and cooked through, reaching 165F internal temperature, adjusting heat if browning too fast.
- Melt butter in the skillet (or a clean pan) and whisk in flour, cooking 1-2 minutes to cook out the raw taste.
- Gradually whisk in whole milk and chicken broth, then cook until thickened and smooth.
- Season the gravy with salt and lots of black pepper.
- Serve the fried chicken smothered in country gravy with a visible pepper-speckled top.