Elderberry cobbler bakes into one of those desserts that disappears fast because the contrast is just right: juicy, slightly tart berries underneath a buttery biscuit top that turns golden at the edges and stays tender in the middle. The fruit softens into a spoonable filling while the topping catches a little crispness where it meets the bubbling juices, and that balance is what makes this version worth keeping around.
Elderberries need a little help to shine, which is why the lemon juice and measured sugar matter here. The berries bring a deep, winey tartness that tastes flat if you under-sweeten them, but they can turn loose if you skip the cornstarch and let them bake without any thickener. The batter is mixed just until it comes together, then poured over the fruit so it bakes into a rustic, biscuit-like crust instead of a dense cake.
Below, I’ve included the one timing cue that keeps the filling from spilling over and the topping from overbaking, plus a few swaps that help if you need to work with frozen berries or serve it with a different kind of finish.
The filling thickened up beautifully and the biscuit topping stayed tender instead of soggy. I used frozen elderberries and it still baked in 45 minutes with that perfect bubbling edge my family kept stealing from.
Like this elderberry cobbler? Save it to Pinterest for the nights when you want a bubbling berry dessert with a golden biscuit top.
The Reason Elderberries Need Thickeners, Not Just Sugar
Elderberries release a lot of juice as they bake, and that juice can turn the bottom of the cobbler watery if you rely on sugar alone. Cornstarch does the job here because it thickens the berry juices as they come up to a simmer in the oven, which gives you a glossy filling instead of a thin purple puddle.
The other mistake is overloading the dish with fruit and expecting the topping to stay crisp. A 9×9-inch pan gives the filling room to bubble without overflowing, and that matters because the biscuit batter needs direct heat from those bubbling edges to set properly underneath. If the fruit layer is too deep, the center can stay loose while the top already looks done.
What Each Ingredient Is Actually Doing in This Cobbler
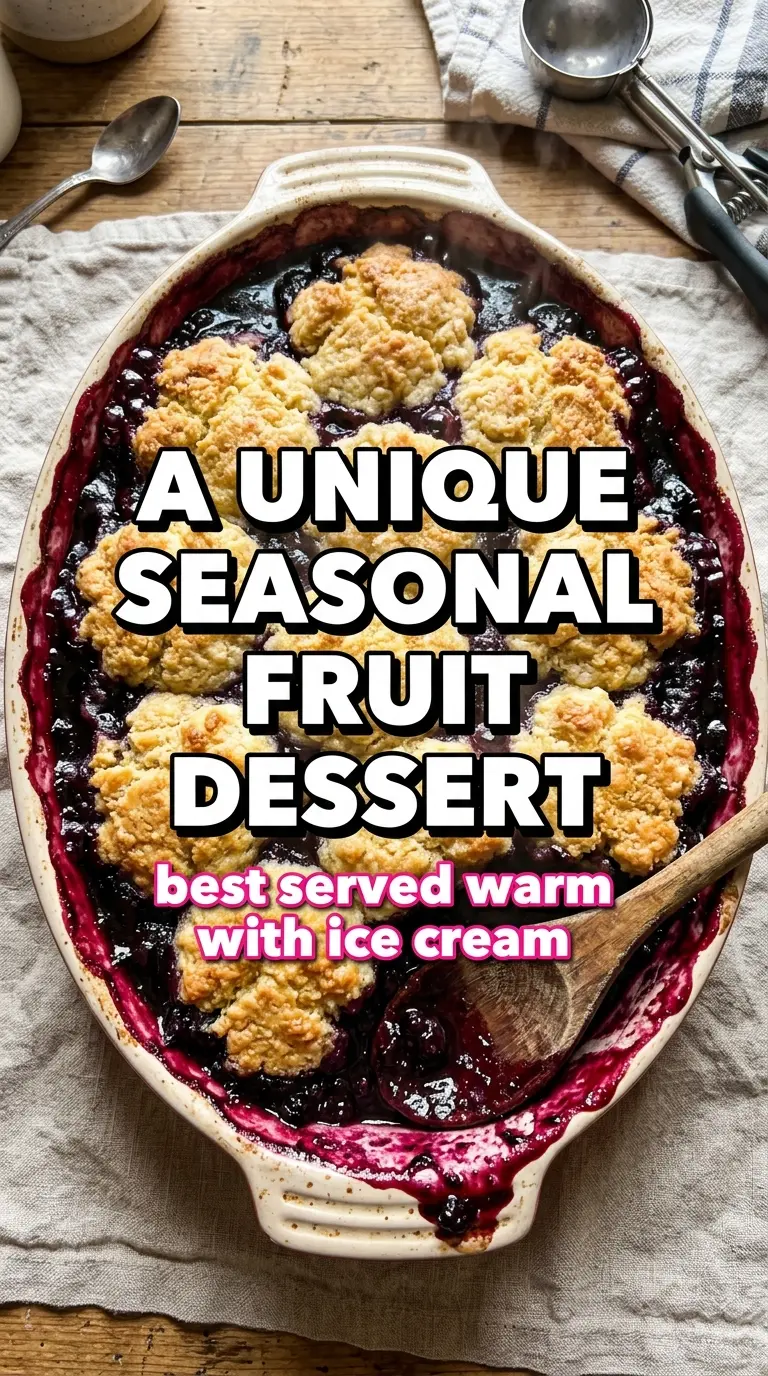
- Elderberries — Fresh berries give the most vibrant flavor, but frozen elderberries work well too if you don’t thaw them first. If you use frozen, add them straight from the freezer so they don’t water down the filling before baking.
- Cornstarch — This thickens the juices as the cobbler bakes. Arrowroot can work in a pinch, but it can give a slightly softer set, so cornstarch is the safer choice if you want a clean spoonful.
- Lemon juice — It sharpens the flavor and keeps the filling from tasting flat. Elderberries can lean earthy, and that little hit of acidity wakes everything up.
- Melted butter — Melted butter makes the topping richer and gives it that tender, biscuit-like finish. Cold butter would create a different texture, so don’t swap method and expect the same result.
- Milk — Whole milk gives the best balance of richness and structure. If you need a dairy-free version, unsweetened oat milk is the best substitute, though the topping will be a touch less plush.
Building the Cobbler So the Top Bakes Through Before the Fruit Cools
Coating the Fruit
Toss the elderberries with the sugar, cornstarch, and lemon juice until every berry looks lightly coated. That first coating stage matters because the starch has to touch the fruit evenly or you’ll end up with pockets that thicken and pockets that stay runny. Spread the berries in an even layer in the dish so the filling heats at the same rate across the pan.
Mixing the Batter Without Overworking It
Whisk the dry ingredients together first, then stir in the melted butter and milk just until you don’t see dry flour anymore. The batter should look thick and a little shaggy, not smooth like cake batter. If you beat it hard, the topping turns tight and bready instead of tender.
Baking to the Right Bubble
Pour the batter over the fruit and bake until the top is deeply golden and the berry filling is bubbling through at the edges and in the center. Those bubbles are your cue that the cornstarch has activated and the juices have thickened. If the top browns before the fruit bubbles, lay a loose piece of foil over the pan for the last few minutes so the crust doesn’t overdarken.
Letting It Set Before Serving
Give the cobbler about 10 minutes to cool before you spoon it out. Right out of the oven, the filling will still be loose and the topping can break apart too easily. A short rest lets the juices settle into that spoonable, glossy texture that holds up under vanilla ice cream.
How to Adapt This for Frozen Berries, Dairy-Free Milk, or a Bigger Crowd
Using frozen elderberries
Keep the berries frozen when you mix them with the sugar and starch. Thawed berries leak more liquid before they ever hit the oven, which makes the filling harder to thicken cleanly. You may need a few extra minutes in the oven, but the texture stays better this way.
Making it dairy-free
Use unsweetened oat milk or almond milk in place of the milk, and swap in a plant-based butter that melts well. Oat milk gives the most neutral, creamy result. The topping won’t brown quite as deeply as with dairy butter, but it still bakes up tender and rich.
Doubling for a larger pan
Double everything and use a 9×13-inch baking dish. The baking time may stretch a little, so go by bubbling fruit and a golden top instead of the clock alone. If the center looks pale but the edges are already dark, the pan is probably too close to the top heat source.
Storage and Reheating
- Refrigerator: Store covered for up to 4 days. The topping softens as it sits, but the flavor stays good.
- Freezer: It freezes best after baking and cooling completely. Wrap tightly and freeze for up to 2 months, then thaw in the fridge before reheating.
- Reheating: Warm individual portions in a 300°F oven until heated through. The microwave works, but it turns the biscuit topping soft instead of lightly crisp.
Questions I Get Asked About This Recipe
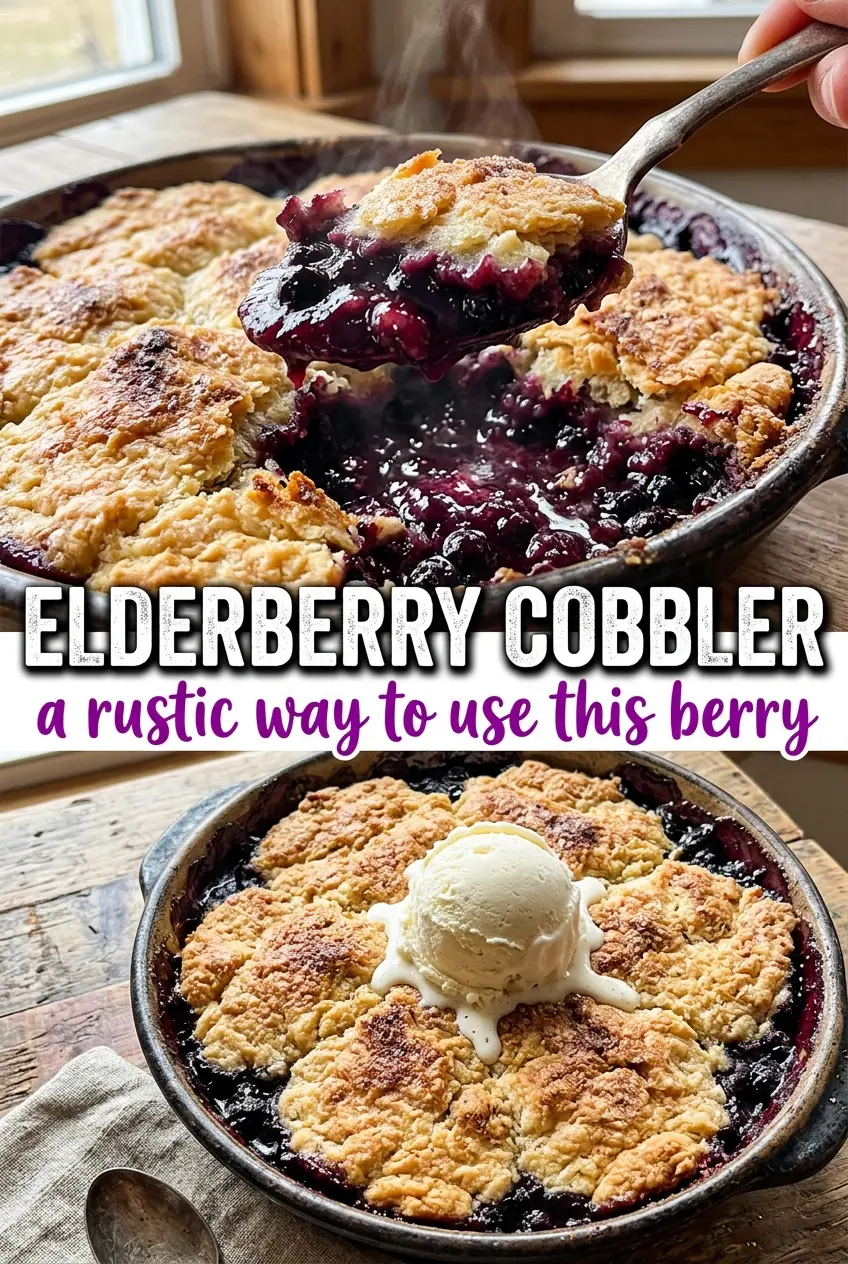
Elderberry Cobbler
Ingredients
Equipment
Method
- Preheat the oven to 350°F and grease a 9x9-inch baking dish.
- Toss the fresh elderberries with 1/4 cup granulated sugar, cornstarch, and lemon juice, then spread evenly in the baking dish.
- Whisk together all-purpose flour, remaining granulated sugar, baking powder, and salt.
- Stir in melted unsalted butter and milk just until combined, forming a thick batter.
- Pour the batter evenly over the elderberries.
- Bake for 40–45 minutes, until the top is golden and the fruit is bubbling.
- Let cool for 10 minutes before serving warm.