Golden chicken thighs, tender apples, and a pan sauce that turns glossy and just a little tangy make this French Apple Cider Chicken the kind of dinner that gets cooked once and then starts showing up in the rotation. The skin stays crisp long enough to give you that first satisfying bite, then the cider-cream sauce softens everything with just enough richness to keep the dish from feeling heavy.
What makes this version work is the way it builds flavor in layers. The chicken sears first, so the pan picks up all that browned residue before the shallots and apples go in. Hard apple cider gives the sauce a sharper, more complex edge, while Dijon mustard keeps the cream from tasting flat. If you use fresh cider instead, the sauce will be sweeter and a little softer, which still works, just in a different direction.
Below, I’ve included the exact cues that keep the chicken juicy and the sauce smooth, plus a few practical swaps if you need to work with what’s already in your kitchen.
The sauce turned silky and the apples held their shape instead of turning mushy. I also liked that the chicken skin stayed crisp enough after simmering to still have some texture when we ate it.
Save this French Apple Cider Chicken for the nights when you want crisp chicken thighs and a cider-pan sauce that tastes like it took much longer than 35 minutes.
The Pan Sear Is What Keeps the Chicken Worth Serving
If the chicken goes into the braise without a proper sear, the whole dish turns soft in the wrong way. You want deep golden skin before anything else, because that browned fat and fond are what give the sauce its backbone. Skip that step or rush it, and the cider-cream base has to do all the work on its own.
The other mistake people make is crowding the pan. Chicken thighs need direct contact with the heat to release and crisp; if they steam, the skin stays rubbery and the sauce loses the richest flavor source in the dish. Let the thighs sit undisturbed on the first side until the skin pulls away easily and looks lacquered.
- Chicken thighs — Bone-in, skin-on thighs hold up best here. The skin protects the meat during the simmer, and the bones add flavor to the sauce. Boneless thighs work in a pinch, but they cook faster and won’t give you the same pan flavor.
- Apples — Use a firm apple that keeps some shape, like Honeycrisp, Pink Lady, or Braeburn. Soft apples melt into the sauce too quickly, which makes the dish taste dull instead of layered.
- Hard apple cider — This brings acidity and depth. Fresh cider is sweeter and gentler, so it works if that’s what you have, but hard cider gives the sauce more lift. If you use fresh cider, add a little extra Dijon to keep the flavor balanced.
- Dijon mustard — Dijon keeps the cream from tasting heavy and helps the sauce feel rounded instead of sweet. A grainy mustard can work, but the sauce will be a little looser and less smooth.
- Heavy cream — This goes in at the end so it can thicken without breaking. Half-and-half is a weaker substitute; it’ll work, but the sauce won’t cling to the chicken the same way.
What Each Ingredient Is Actually Doing in This Recipe

- Primary ingredient (the star) — Quality matters most. Choose the best you can find.
- Cooking medium (oil, butter, or broth) — This carries flavors and prevents dryness.
- Seasonings (salt, pepper, spices, herbs) — Layer flavors so nothing overpowers. Build depth gradually.
- Aromatics (garlic, onion, herbs) — Cook with fat to bloom flavors. Become the foundation.
- Supporting ingredients — Complement the main ingredient without overpowering it.
- Sauce or liquid (if applicable) — Brings flavors together. Balance richness with acid.
- Acid (lemon, vinegar, wine, or other) — Brightens and prevents flat-tasting results.
- Final finish (garnish, glaze, or sauce) — Prevents one-dimensional taste and adds visual appeal.
The 20 Minutes That Build the Sauce
Getting the Skin Golden First
Season the chicken generously, then start it skin-side down in the olive oil and butter over medium-high heat. Don’t move it until the skin is deeply golden and the fat has rendered; that usually takes 6 to 8 minutes. If it sticks at first, it needs another minute. When it’s ready, it releases with less resistance and the skin looks crisp, not pale and patchy.
Softening the Shallots and Apples
After the chicken comes out, the shallots and apple slices go into the same pan. They should pick up color from the fond and soften at the edges while still holding their shape. Garlic and thyme only need a minute, just until fragrant; if the garlic browns, it will turn bitter and the whole sauce will taste harsher than it should.
Deglazing and Building the Braise
Pour in the cider and scrape the bottom of the pan right away so all those browned bits dissolve into the liquid. Let it cook for a couple of minutes before adding the broth and Dijon, which gives the alcohol time to cook off if you’re using hard cider and keeps the sauce from tasting sharp. Return the chicken skin-side up so the crisp side stays above the liquid instead of going soggy.
Finishing with Cream
Cover and simmer until the chicken is cooked through and the meat feels tender when pressed near the bone. Then stir in the cream and let it simmer gently until the sauce lightly coats a spoon. Keep the heat low at this stage. High heat can split the cream, and once that happens, the sauce goes grainy instead of glossy.
What to Change When You Need a Different Version
Dairy-Free Version
Swap the butter for more olive oil and use unsweetened coconut cream or a plain dairy-free cooking cream at the end. The sauce will be a little less rich and slightly different in flavor, but it still gets that same silky finish if you keep the heat low.
Using Fresh Cider Instead of Hard Cider
Fresh cider gives you a sweeter, rounder sauce. If that’s your preference, use it exactly as written, then taste at the end and add a touch more Dijon or a pinch of salt if the sauce feels too soft. The result is more family-style and less sharp.
Gluten-Free and Naturally Worry-Free
This dish is already naturally gluten-free as long as your broth and Dijon are certified gluten-free. The texture doesn’t need any flour to work, so there’s no extra step to complicate the sauce.
Making It for a Bigger Crowd
Brown the chicken in batches so the skin still has room to crisp, then build the sauce in a wider pan or Dutch oven. If the pan is too crowded during the simmer, the sauce reduces too slowly and the apples can go soft before the chicken is done.
Storage and Reheating
- Refrigerator: Store leftovers in an airtight container for up to 3 days. The skin will soften, but the flavor deepens overnight.
- Freezer: The chicken freezes well, though the cream sauce may separate a little when thawed. Freeze in a tightly sealed container for up to 2 months and thaw in the refrigerator before reheating.
- Reheating: Warm gently on the stove over low heat with a splash of broth or water. Don’t boil it, or the cream can break and the chicken can dry out before the sauce loosens.
Answers to the Questions Worth Asking
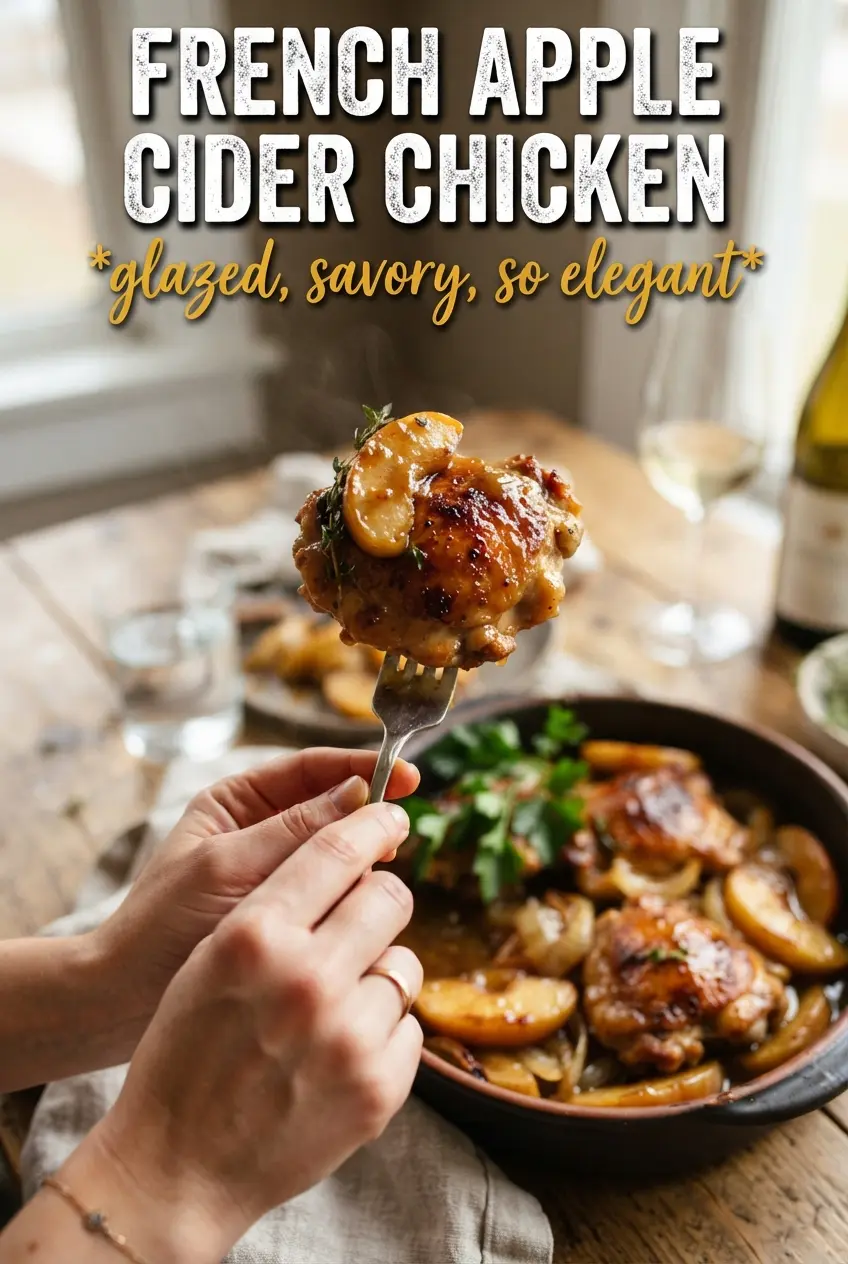
French Apple Cider Chicken
Ingredients
Equipment
Method
- Season the chicken thighs well with salt and pepper, then sear skin-side down in olive oil and butter over medium-high heat for 6-8 minutes until the skin is golden. Flip and cook 3 more minutes until browned, then remove the chicken.
- Sauté the shallots and apple slices over the same heat for 4-5 minutes until golden. Add the garlic and fresh thyme and cook for 1 minute, then keep the aromatics fragrant and lightly browned.
- Deglaze the pan with the apple cider and cook for 2 minutes to reduce slightly. Add the chicken broth and Dijon mustard, scraping up any browned bits.
- Return the chicken skin-side up to the pan, cover, and simmer for 20 minutes until cooked through. Keep the liquid at a gentle simmer so the sauce stays glossy.
- Stir in the heavy cream and simmer for 5 minutes until the sauce thickens slightly. Season with salt and pepper to taste and serve hot.