Buttery, flaky pastry and a bright raspberry filling make this pie the kind of dessert people remember after the plates are cleared. The crust stays tender on the inside with just enough crunch on top, and the fruit bakes down into a jammy slice that holds together instead of running all over the plate. It’s the balance that matters here: enough sugar to round out the berries, enough lemon to keep the flavor lively, and enough cornstarch to thicken the juices without turning the filling gluey.
The part that separates a good raspberry pie from a frustrating one is handling the fruit mixture with a little restraint. Raspberries release a lot of juice as they bake, so the cornstarch has to be measured, the filling needs to be mixed evenly, and the pie has to cool before you cut into it. That cooling time isn’t optional if you want clean slices. It’s what lets the filling set into that soft, spoonable layer you’re after.
The filling set up beautifully and didn’t leak out when I sliced it after cooling. I used frozen raspberries, and the pie still came out with a crisp crust and that sweet-tart center everyone wanted a second piece of.
Save this homemade raspberry pie for the next time you want a flaky crust and a thick, sweet-tart berry filling that slices cleanly.
The Secret to a Raspberry Pie That Sets Instead of Running
Raspberry pie fails for one reason more than any other: the filling is treated like it will behave the same way as apple or peach filling. It won’t. Raspberries collapse fast and give off a lot of juice, so the thickener has to be there from the start and the pie has to bake long enough for that thickener to activate. If you pull it too soon, the center looks fine at first, then turns soupy on the plate.
The other mistake is cutting too early. A hot raspberry pie is still moving around inside, even if the top crust looks done. You want the filling bubbling through the vents or lattice and the crust deeply golden before it comes out. Then let it sit. That resting time is what turns loose berry syrup into a sliceable filling.
- Cornstarch — This is the thickener that keeps the juices from flooding the crust. Arrowroot can work, but it tends to be a little less forgiving with long bakes, so cornstarch is the safer choice here.
- Lemon juice — It sharpens the flavor and keeps the filling from tasting flat. Bottled lemon juice works in a pinch, but fresh gives the cleanest finish.
- Fresh or frozen raspberries — Both work well. If you use frozen berries, don’t thaw them first; toss them straight with the sugar and cornstarch so they don’t leak too much juice before the pie even gets into the oven.
- Refrigerated pie crusts — They save time and give you a dependable base. If you use homemade crust, keep it cold and handle it lightly so it bakes up flaky instead of tough.
Building the Filling and Baking It Until the Juices Bubble

Coating the Berries Evenly
Toss the raspberries with the sugar, cornstarch, lemon juice, and salt until every berry looks lightly coated. You’re not trying to mash them; you’re trying to distribute the starch so it thickens the juices as they bake. If you see dry pockets of cornstarch, keep tossing for a few more seconds. Those pockets can leave chalky streaks in the finished pie.
Shaping the Bottom Crust
Press one crust into a 9-inch pie dish and let it settle into the corners without stretching it. Stretching is what causes shrinkage in the oven, and shrinkage can pull the filling toward the center and make the edges uneven. Keep the crust cold until the filling goes in so the butter stays solid and the baked crust turns flaky instead of greasy.
Top Crust, Vents, and the Final Bake
Lay on the second crust as a full top or a lattice, then crimp the edges so the filling stays contained while the pie bubbles. Brush with egg wash and add coarse sugar for a glossy, crackly top. Bake until the crust is deeply golden and you can see the filling actively bubbling through the openings; that bubbling is your signal that the cornstarch has fully thickened the fruit juices. If the edges brown too quickly, cover them loosely with foil and keep baking until the center shows visible bubbles.
Use a lattice top for more evaporation
A lattice crust lets more steam escape, which can help a juicy raspberry filling tighten up a little faster. It also gives you more of that caramelized crust-to-fruit contrast in each slice. If you want a neater finish and a slightly less juicy pie, this is the best swap.
Make it gluten-free with a tested gluten-free crust
The filling is naturally gluten-free, so the crust is the only part you need to change. Use a gluten-free pie crust that’s meant for baking and keep it cold so it doesn’t crumble when you transfer it to the dish. The texture will be a little more tender and less shattery than wheat crust, but the filling behaves the same way.
Use a little extra lemon for a brighter pie
If your berries are very sweet, add another teaspoon of lemon juice to wake up the filling. That extra acidity doesn’t make the pie sour; it keeps the raspberries tasting like raspberries after baking. It’s a good adjustment when you’re using supermarket berries that lean mild.
Storage and Reheating
- Refrigerator: Store covered for up to 4 days. The crust softens a bit by day two, but the filling stays in good shape.
- Freezer: Raspberry pie freezes well after baking. Cool completely, wrap tightly, and freeze for up to 2 months. Thaw overnight in the fridge before reheating.
- Reheating: Warm slices in a 300°F oven until the crust crisps back up. The common mistake is microwaving it, which makes the crust limp and the filling too loose.
Answers to the Questions Worth Asking
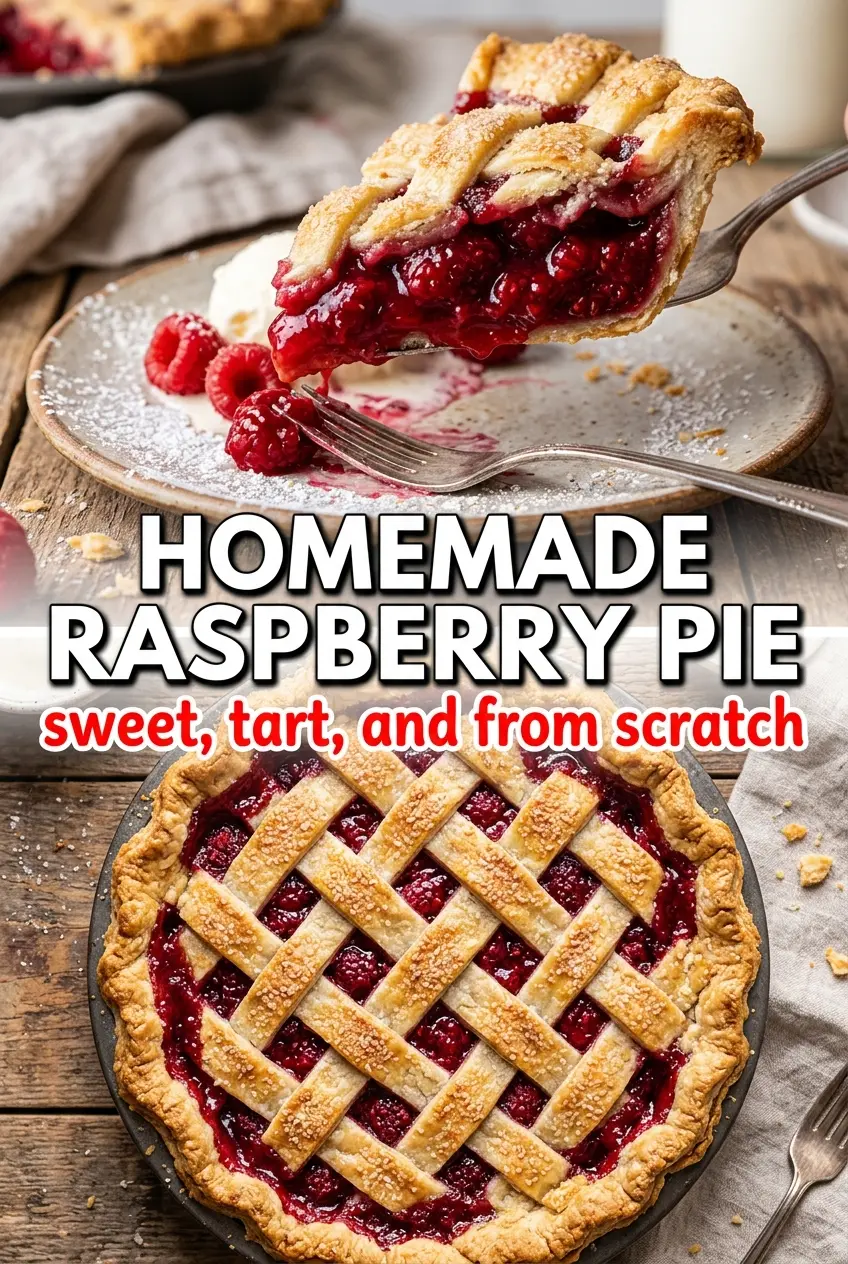
Homemade Raspberry Pie
Ingredients
Equipment
Method
- Preheat the oven to 400°F. Press one pie crust into a 9-inch pie dish.
- Toss the raspberries with granulated sugar, cornstarch, lemon juice, and salt until evenly coated, with the berries visibly slick and thickly coated.
- Pour the raspberry filling into the prepared crust, spreading it evenly so it reaches the edges.
- Top with the second crust in a whole-and-vent style or a lattice pattern, then crimp the edges to seal the pie and show clear vent lines or a lattice grid.
- Brush the top crust with egg wash and sprinkle with coarse sugar, creating a glossy, sparkly surface.
- Bake for 45–50 minutes at 400°F, until the crust is golden and the filling is bubbling at the vents or through the lattice.
- Cool for at least 2 hours before slicing so the filling sets and thickens to a sliceable texture.