When the warm cocoa filling hits the cake, it should sink into the holes instead of pooling across the top. I learned that the spacing matters as much as the filling: gaps leave some bites plain, while holes packed too close together can make the cake harder to lift in neat slices. For this Hot Cocoa Poke Cake, I use the handle of a wooden spoon to make an even grid that reaches nearly to the bottom.
The cake itself is tender and deeply chocolatey, but the sweetened condensed milk and hot cocoa mix give the center that familiar mug-of-cocoa sweetness. After a long chill, a blanket of whipped cream and mini marshmallows keeps each slice light against the rich cake. It’s a good one to make ahead, because the filling has time to settle before you add the soft topping.
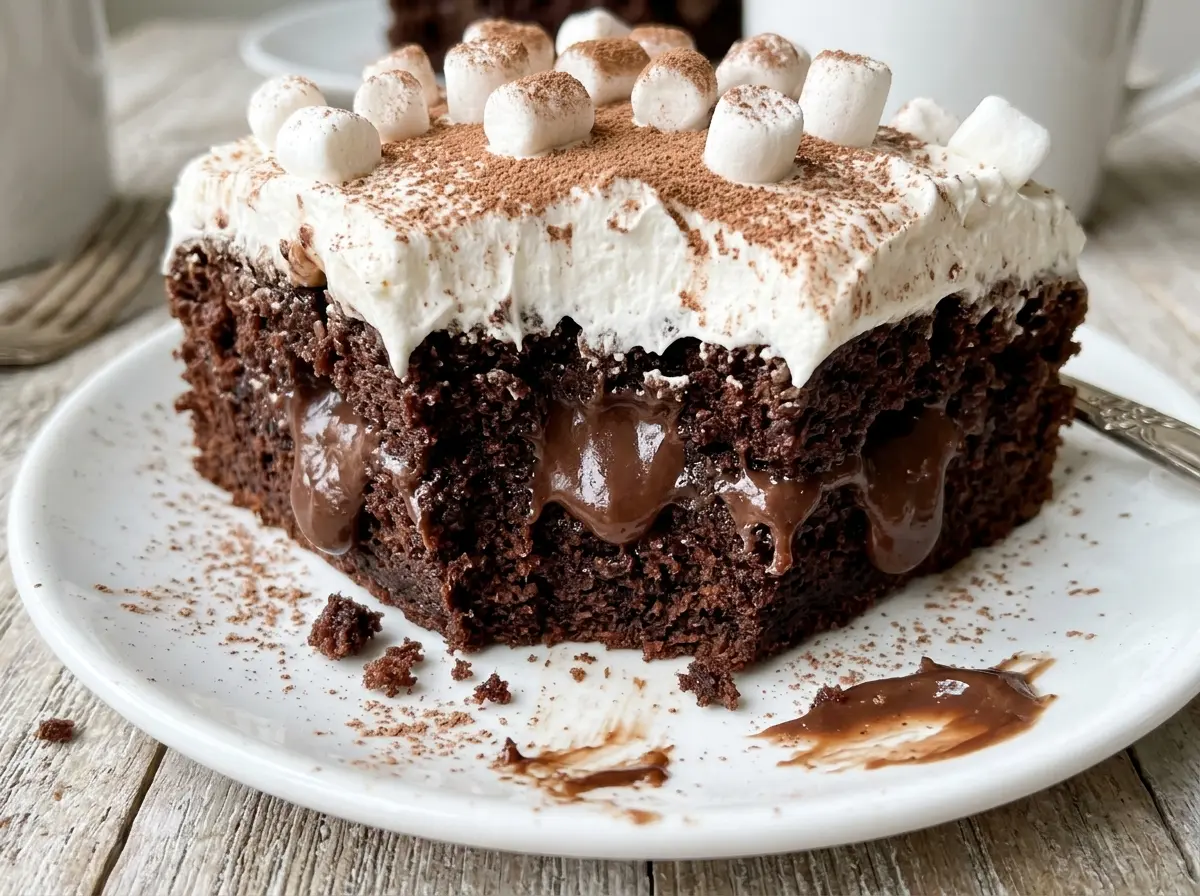
Kitchen Note
The cream turns from loose to medium peaks quickly in a clean, chilled bowl. I stop when the peaks hold but their tips still bend; beating past that can leave the topping grainy.
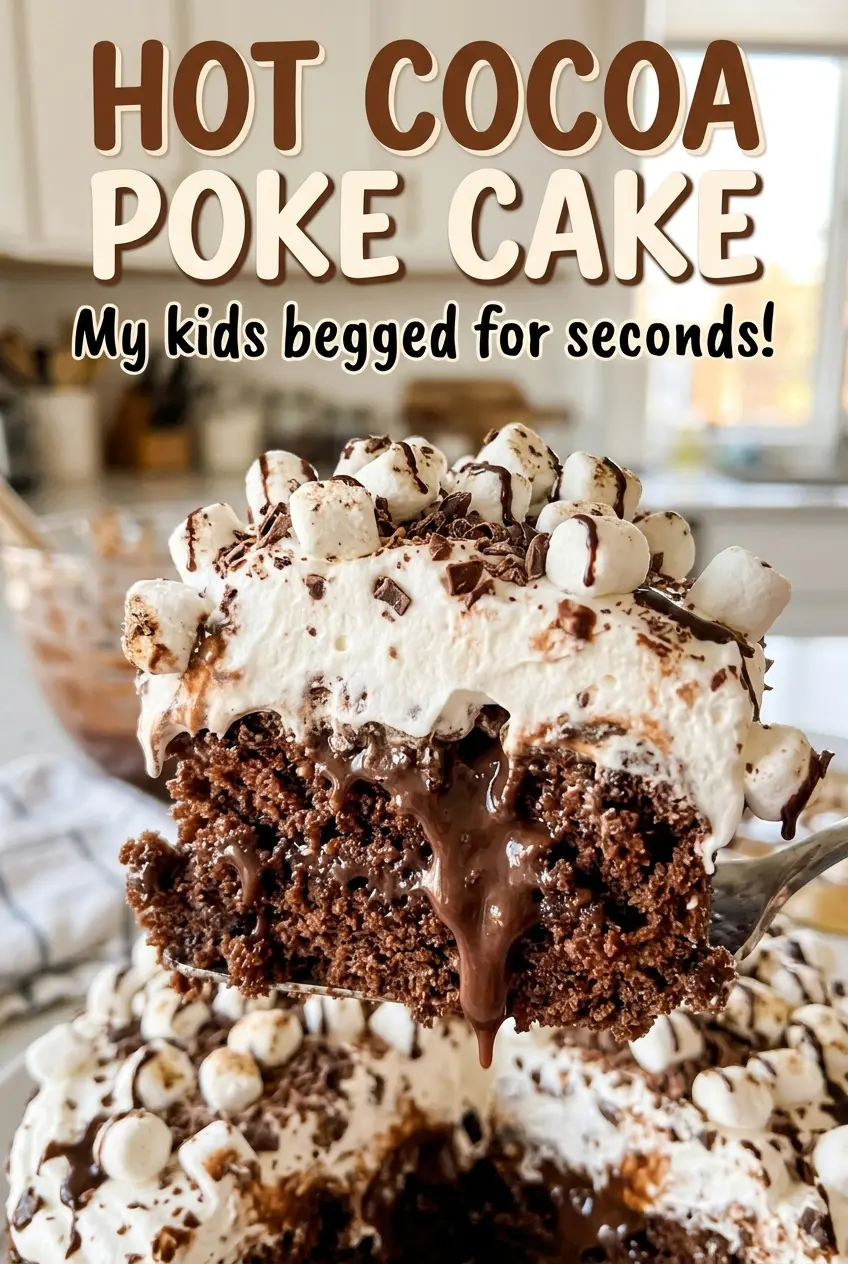
Save this Hot Cocoa Poke Cake for a chocolatey slice filled with sweet cocoa and finished with whipped cream and marshmallows.
Why the Cocoa Filling Needs a Thoughtful Grid of Holes
A poke cake can look evenly covered on top and still have dry patches inside. The filling follows the openings, so the pattern you make determines whether each slice gets a similar amount of cocoa in the center. A wooden spoon handle makes openings wide enough for the warm mixture to flow through, and spacing them about an inch apart helps distribute it across the whole cake.
Depth matters, too. If the holes stop near the surface, most of the filling stays in the top layer; taking them nearly to the bottom gives it a path through the crumb. Keep the cake in its baking dish while you poke and fill it, since the sides hold the mixture in place as it settles. That simple grid is what turns a chocolate cake with topping into a cake with cocoa running through every slice.
What Gives This Cake Its Cocoa-Shop Flavor
- Unsweetened cocoa powder — This gives the cake its chocolate depth without adding sweetness. A standard grocery-store cocoa works well; choose one you like the taste of, because it carries the cake’s chocolate flavor.
- Sweetened hot cocoa mix — Unlike plain cocoa powder, the mix brings sweetness and the familiar prepared-cocoa taste to the filling. Choose a smooth mix without marshmallow pieces so it can whisk evenly with the milk and condensed milk.
- Sweetened condensed milk — Its thick, concentrated sweetness gives the filling body and helps it cling inside the cake. Evaporated milk isn’t a direct replacement; it’s thinner and unsweetened, so the filling would lose both texture and sweetness.
- Buttermilk — Its acidity works with the baking soda and helps keep the chocolate crumb tender. If you’re out, the variation below gives a quick milk-and-acid substitute; ordinary buttermilk is fine here, so there’s no need to seek out a special brand.
- Vegetable oil — Oil keeps the cake moist after chilling. Neutral canola oil works in its place without changing the chocolate flavor.
- Cold heavy cream — Heavy cream is what makes a soft, spoonable whipped topping. Half-and-half doesn’t have enough fat to whip into the same stable peaks, so keep the heavy cream for this layer.
From Thin Chocolate Batter to Marshmallow Finish
Whisking a Smooth, Thin Batter
Heat the oven to 350°F and grease a 9×13-inch baking dish. In a 4-quart mixing bowl, whisk together the flour, granulated sugar, cocoa powder, baking soda, baking powder, and salt, then add the eggs, buttermilk, oil, and vanilla and beat until smooth. Slowly whisk in the boiling water; the batter will be thin, which is expected. Pour it into the dish without letting it sit while you prepare anything else.
Baking the Cake Without Drying It Out
Bake for 35 to 40 minutes, checking the center with a toothpick. A few moist crumbs clinging to it are the cue to take the cake out; a completely clean pick can mean the crumb has gone too far. Let the cake cool in the dish for 10 minutes. Then use the handle of a wooden spoon to poke holes about an inch apart, reaching nearly to the bottom.
Warming and Pouring the Cocoa Filling
Combine the sweetened condensed milk, hot cocoa mix, and whole milk in a 2-quart saucepan. Warm over medium-low heat for 3 to 4 minutes, whisking until the mixture is smooth, and don’t let it boil. Pour it evenly over the cake while it’s warm, then spread it gently so it runs into the holes. Cover the dish and refrigerate the cake for at least 2 hours.
Adding the Cream and Marshmallows
In a clean, chilled 4-quart bowl, beat the cold heavy cream and powdered sugar with an electric mixer until medium peaks form, about 2 to 3 minutes. Spread the cream over the chilled cake and scatter the mini marshmallows across the top. Refrigerate the finished cake for at least 30 minutes before serving so the topping has time to settle. Keep it cold until you’re ready to slice.
Three Useful Ways to Adapt the Cocoa Cake
A gluten-free version
Replace the all-purpose flour with the same amount of a cup-for-cup gluten-free baking blend that includes xanthan gum. The crumb may be a little more delicate, so let the cake cool in the dish and handle slices gently.
Peppermint hot cocoa filling
Use peppermint-flavored sweetened hot cocoa mix in place of the regular mix, keeping the same measure. It gives the filling a mint-chocolate note; the sweetness can vary a little by brand.
A quick buttermilk substitute
Stir 1 tablespoon of lemon juice or white vinegar into a measuring cup, add milk until it reaches 1 cup, and let it stand for 5 minutes before using. It provides the acidity the cake batter needs, though real buttermilk gives a slightly fuller tang.
Storage and Reheating
- Refrigerator: Keep the cake covered and refrigerated for up to 3 days. The marshmallows soften a little as they sit.
- Freezer: The filled cake freezes best before you add the whipped cream and marshmallows. Wrap it tightly and freeze for up to 2 months; thaw it in the refrigerator, then add the fresh topping.
- Reheating: This cake is served cold, so there’s no reheating step. Microwaving it melts the whipped cream and warms the filling unevenly.
Questions That Come Up With Hot Cocoa Poke Cake
Hot Cocoa Poke Cake
Ingredients
Equipment
Method
- Heat the oven to 350°F and grease a 9x13-inch baking dish.
- In a 4-quart mixing bowl, whisk together the all-purpose flour, granulated sugar, unsweetened cocoa powder, baking soda, baking powder, and table salt.
- Add the eggs, buttermilk, vegetable oil, and vanilla extract, and beat until smooth.
- Slowly whisk in the boiling water until the batter is thin and combined.
- Pour the batter into the prepared dish.
- Bake for 35-40 minutes, until a toothpick inserted in the center comes out with a few moist crumbs.
- Cool the cake in the dish for 10 minutes.
- Using the handle of a wooden spoon, poke holes about 1 inch apart across the cake, nearly to the bottom.
- Combine the sweetened condensed milk, sweetened hot cocoa mix, and whole milk in a 2-quart saucepan.
- Warm over medium-low heat for 3-4 minutes, whisking until smooth without letting it boil.
- Pour the warm filling evenly over the cake, spreading it so it runs into the holes.
- Cover and refrigerate the cake for at least 2 hours.
- In a clean, chilled 4-quart bowl, beat the cold heavy cream and powdered sugar with an electric mixer for 2-3 minutes, until medium peaks form.
- Spread the whipped cream over the chilled cake.
- Scatter the mini marshmallows on top.
- Refrigerate for at least 30 minutes before serving.