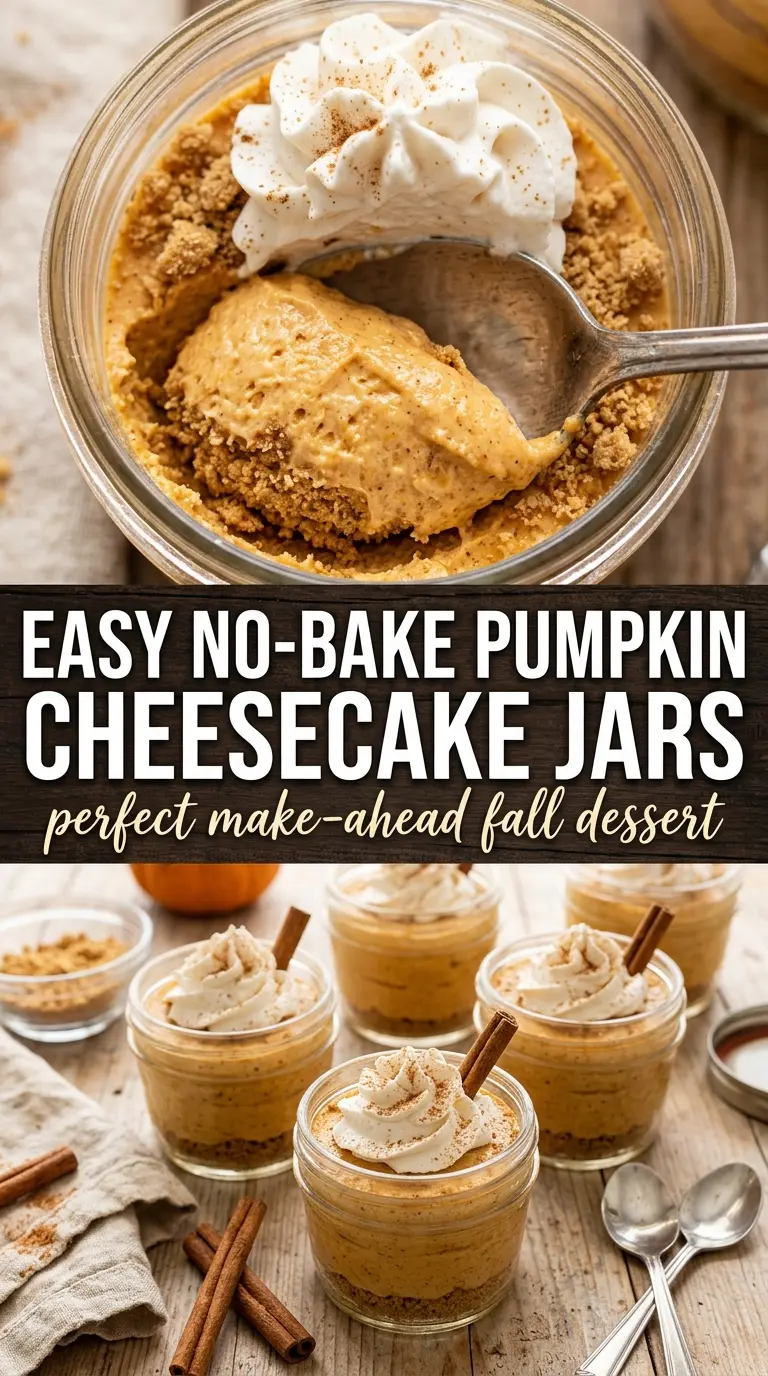
Layered no-bake pumpkin cheesecake in a jar lands with that cool, creamy spoonful you want from a fall dessert, but without the fuss of baking, water baths, or worrying about a cracked top. The graham cracker crumbs stay pleasantly sandy and buttery, while the pumpkin cheesecake filling sets up light enough to feel airy but rich enough to taste like an actual treat, not a shortcut. In individual jars, each bite gets a little crunch, a little spice, and a clean finish from the whipped cream on top.
What makes this version work is the balance. The cream cheese and powdered sugar build the base, pumpkin puree brings the flavor and color, and whipped cream softens the filling so it holds its shape without turning dense. The crumb layer needs enough butter to clump when pressed, but not so much that it turns greasy, which is why the ratio matters here. Chill time is not optional; it gives the filling time to firm up so the layers stay distinct instead of sliding together.
If you’ve ever made a no-bake cheesecake that stayed loose or tasted too heavy, the method below fixes both problems. The filling gets a better texture when you fold in the whipped cream gently, and the jars make portioning simple for parties, potlucks, or a make-ahead dessert that can sit in the fridge until you need it.
The filling set up perfectly after a couple hours in the fridge, and the graham cracker layer stayed crunchy instead of getting soggy. I made six jars for a dinner party and they disappeared fast.
Pumpkin cheesecake in a jar is the kind of make-ahead dessert that chills beautifully and serves cleanly every time.
The Small Mistake That Makes No-Bake Cheesecake Heavy
Most no-bake cheesecakes go wrong in the same place: the filling gets beaten into a dense, almost frosting-like mass, then it never feels light once it chills. The trick here is to build the pumpkin base first, then fold in whipped cream at the end so the filling keeps some air. That gives you a texture that still tastes creamy and substantial, but not stiff or gluey.
The other common problem is too much moisture from the pumpkin puree. Canned pumpkin is fine here, but don’t use pumpkin pie filling, which already contains sugar and spices and throws off both the flavor and the texture. If your filling looks loose before chilling, that usually means the whipped cream was deflated during folding or the cream cheese was too cold to blend smooth in the first place.
What Each Ingredient Is Doing in These Pumpkin Cheesecake Jars
- Graham cracker crumbs — These give the dessert its structure and that classic cheesecake crust flavor without needing to bake anything. Fresh crumbs from whole crackers hold up a little better than the pre-crushed kind, but either works.
- Unsalted butter — Butter binds the crumbs so they pack into a layer instead of scattering. If the mixture looks dry and won’t clump when squeezed, add a teaspoon more butter rather than guessing with a big pour.
- Cream cheese — This is the backbone of the filling, so full-fat cream cheese gives the best texture and tang. It needs to be softened all the way through; cold cream cheese leaves little lumps that don’t fully disappear once the whipped cream goes in.
- Pumpkin puree — This brings the pumpkin flavor and helps loosen the filling just enough for spoonable layers. Stick with plain pumpkin puree, not pie filling, and if your brand seems watery, give it a quick stir before measuring.
- Powdered sugar — It sweetens the filling and helps keep the texture smooth. Granulated sugar won’t dissolve the same way here and can leave the filling gritty.
- Pumpkin pie spice — This pulls the whole dessert into fall dessert territory with cinnamon, ginger, nutmeg, and cloves in one shot. If you only have cinnamon, use it, but the filling will taste flatter.
- Heavy cream, whipped to stiff peaks — This is what gives the cheesecake its light, mousse-like lift. Whip it to stiff peaks before folding it in, because underwhipped cream can’t hold the filling up, and overwhipped cream can turn grainy.
Building the Layers So the Jars Stay Neat
Mix the Crust Until It Holds Together
Stir the graham cracker crumbs and melted butter until every crumb looks evenly coated and the mixture clumps when pressed between your fingers. If it still looks powdery, the jars will end up with a loose bottom layer that shifts around when you spoon into it. You want damp sand, not wet paste.
Beat the Pumpkin Base Until It’s Completely Smooth
Blend the cream cheese, pumpkin puree, powdered sugar, and pumpkin pie spice until the mixture loses every streak of cream cheese. Scrape the bowl well, especially along the bottom where softened cream cheese likes to hide. If you start with cold cream cheese, stop and let it warm up; beating longer won’t fix hard lumps.
Fold in the Whipped Cream Without Deflating It
Add the whipped cream in two or three additions and fold with a spatula, lifting from the bottom and turning the mixture over itself. The filling should look lighter and thicker as you go, not glossy and runny. If you stir hard at this stage, you knock out the air that gives the dessert its mousse-like texture.
Layer and Chill for a Clean Finish
Spoon the crumb mixture into the jars first, then add the pumpkin filling in alternating layers so you get a little crunch in each bite. Tap the jars gently on the counter to settle the filling, but don’t pack them hard or the layers compress and lose their look. Chill for at least two hours, longer if you want the cleanest spoonfuls.
How to Adapt These Jars for Different Crowds and Diets
Dairy-Free Version
Use dairy-free cream cheese and a plant-based whipping cream that holds stiff peaks. The texture will be a touch softer, but the jars still set well if you chill them fully before serving.
Gluten-Free Crust
Swap the graham crackers for gluten-free graham-style crumbs or crushed gluten-free cookies. The filling doesn’t change, but the crumb layer may need an extra teaspoon of butter depending on how dry the cookies are.
Make Them Ahead for a Party
Assemble the jars up to a day in advance and keep the whipped cream garnish separate until serving. That keeps the top clean and the texture on point, especially if the jars will sit in the fridge overnight.
Storage and Reheating
- Refrigerator: Store covered for up to 3 days. The crumb layer softens a little as it sits, but the filling stays creamy and spoonable.
- Freezer: I don’t recommend freezing these jars. The cream cheese and whipped cream layer can turn grainy after thawing.
- Reheating: No reheating needed. Serve them cold straight from the fridge, and add the whipped cream right before serving so it stays fluffy.
Answers to the Questions Worth Asking
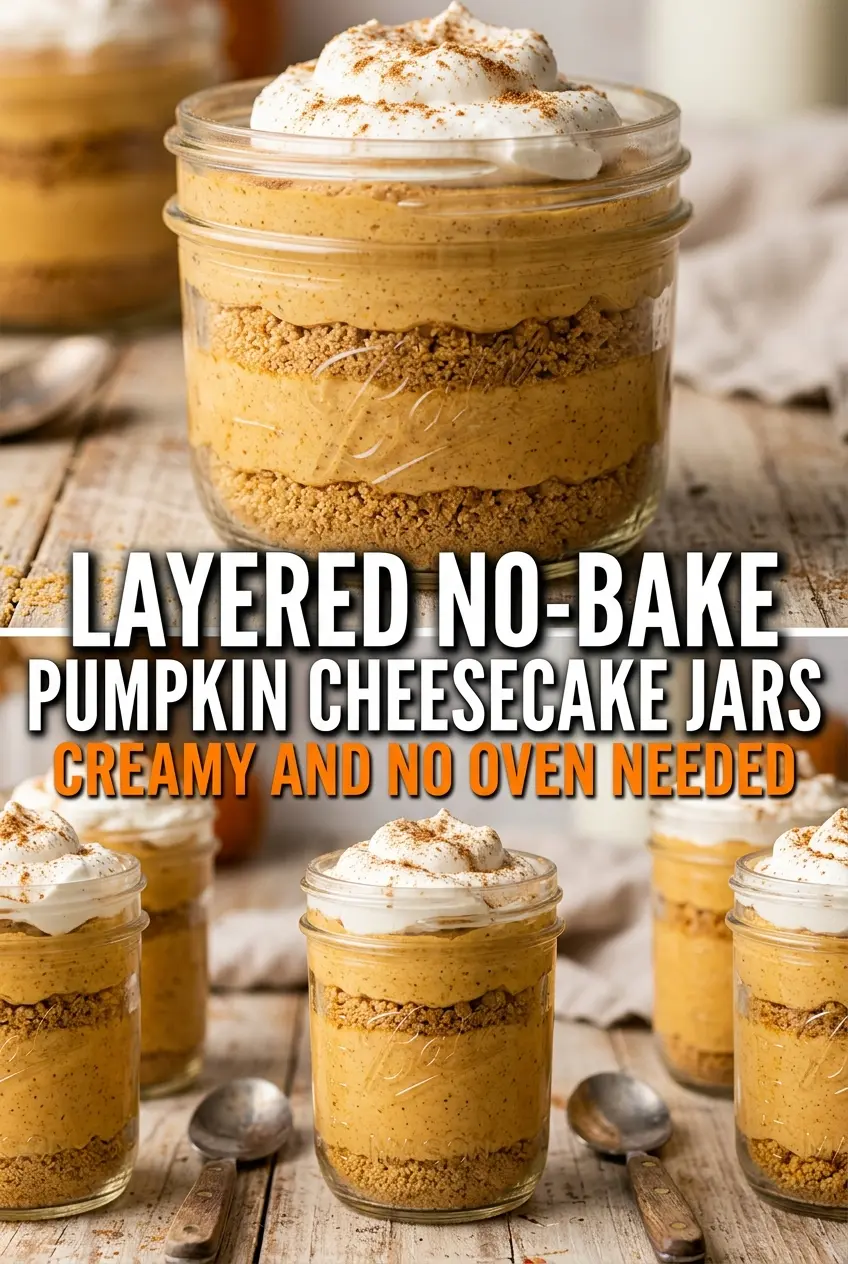
Layered No-Bake Pumpkin Cheesecake In A Jar
Ingredients
Equipment
Method
- Combine the graham cracker crumbs and melted butter, then set aside for layering.
- Let the crumb mixture sit while you prepare the filling so it stays cohesive in the jars.
- Beat the cream cheese, pumpkin puree, powdered sugar, and pumpkin pie spice together until smooth and creamy.
- Gently fold in the whipped cream until no streaks remain and the mixture looks uniformly fluffy.
- Layer the graham cracker mixture and pumpkin cheesecake filling in individual jars, alternating layers.
- Top each jar with a dollop of whipped cream and a dusting of cinnamon for a finished look.
- Chill for at least 2 hours before serving to fully set the layers.
- Serve cold straight from the jars, keeping any leftovers refrigerated.