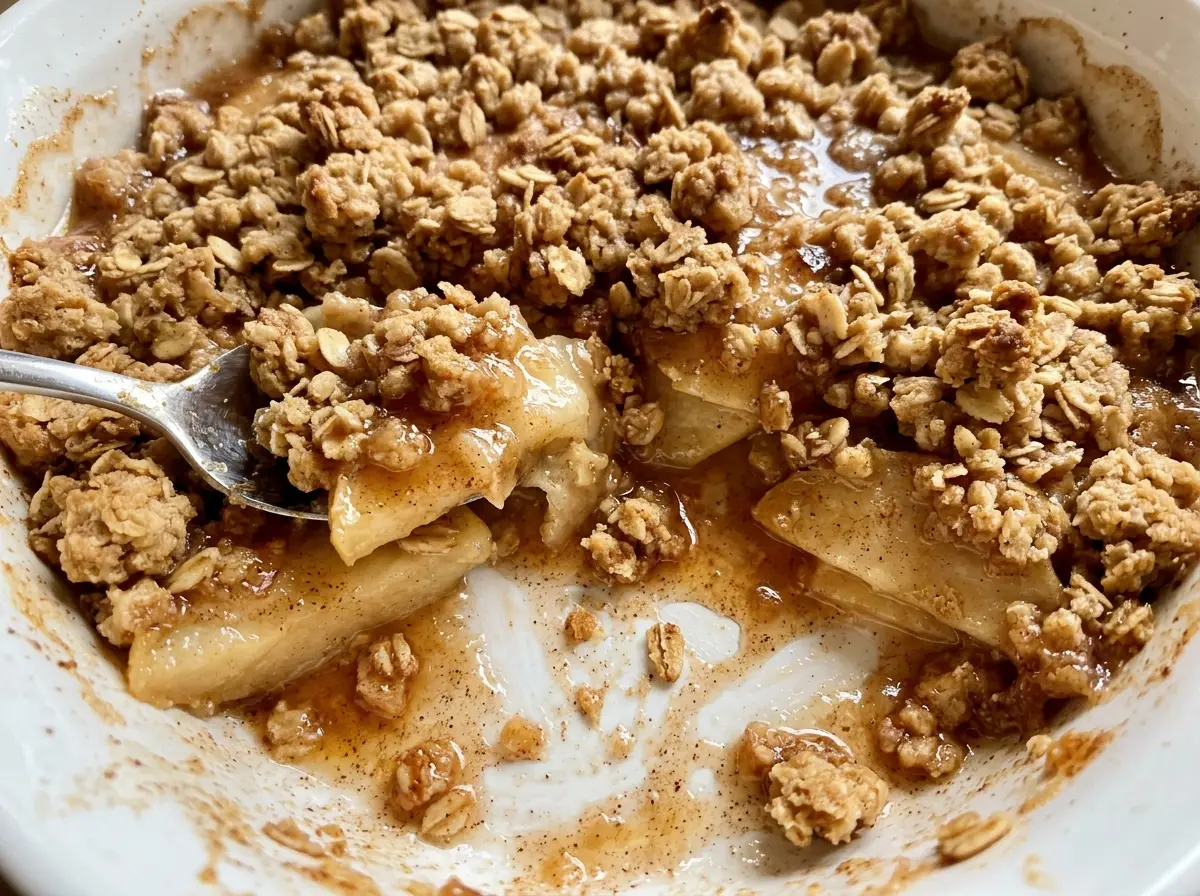
The first bubbles around the edge are easy to miss beneath a golden oat topping, but they tell you the apples are cooking and the thickener is doing its job. I watch for that bubbling and a knife sliding easily into the slices before I pull this oatmeal cookie apple crisp from the oven. The topping turns into buttery, nubbly crumbs, while the apples underneath soften without disappearing into applesauce.
Firm apples, a little cornstarch, and cold butter make this a dependable crisp with a clear contrast between tender fruit and a crumbly top. I slice the apples evenly so they soften at the same pace, then give the finished pan time to rest before serving. That pause helps the filling settle instead of running straight across the plate. The result is warm cinnamon apples tucked beneath a golden, oat-studded cookie crust.
Kitchen Note
Give the crisp the full 20-minute rest after baking. The topping stays crisp, and the apple juices have time to settle into a spoonable filling instead of pooling as soon as you cut in.
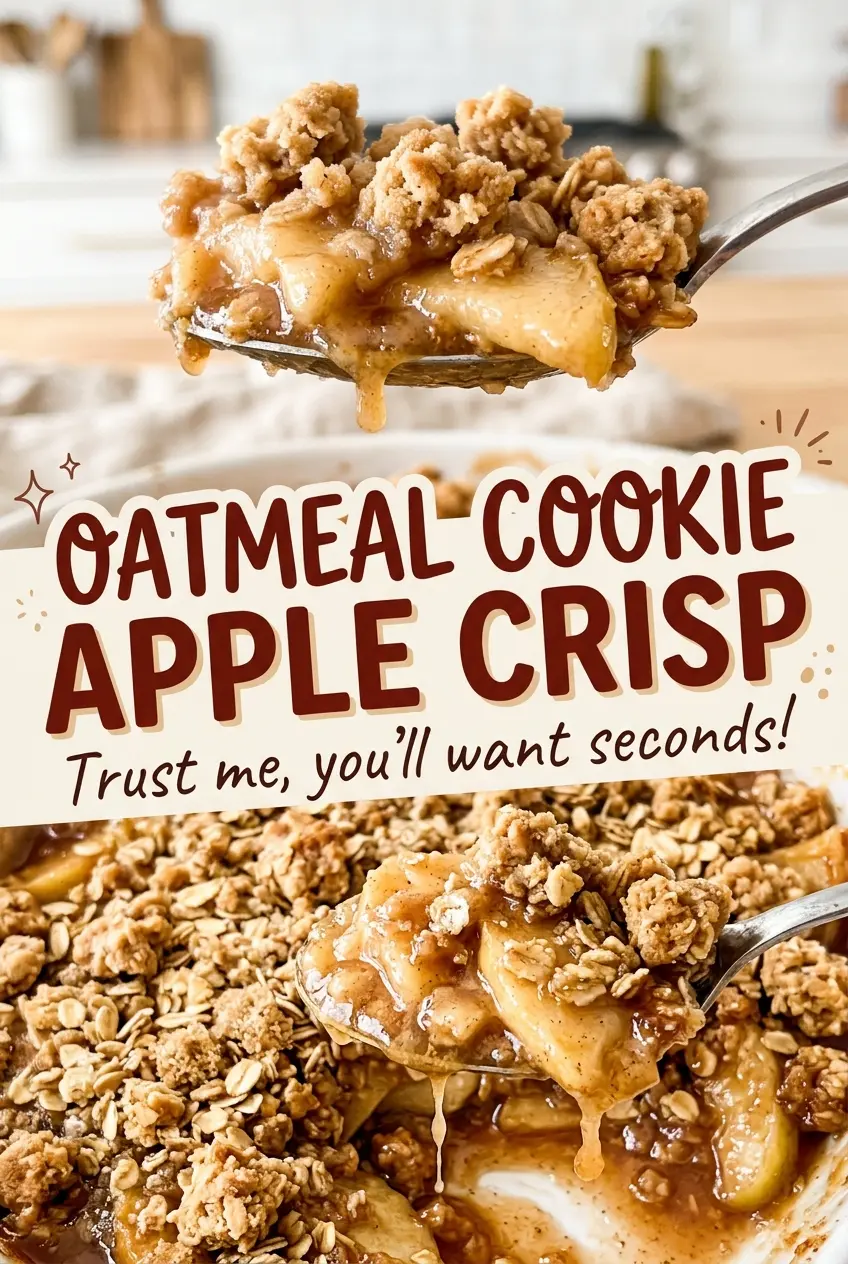
Save this oatmeal cookie apple crisp for its bubbling cinnamon apples and golden, buttery oat topping.
Why the Apple Filling Needs to Bubble Before It Can Set
A crisp can look finished on top while the fruit underneath is still firm and the juices are thin. Color alone isn’t enough to judge this bake. The bubbling around the edges shows that the filling has heated through, giving the cornstarch a chance to thicken the juices released by the apples. A knife should also slide into the fruit without meeting a hard, crunchy center.
The apple slices matter here because they cook beneath a layer of topping, where they don’t get direct exposure to the oven’s dry heat. Slicing them about a quarter inch thick gives them time to turn tender during the bake without asking the oat topping to stay in the oven long after it’s golden. Keep the slices fairly even, too: a mix of thin and thick pieces can leave you with some soft bites and some stubbornly firm ones. Look for both cues together—the bubbling filling and tender apples—rather than relying on the crust’s color by itself.
What the Apples, Cornstarch, and Cold Butter Each Bring to the Crisp
- Firm apples — Granny Smith apples bring a tart edge and hold their shape well; Honeycrisp apples are sweeter but still firm enough for baking. Either works here. Peel, core, and slice them evenly so the filling cooks at a steady pace.
- Cornstarch and lemon juice — Cornstarch thickens the apple juices into a soft filling, while lemon juice brightens the sweetness and cinnamon. Toss them thoroughly with the fruit so the starch doesn’t sit in dry pockets.
- Old-fashioned rolled oats — These give the topping its distinct, chewy oat texture. Quick oats make a finer, softer crumb, so stick with old-fashioned oats for the cookie-like finish this crisp is meant to have.
- All-purpose flour and brown sugar — Flour helps the topping form crumbs, and packed light brown sugar brings sweetness and a mild molasses note. A measure-for-measure gluten-free baking blend can replace the flour if needed; the topping may be a little more delicate.
- Cold unsalted butter — Cold pieces cut into the dry mixture make coarse crumbs and pea-size clumps that brown in the oven. A firm dairy-free butter stick can stand in at the same measure; avoid soft tub-style spreads, which make a greasy, less crumbly topping.
- Kosher salt — A small amount keeps the sweet topping from tasting flat. If using a finer-grain salt, measure carefully because it packs more densely than kosher salt.
From Thin Apple Slices to a Golden, Bubbling Crisp
Coat the apples before they go in the dish
Heat the oven to 350°F and grease a 9×13-inch baking dish. In a large bowl, toss the peeled, cored, quarter-inch apple slices with the granulated sugar, lemon juice, cornstarch, and cinnamon. Keep tossing until the slices look evenly coated, with no visible pockets of dry cornstarch. Spread the fruit in the prepared dish so it sits in an even layer.
Work the butter into coarse, pebbly crumbs
Stir the oats, flour, brown sugar, and kosher salt together in a medium bowl. Add the cold butter pieces, then cut them in with your fingers or a pastry cutter until the mixture looks like coarse crumbs with some pea-size clumps. Stop when you still see those small butter pieces; working the mixture until it’s uniformly fine leaves less texture in the baked topping. Scatter the crumbs evenly over the apples without packing them down.
Bake until the fruit—not just the topping—is ready
Bake for 50 to 60 minutes, watching for a golden-brown top and filling that bubbles around the edges. Test the apples with a knife; it should pierce a slice easily, not catch on a firm center. If the topping is golden but the fruit still resists the knife, the apples need more time in the oven. Once both cues are there, let the crisp rest for 20 minutes before serving.
Choose an Apple or Topping Adaptation That Suits Your Table
A tarter crisp with Granny Smith apples
Choose firm Granny Smith apples for a sharper contrast with the brown-sugar topping. Their tartness keeps each bite bright, and the slices hold their shape as they bake.
A sweeter filling with Honeycrisp apples
Use firm Honeycrisp apples when you want the fruit to taste sweeter and less tart. They still bring enough structure for a baked crisp, with a softer, more mellow apple flavor.
A gluten-free oat topping
Use certified gluten-free old-fashioned oats and replace the all-purpose flour with a measure-for-measure gluten-free baking blend. The topping may crumble a little more easily, but it keeps the same oat-and-brown-sugar character.
Storage and Reheating
- Refrigerator: Cover leftovers and refrigerate for up to 4 days. The topping softens as it sits against the fruit.
- Freezer: Freeze the cooled crisp tightly covered for up to 3 months. Thaw it in the refrigerator; the topping may be softer than it was fresh.
- Reheating: Warm portions in a 350°F oven until heated through. The oven helps the topping regain some crispness; microwaving is quicker but leaves it softer.
The Questions That Come Up Before the First Scoop
Oatmeal Cookie Apple Crisp
Ingredients
Equipment
Method
- Heat the oven to 350°F.
- Grease a 9x13-inch baking dish.
- In a large bowl, toss the apples with the granulated sugar, lemon juice, cornstarch, and cinnamon.
- Spread the apple mixture in the prepared dish.
- In a medium bowl, stir together the oats, flour, brown sugar, and salt.
- Cut in the cold butter with your fingers or a pastry cutter until the mixture forms coarse crumbs with some pea-size clumps.
- Scatter the topping evenly over the apples.
- Bake for 50 to 60 minutes, until the topping is golden brown and the filling is bubbling around the edges and tender when pierced with a knife.
- Let the crisp rest for 20 minutes before serving.