Salmon sushi bake gives you all the best parts of a spicy salmon roll without the fussy part. The rice turns lightly tangy and sticky, the salmon layer bakes into a creamy, savory topping, and the broiled finish adds just enough color to make every scoop taste like it came from a sushi counter. It’s the kind of dish that disappears fast because it eats like comfort food but still has the bright, salty-sweet balance people expect from sushi flavors.
The trick is building each layer with a little intention. Warm rice grabs onto the rice vinegar mixture better than cold rice, so it packs into a steady base instead of turning loose and crumbly. The salmon mixture also needs balance: mayo for richness, sriracha for heat, soy sauce for depth, and sesame oil for that unmistakable nutty finish. Broiling at the end matters too. That last 2–3 minutes gives you the golden top and bubbling edges that make the whole pan feel special.
Below you’ll find the exact texture cues that keep the rice from getting mushy, plus a few smart swaps if you want to make it milder, spicier, or more filling. I’ve also included the storage notes that help this reheat well instead of drying out.
The rice layer held together perfectly and the broiled top got those little browned spots without drying out the salmon. I added the green onions and nori at the end like you said, and it tasted just like a spicy salmon roll in casserole form.
Save this salmon sushi bake for the nights when you want spicy salmon, sticky rice, and a golden broiled top without rolling a single sushi roll.
The Reason the Rice Layer Needs to Go in Warm
The rice base is the part that quietly decides whether this bake feels cohesive or falls apart on the plate. Warm sushi rice mixes more evenly with the vinegar, sugar, and salt, and it presses into the dish without cracking or leaving dry pockets behind. If you use cold rice, it tends to stay stiff and the top layer can slide around when you scoop it.
That vinegar mixture isn’t just for sushi flavor. It seasons every bite of the rice so the casserole doesn’t taste flat under the creamy salmon. Press the rice into an even layer, but don’t pack it so hard that it turns dense. You want a base that holds together cleanly and still stays tender when it bakes.
What Each Ingredient Is Doing in the Pan
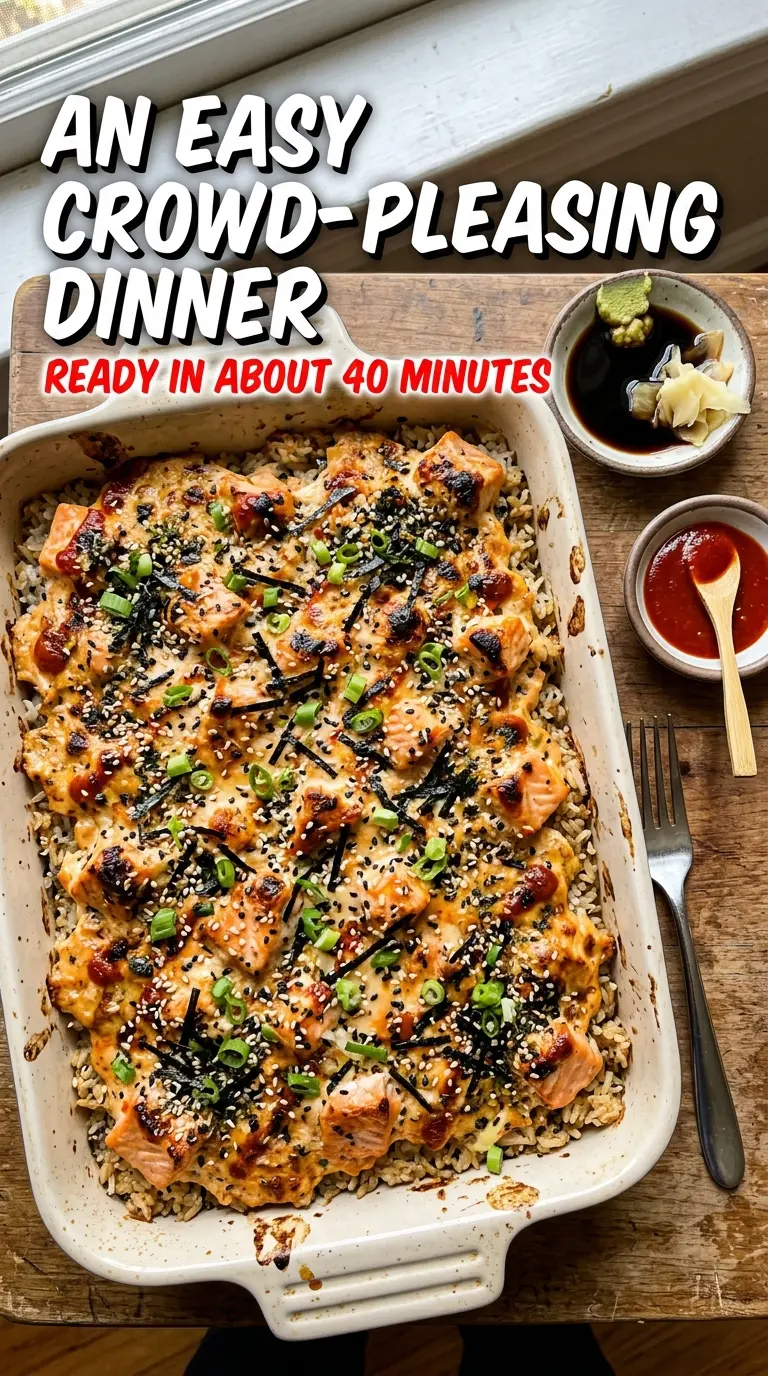
- Sushi rice — This is the backbone of the dish. Short-grain rice gives you the sticky, scoopable texture that holds the layers together. Long-grain rice won’t mimic that same body.
- Rice vinegar, sugar, and salt — This is the seasoning that makes the base taste like sushi instead of plain rice. Stir it into the rice while it’s still warm so it absorbs evenly.
- Salmon — Use salmon that’s already cooked and flaked, with the bones and skin removed. Leftover baked salmon works well here, and even salmon cooked a day ahead is fine as long as it hasn’t been heavily seasoned with something that clashes.
- Mayonnaise — This gives the topping its creamy, spreadable texture. Japanese-style mayo is a little richer and tangier, but regular mayo works well too.
- Sriracha and soy sauce — These build the spicy-savory backbone of the salmon layer. If you want less heat, cut the sriracha slightly and replace the missing amount with a spoonful of mayo so the texture stays balanced.
- Sesame oil — A small amount goes a long way here. It adds the nutty aroma that makes the whole pan smell like a sushi roll the second it comes out of the oven.
- Imitation crab — Optional, but it adds that familiar sushi-bake feel and stretches the filling. If you leave it out, the salmon layer will be a little richer and more straightforward.
- Nori, green onions, and sesame seeds — Add these at the end so they stay fresh and fragrant. Nori loses its snap in the oven, so crumble it over the top right before serving.
Building the Salmon Layer So It Stays Creamy, Not Greasy
Season the rice first
Toss the warm cooked rice with rice vinegar, sugar, and salt until every grain looks glossy. That coating should smell bright and a little sweet, not sharp. Spread it into the greased pan in an even layer, then press lightly with a spatula so it settles without becoming compacted.
Mix the salmon until it spreads easily
Combine the flaked salmon with mayonnaise, sriracha, soy sauce, sesame oil, and crab if you’re using it. The mixture should be creamy enough to spread but not runny. If it looks loose, the salmon may have been too wet; drain it a bit or add a spoonful more mayo to bring it back together.
Broil for color, not for cooking time
After baking, broil just until the top turns lightly golden and starts to bubble at the edges. Stand close and watch it, because the line between golden and scorched is short under a broiler. The goal is a little caramelized color on top, not a dried-out fish layer underneath.
How to Adapt This for Different Tastes and Busy Weeks
Dairy-Free Without Losing the Creamy Texture
This recipe already leans dairy-free as written, so the main job is choosing a mayo you like. A good egg-based or avocado-oil mayo keeps the topping rich and smooth. The result stays just as creamy, with no need for cream cheese or dairy to hold it together.
Make It Milder for Kids or Heat-Sensitive Eaters
Cut the sriracha in half and add a touch more mayo to keep the salmon layer soft and spreadable. You still get the savory richness from the soy sauce and sesame oil, just without the sharp heat that can overpower the fish.
Gluten-Free Version That Still Tastes Complete
Use a gluten-free soy sauce or tamari, and check the imitation crab if you’re adding it since that’s the most likely ingredient to contain wheat. The texture stays the same, and the final dish still gives you the same salty-sweet balance.
Storage and Reheating
- Refrigerator: Store covered for up to 3 days. The rice firms up a bit in the fridge, but the flavor holds well.
- Freezer: It can be frozen, though the rice texture gets softer after thawing. Freeze in portions wrapped tightly, then thaw in the refrigerator before reheating.
- Reheating: Reheat covered in a 325°F oven until warmed through, or use the microwave in short bursts. Don’t blast it on high heat for too long or the salmon will dry out before the center is hot.
Answers to the Questions Worth Asking
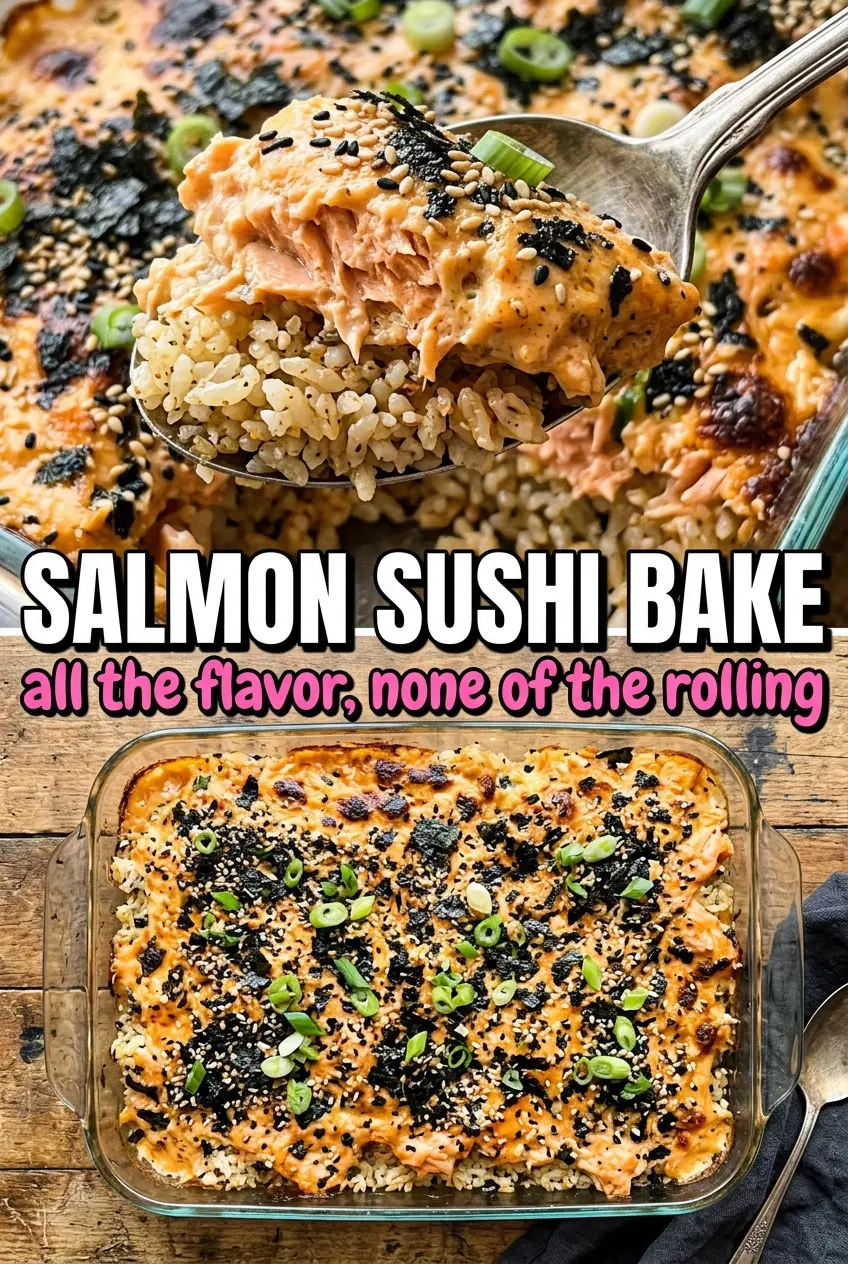
Salmon Sushi Bake
Ingredients
Equipment
Method
- Preheat the oven to 400°F and grease a 9x13-inch baking dish so the rice releases easily.
- Toss the warm cooked sushi rice with rice vinegar, granulated sugar, and salt, then press evenly into the bottom of the baking dish for an even layer.
- Combine the salmon fillet, mayonnaise, sriracha, soy sauce, and sesame oil, and fold in shredded imitation crab if using until creamy and evenly mixed.
- Spread the salmon mixture evenly over the rice layer so it reaches the edges.
- Bake for 15 minutes at 400°F, until the mixture is hot throughout, with edges starting to bubble.
- Broil for 2–3 minutes until the top is lightly golden and bubbling, keeping a close eye to prevent over-browning.
- Top with green onions, crumbled nori, and sesame seeds, then serve immediately with extra soy sauce and sriracha.