Salted caramel ice cream hits that sweet spot between plush and punchy: the base stays creamy without an ice cream machine, and the caramel ribbons bring just enough bitter edge to keep every spoonful from tasting flat. The salt sharpens the caramel instead of just seasoning it, which is why this version tastes like the kind you’d happily order by the scoop.
The texture works because the base leans on whipped cream and sweetened condensed milk, so it freezes soft enough to scoop without the icy bite that can happen in lower-fat no-churn ice creams. The caramel gets cooked to a deep amber before the butter and cream go in, which gives it a more complex flavor than pale, barely-golden sauce. Letting the caramel cool all the way before swirling it in keeps the base from melting and turning dense.
Below, I’ve broken down the part that matters most — getting the caramel dark enough without crossing into burnt — plus the small technique choices that keep the swirl distinct instead of disappearing into the ice cream.
The caramel stayed silky after freezing, and the salt kept it from tasting overly sweet. I loved that the swirl stayed separate instead of blending into the base, and it scooped beautifully after an overnight freeze.
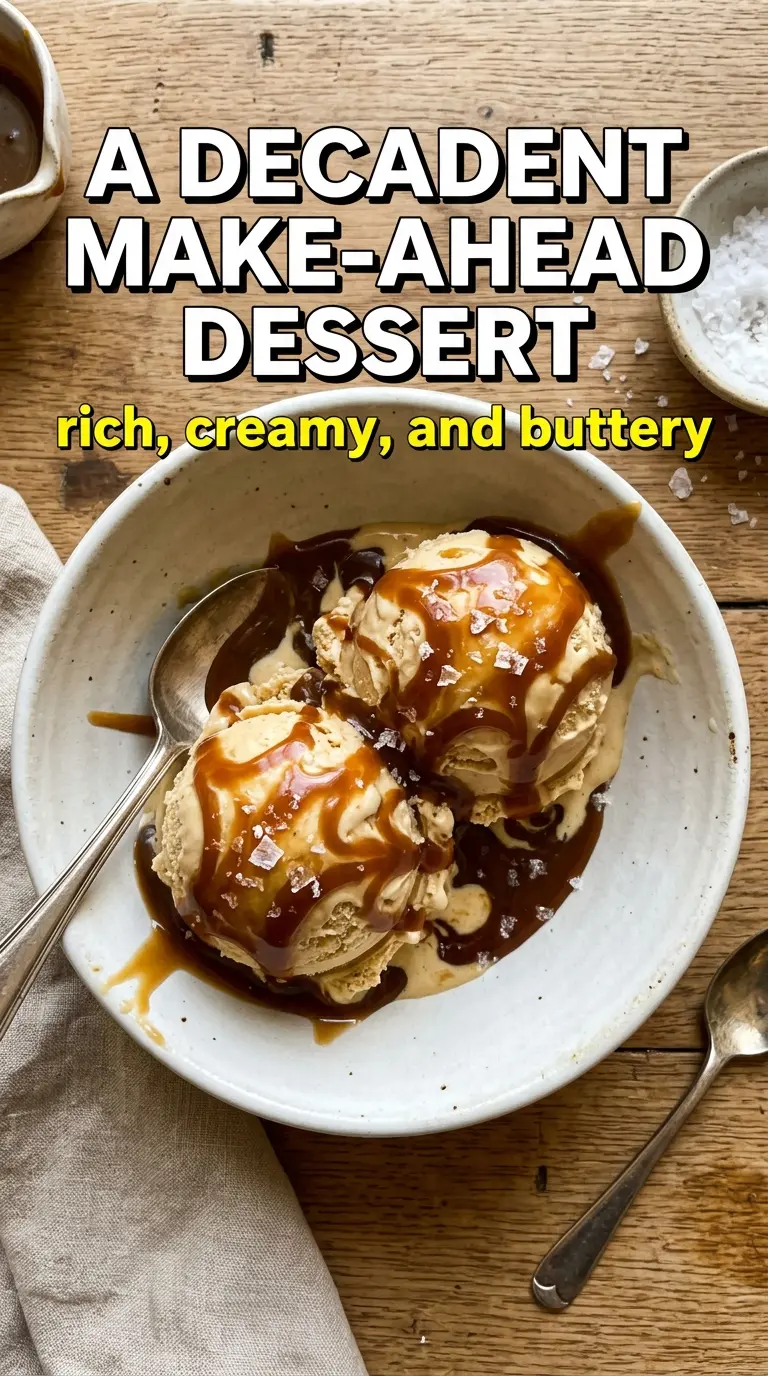
Creamy salted caramel ice cream with those deep amber swirls is the kind of freezer dessert worth making ahead.
The Caramel Needs to Go Deeper Than Gold
With no-churn ice cream, the caramel has to carry a lot of the flavor, so stopping at pale amber leaves you with something sweet but thin. The goal is a deep copper color, almost the shade of an old penny, because that’s where the sugar develops the faint bitterness that balances the condensed milk. If the caramel smells burnt, it has gone too far; if it smells like toasted toffee and looks glossy, you’re in the right place.
The other trap is adding the butter and cream too early, which can water down the caramel before it has enough flavor. Let the sugar melt on its own and only swirl the pan occasionally. Stirring it hard can make the sugar seize into clumps before it reaches the right color.
What Each Ingredient Is Actually Doing in This Ice Cream
- Heavy whipping cream — This is what gives the ice cream its body and the soft, scoopable texture that no-churn desserts need. Whip it to stiff peaks, not just soft billows, or the base won’t hold enough air and the finished ice cream will set heavy. If you only have whipping cream, it can work, but the texture will be a little less plush.
- Sweetened condensed milk — This is the sweetness and the no-churn insurance policy in one ingredient. It lowers the freezing point, which keeps the ice cream from turning into a block of ice. Don’t swap in regular milk here; it won’t give you the same creamy freeze.
- Vanilla extract — Vanilla rounds out the caramel and makes the whole dessert taste fuller. A good extract matters more here than in a highly spiced dessert because the flavor list is short. Use real vanilla if you have it.
- Granulated sugar — Regular white sugar is exactly right for the caramel because it melts cleanly and gives you a clear read on color. Brown sugar would bring molasses notes and a softer, less distinct caramel flavor. Keep the heat at medium and let the sugar melt into one smooth pool before it starts to darken.
- Unsalted butter and heavy cream — These stop the caramel from tasting like hard candy and turn it into a pourable ribbon. Unsalted butter gives you control over the final salt level, while the cream loosens the caramel enough to swirl cleanly through the base. If you use salted butter, reduce the flaky salt slightly and taste the cooled caramel before adding more.
- Flaky sea salt — This is the finish that makes the caramel pop instead of fading into sweetness. Fine salt works in a pinch, but flaky salt gives you little bright hits that stand out on the tongue. Stir it in after the caramel comes off the heat so it dissolves without making the sauce harsh.
Building the Swirl Without Melting the Base
Whipping the Cream to the Right Point
Beat the cream until it holds stiff peaks that stand up when you lift the whisk. If it’s underwhipped, the base will freeze softer at first but settle into a denser texture after a day in the freezer. If you go too far and it starts looking grainy, stop immediately; overwhipped cream can make the ice cream feel slightly buttery instead of light.
Folding, Not Stirring
Once the condensed milk and vanilla are added, fold them in with a spatula using broad strokes from the bottom of the bowl. The goal is to keep the whipped cream airy, not knock out all the volume you just built. A few streaks are fine; they disappear when the mixture goes into the pan.
Layering the Caramel
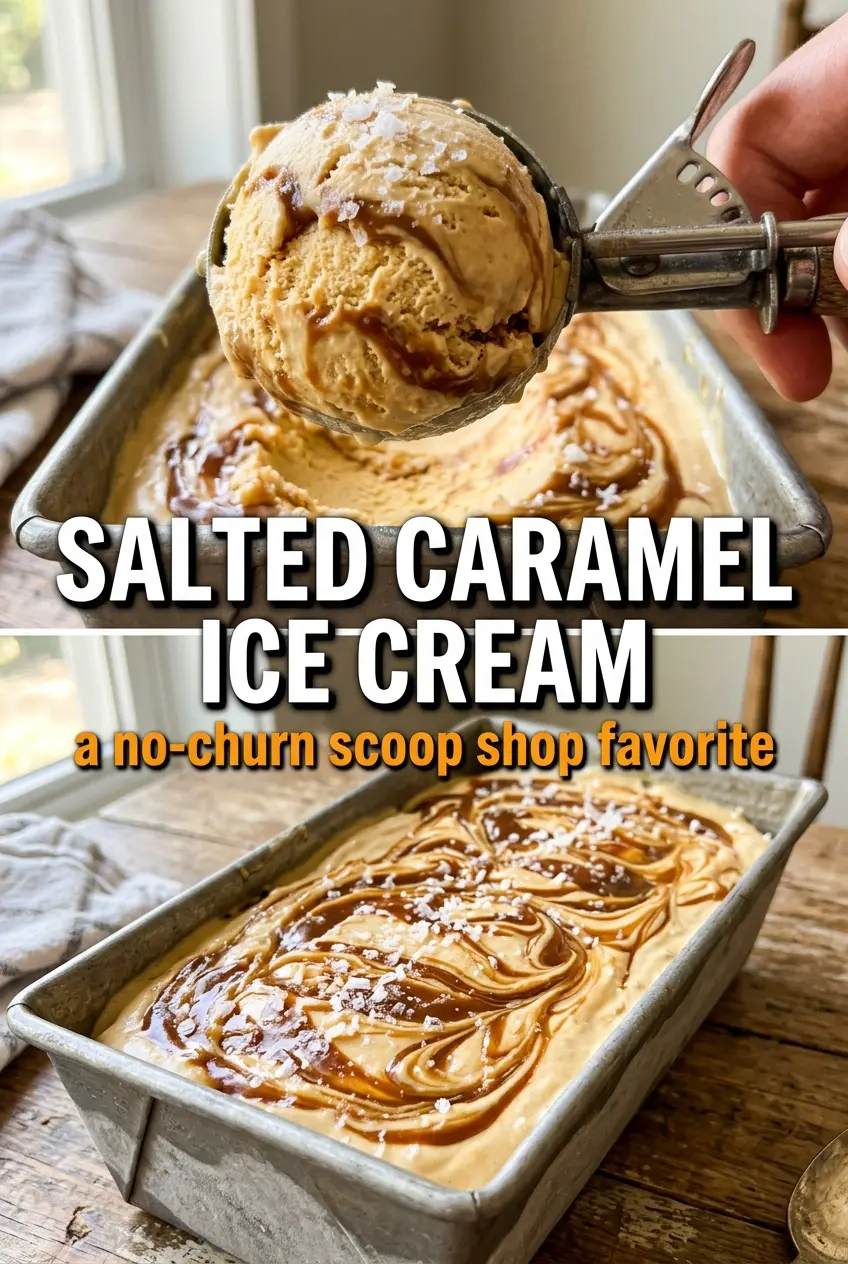
Pour half the base into the loaf pan, drizzle half the cooled caramel over it, then repeat with the remaining base and caramel. Drag a knife through the pan just once or twice to create swirls without blending the two together. If the caramel is still warm, it will sink and melt pockets into the base instead of staying in ribbons.
The Freezer Time That Matters
Give the ice cream at least 6 hours, but overnight is even better if you want clean scoops. If you try to serve it too early, the center will still be soft and the caramel will smear instead of cutting through. Let it sit at room temperature for 5 to 10 minutes before scooping so the spoon moves through the pan without shredding the top.
How to Adapt This for a Different Pantry or a Smaller Bowl
Dairy-Free Version
Use full-fat coconut cream in place of the heavy whipping cream and a dairy-free sweetened condensed milk alternative. The texture will still freeze scoopable, but the flavor picks up a light coconut note that sits nicely with the caramel. The caramel itself still needs butter and cream for the classic result, so this version works best when you’re okay with a slightly different finish.
Extra-Salty Caramel Swirl
Increase the flaky sea salt to 1 teaspoon if you like a sharper contrast against the sweet base. That pushes the caramel toward a more grown-up, almost candy-shop edge without changing the texture. Add the extra salt after the caramel cools a minute, then taste and adjust before swirling it into the ice cream.
Chocolate Swirl Variation
Drizzle in a cooled fudge sauce alongside the caramel for a more decadent pan dessert. Keep both sauces thick and cool so they sit in separate ribbons instead of dissolving into the base. You’ll get a flavor that lands somewhere between salted caramel and a sundae.
Storage and Reheating
- Refrigerator: Not applicable. This ice cream should stay frozen until serving, and it will melt quickly on the counter.
- Freezer: Keeps well for about 2 weeks in a loaf pan tightly covered with plastic wrap and foil. After that, the texture can start to pick up ice crystals, especially around the edges.
- Reheating: Don’t reheat it. Set it on the counter for 5 to 10 minutes before scooping so the surface softens just enough to cut cleanly without turning slushy.
Questions I Get Asked About This Recipe
Salted Caramel Ice Cream
Ingredients
Equipment
Method
- Melt the granulated sugar in a saucepan over medium heat, swirling occasionally, until it turns deep amber, about 6–8 minutes.
- Remove from heat and carefully whisk in the unsalted butter, followed by the heavy cream, and watch for vigorous bubbling.
- Stir in the flaky sea salt and let the caramel cool completely until no longer warm.
- Beat the heavy whipping cream to stiff peaks, then stop when the mixture holds a sharp peak.
- Fold in the sweetened condensed milk and vanilla extract until smooth and evenly combined.
- Pour half the ice cream base into a loaf pan, drizzle with half the salted caramel, then repeat with the remaining base and caramel.
- Swirl gently with a knife to create a marbled pattern, then freeze for at least 6 hours until firm before scooping.