Juicy chicken thighs with crisp, bronzed skin and roasted vegetables are the kind of dinner that earns a permanent place in the rotation. The potatoes go first so they get a head start, the chicken seasons deeply, and the broccoli and peppers pick up the drippings instead of drying out. What lands on the table tastes like you worked harder than you did.
The trick here is spacing and timing. Bone-in, skin-on thighs stay succulent in a hot oven, but they still need room around them so the skin can render instead of steaming. The potatoes roast alone for a bit, which keeps them from turning pale and soft while everything else catches up. Lemon slices tucked between the pieces brighten the whole pan without turning the vegetables sharp or sour.
Below, I’ve laid out the small details that matter most, from the seasoning balance to the point where the chicken skin finally turns crisp. If you’ve ever pulled a sheet pan dinner from the oven and found soggy vegetables or underdone potatoes, the process section will help you avoid both.
The potatoes were tender all the way through and the chicken skin actually stayed crisp after I plated everything. I loved that the broccoli roasted up with the pepper and lemon instead of getting mushy, and dinner was on the table in right around 40 minutes.
Save these crispy sheet pan chicken thighs for the nights when you want one pan, golden skin, and roasted vegetables without the cleanup pile.
The Reason the Potatoes Start First
Chicken thighs can handle a hot oven, but baby potatoes need a little head start if you want them browned on the outside and creamy in the middle by the time dinner is done. If you add everything at once, the chicken finishes before the potatoes have fully softened, and you end up choosing between undercooked potatoes or overcooked chicken. That first 15-minute roast gives the potatoes structure and puts them on the same timeline as the rest of the pan.
There’s another quiet payoff here: starting the potatoes alone leaves more open space for the chicken skin later. Crowded pans trap steam, and steam is the enemy of crisp edges. Once the chicken goes in, the rendered fat helps the vegetables roast instead of drying out, which is why this pan tastes layered instead of just “mixed together.”
What Each Ingredient Is Actually Doing in This Dish
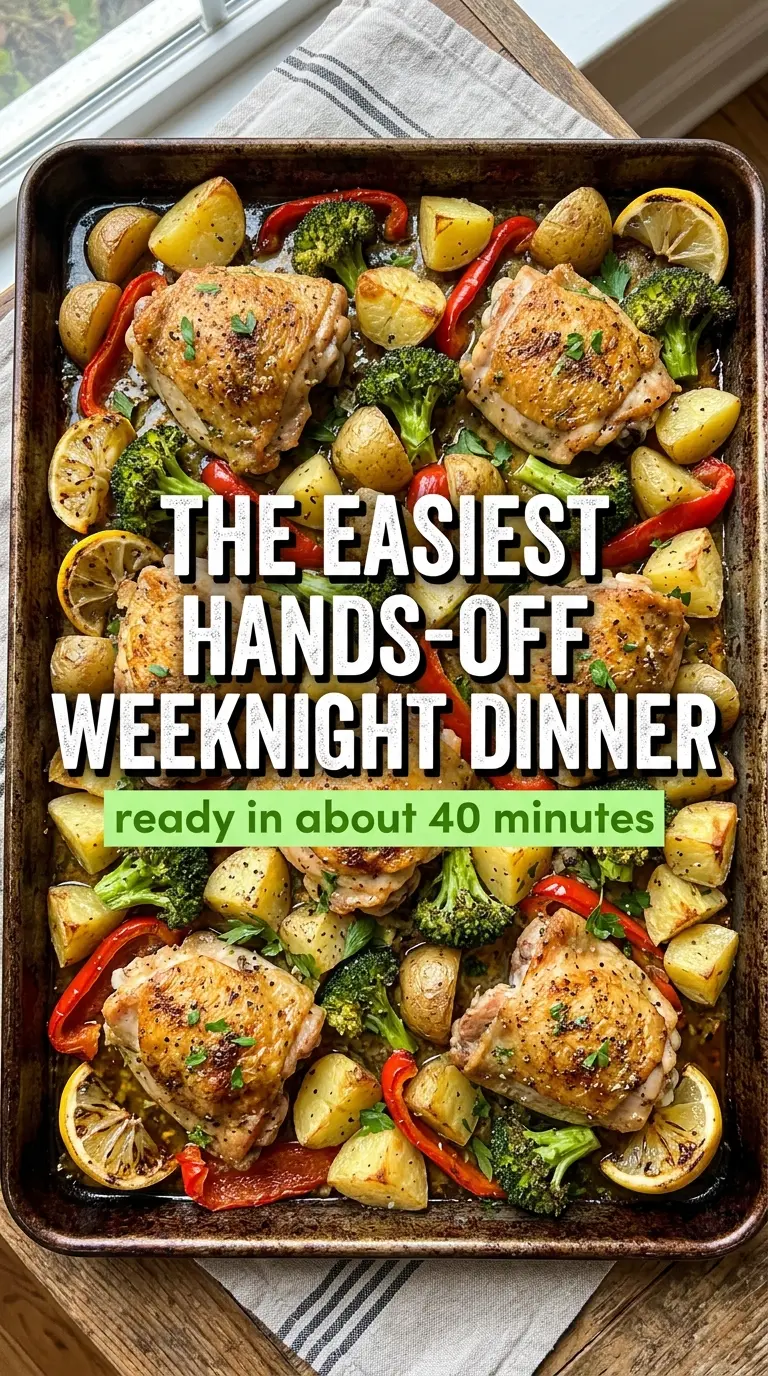
- Bone-in, skin-on chicken thighs — These are the backbone of the recipe. The bone protects the meat from drying out, and the skin renders into a crisp layer in the oven. Boneless thighs work in a pinch, but they cook faster and won’t give you the same juicy center or bronzed skin.
- Olive oil — This helps the paprika and garlic powder cling to the chicken and keeps the potatoes and vegetables from drying out. Use a decent everyday olive oil here; this isn’t the place for your fanciest finishing bottle.
- Smoked paprika and garlic powder — This seasoning pair gives the chicken a deeper, savory edge without needing a marinade. Fresh garlic can burn on a hot sheet pan, which is why garlic powder works better here and stays smooth and toasty instead of bitter.
- Baby potatoes — Halving them creates flat sides that can brown against the parchment and hot pan. If yours are especially large, cut them into quarters so they cook through in the same window.
- Broccoli florets and red bell pepper — These vegetables roast fast and benefit from the chicken drippings later in the process. Cut the broccoli into medium florets so the tips don’t scorch before the stems get tender.
- Lemon slices — The lemon softens in the oven and perfumes the pan from the inside out. Thin slices work best; thick wedges stay blunt and don’t release enough juice to matter.
The Part Where Crisp Skin and Tender Vegetables Happen at the Same Time
Season the Chicken First
Coat the thighs with oil, smoked paprika, garlic powder, salt, and pepper until they look evenly stained and lightly glossy. That thin slick of oil helps the skin brown instead of drying out, and the spices need to touch the meat directly so the flavor isn’t stuck only on the surface. If the chicken looks wet or streaky, keep rubbing the seasoning in for another few seconds.
Give the Potatoes Their Head Start
Toss the potatoes with the remaining oil and spread them on one side of the pan in a single layer. Roast them alone for 15 minutes so the cut sides begin to color before the chicken and vegetables join in. If the potatoes are piled on top of one another, they’ll steam and stay chalky in the middle.
Build the Full Pan Without Crowding
Add the chicken, broccoli, and bell pepper, then tuck the lemon slices between the pieces. Everything should sit in a loose single layer with a little breathing room, because the oven needs exposed surface area to brown the skin and char the vegetables in spots. If the pan looks packed, use a second pan rather than stacking ingredients.
Roast Until the Skin Is Crisp and the Chicken Is Done
Keep roasting until the chicken reaches 165°F in the thickest part and the skin looks deeply golden with crisp edges. The broccoli should be tender with browned tips, not wilted and wet, and the potatoes should give easily when pierced with a fork. Let the pan rest for 5 minutes before serving so the juices settle back into the meat instead of running out onto the tray.
How to Adapt This for Different Pans, Diets, and Leftovers
Gluten-Free and Naturally Satisfying
This recipe is already gluten-free as written, so there’s nothing special to swap. That’s part of why it works so well for weeknights: you get a full dinner of protein and vegetables without changing the method or losing texture.
Make It Dairy-Free Without Any Tweaks
There’s no dairy in the pan, which keeps the chicken skin crisp and the vegetables clean-tasting. If you usually finish sheet pan dinners with butter or cheese, skip that here and let the roasted lemon and chicken drippings do the work instead.
Swap the Vegetables Based on What Roasts Well
Asparagus, cauliflower, green beans, or zucchini can step in for the broccoli and bell pepper, but keep the cuts similar in size so they finish together. Softer vegetables like zucchini should go in later with the chicken so they don’t collapse before the thighs are done.
Storage and Reheating
- Refrigerator: Store leftovers in an airtight container for up to 4 days. The chicken skin softens in the fridge, but the meat stays juicy.
- Freezer: The chicken freezes well, though the vegetables get softer after thawing. Freeze in portions for up to 2 months and thaw overnight in the refrigerator.
- Reheating: Reheat on a sheet pan in a 375°F oven until hot, about 12–15 minutes. A microwave will warm it faster, but it turns the skin rubbery and the vegetables limp.
Answers to the Questions Worth Asking
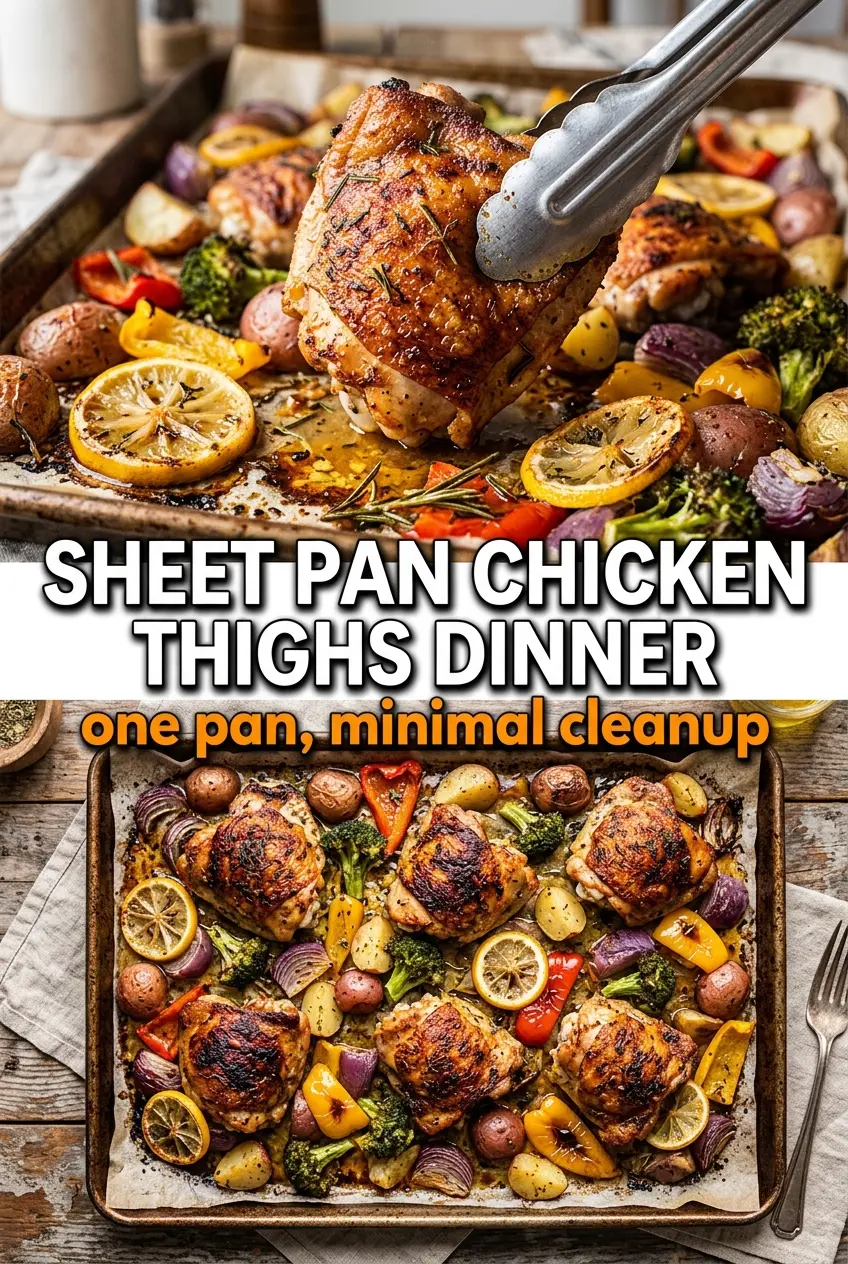
Sheet Pan Chicken Thighs Dinner
Ingredients
Equipment
Method
- Preheat the oven to 425°F and line a large sheet pan with parchment paper, so the food cooks evenly without sticking.
- Toss the chicken thighs with 2 tablespoons olive oil, smoked paprika, garlic powder, kosher salt, and black pepper until the skin looks evenly coated.
- Toss the baby potatoes with the remaining 1 tablespoon olive oil and arrange them on one side of the sheet pan; roast for 15 minutes to give them a head start.
- Add the chicken thighs, broccoli florets, and sliced red bell pepper to the sheet pan in a single layer, keeping vegetables near the chicken for balanced browning.
- Tuck lemon slices between the pieces so the steam and citrus juices flavor the chicken as it roasts.
- Roast for 25–30 minutes at 425°F, until the chicken reaches 165°F and the skin turns golden and crispy.
- Let the sheet pan rest for 5 minutes before serving to help the juices settle back into the chicken.